Let me show you how to Bevel and Emboss Text in any version of Photoshop. All you need to do is use a Layer, the Text Tool, the Gradient Editor, the Pen Tool (don't let that put you off) and the Bevel and Emboss. So let's begin.
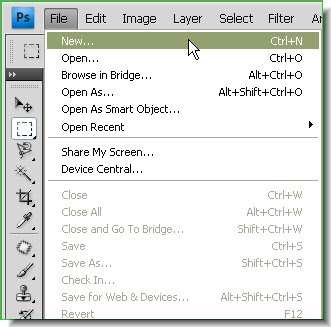
Step 1 : Go to File>New to open a blank White Layer.
Step 2 : when the New Layer dialogue box opens you can give it a name. Make sure that Color Mode is set to RGB and Background Contents to White. Click ok.

Step 3 : The New white layer has opened.
Step 4 : Look in the layers pallette and you will find the New white layer as the Background. Note there is a lock icon at the right. This means that the layer is locked. It cannot be edited. Don't let that worry you.

Step 5 : This is the Foreground and Background Color. The Foreground by default is set to Black and the Background to White. If it is not, press 'x' and then 'd' on your keyboard to set it to the default. Click the Black Foreground.

Step 6 : As soon as you click the Foreground Color, the Color Picker opens. The column of color in the middle is called the Spectrum. There is a tiny slider at the bottom of the Spectrum. You can move it up or down to change the color is the prieview box at the left of the Spectrum.
Step 7 : I have moved the slider to the Blue in the spectrum. The shades of Blue to Black is shown in the preview window . I have clicked on a shade of Blue. Note that the 'New' at the top changes to the shade of Blue I picked. Click ok in the Color Picker.
Step 8 : Look at the Foreground Color. It has changed to the Blue shade I picked in the Color Picker.
Step 9 : Now click on the White Foreground Color.
Step 10 : The Color Picker opens again. I have dragged the slider up the Spectrum to a Lighter Blue. I have clicked on a shade of Light Blue. The New at the top changes to the color I picked. Click ok in the Color Picker.
Step 11 : The Foreground and Background Colors are now set. This is how you change the Background and the Foreground Colors.

Step 12 : Click on the Gradient Tool. Look at the top. You will find the Gradient Editor. Click where the arrow at the top points to open the Gradient Editor.
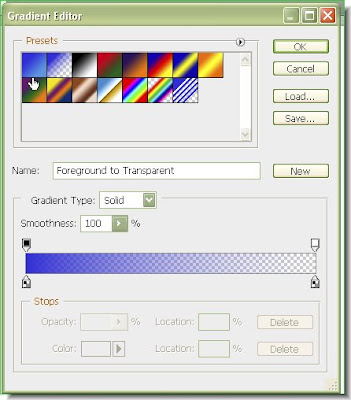
Step 13 : The Gradient Editor opens. I have clicked on the first Gradient. Look at the small white hand.
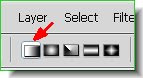
Step 14 : By default the Gradient is set to Linear Gradient. If not click the icon shown by the arrow.

Step 15 : Keeping the Shift pressed drag with the Gradient Tool from top to bottom. Keeping the Shift pressed ensures that you can drag down in a straight line.
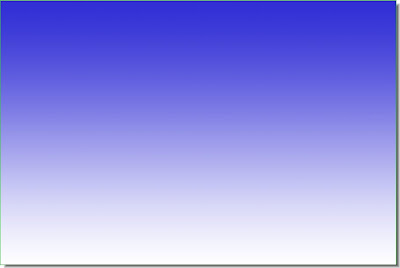
Step 16 : The gradient has been applied.

This is how the background layer thumbnail looks like with the Gradient applied.
 Step 17 : Click on the Type Tool.
 Step 18 : When you click on the Type Tool you will find the Fonts available in your version of Photoshop at the left. Next to it is a box where you can set the Font Size. Just enter a value into the box to set a size. Set the alignment of the Text. I have set it to central align. Lastly set the Text color. By default it is set to Black. You can change the color of the Text by clicking on the Text Color Box. Then follow the same steps as I did for changing the Foreground and Background colors.
 Step 19 : When you click Fonts a dropdown menu shows the Fonts available in your version. If you are using CS you will not only be able to see the name of the Fonts, but also how they look like. In Ps 7 you cannot see how they look like. You can find some free fonts for download here.
 Step 20 : Draw out the Text Box with the Text Tool.
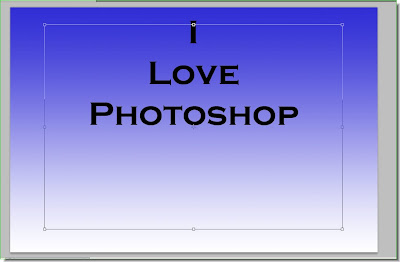
Step 21 : I have typed out my text.

Step 22 : Click the Tick mark on the left of the top panel.

Step 23 : Click on the Move Tool. Note the icons highlighted.
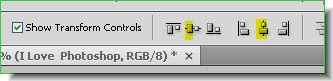
Step 24: Press CTRL+A. A column of marching ants will surround the entire layer. Now click on the 2nd and 5th icon highlighted on the top panel. This will align the Text to the centre.

Step 25 : Use the Move Tool to drag the text to the centre.

Step 26 : Click the text tool again.

Step 27 : Click this icon to warp the text.

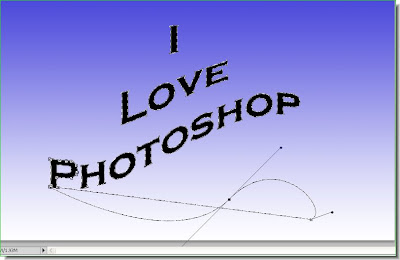
Step 28 : By default it is set to None. Click the drop down and you will find the different ways that you can warp the Text. I have chosen Wave.

Step 29 : This is how the Text looks after applying Wave.
 Step 30 : Now click on the Paths. In the Layers/Channels/Paths pallette click on Paths to open the Paths pallette.
 Step 31 : Click on the icon shown.
 Step 32 : As soon as you click you can see the Workpath.
 Step 33 : Click on the Direct selection Tool.

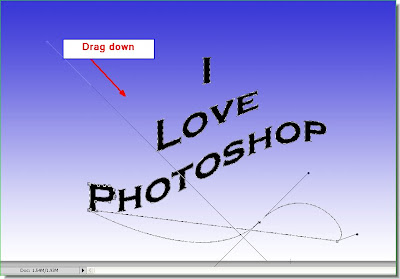
Step 34 : I have clicked on the first letter with the Direct Selection Tool. I have clicked on one of handles visible.
 Step 35 : With Direct Selection Tool I have dragged to the right.
 Step 36 : Clicking on the dot at the end makes this handle visible. Now rotate this handle and note the change in the path.
 Step 37 : Click on the Pen Tool and then click on the Add Anchor Point Tool.

Step 38 : I have clicked with the Add Anchor point Tool. You will notice two handles.
Step 39 : I have dragged up one of the handles as shown.

Step 40 : Click back on the Layers pallette.
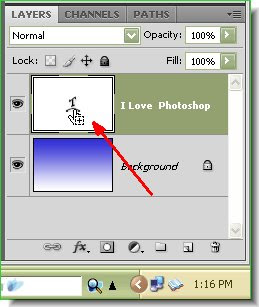
Step 41 : Click on the layer thumbnail of the Text layer. A column of marching ants will surround the text immediately.

Step 42 : Click again on the Path pallette. Right click the layer thumbnail. A dialogue box opens. Click on Make Selection.

Step 43 : Click on Add to Selection in the dialogue box that opens.
Step 44 : Now the entire text as well as the shape at the bottom is selected. Go back to the Layers pallette.

Step 45 : Click on the Gradient Tool.

Step 46 : Click on the Gradient Editor.

Step 47 : I have clicked on a Gradient.

Step 48 : Right click the Text Layer and from the popup choose Rasterize Text.
Step 49 : Drag diagonally from bottom to top with the Gradient Tool.

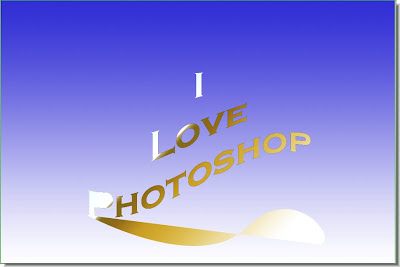
Step 50 : This is how the image looks with the Gradient applied. You may not get the same effect. It will depend on the shape you make and the Gradient you choose. Lastly press CTRL+D to deselect. The marching ants from around the text will go away.

This is how the image looks after deselection in the earlier step. At the right is the Layers pallette. The rasterized Text layer is on top of the Background to which a Gradient was applied in an earlier step.
The concluding part of the tutorial is here.


 This was how the image looked like in the last step.
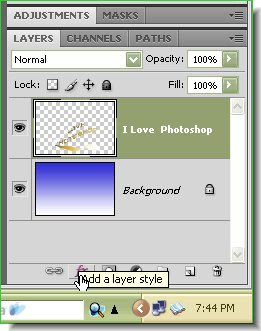 Step 51 : Click the Add Layer Style button as shown in the Layers palette.
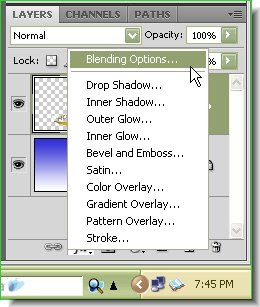 Step 52 : Click on the Blending Options from the popup.
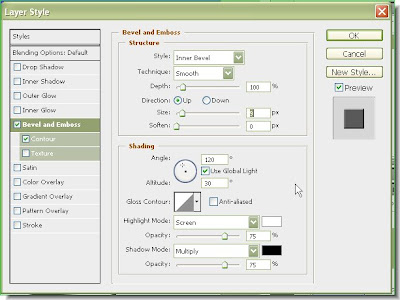 Step 53 : The Blending Options dialogue box opens. In the left panel check Bevel and Emboss and Contour.
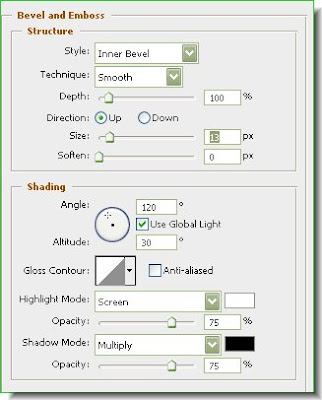 Step 54 : I have dragged the Size slider just a bit.
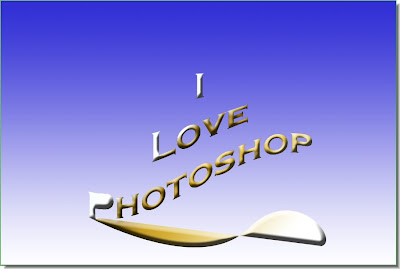 This is how my image looks with the Bevel and Emboss applied. Do not click ok in the Bevel and Emboss dialogue box.
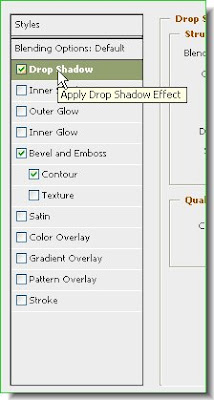 Step 55 : Now click on the Drop Shadow.
 Step 56 : First drag the Distance slider and then reduce the Opacity to 50%. Now click ok.
 This is how the image looks with the Drop Shadow.
 Step 57 : Click on the Background layer.
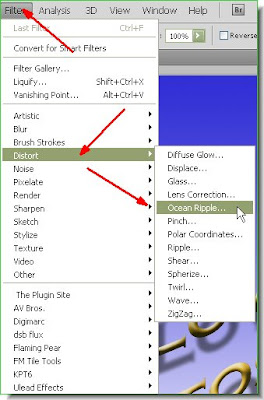 Step 58 : Go to Filter>Distort>Ocean Ripple.
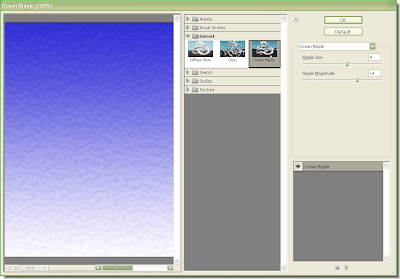 The Ocean Ripple Dialogue box opens.
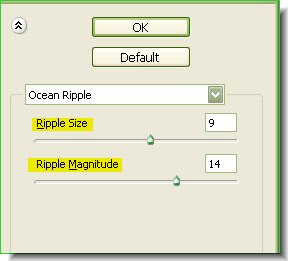 Step 59 : I have set the Ripple Size and Ripple magnitude as shown above.
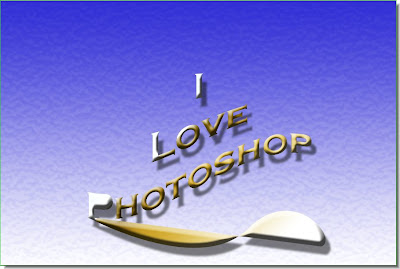 This is how the Background Layer looks with Ocean Ripple applied. Press CTRL+F to apply the filter again.
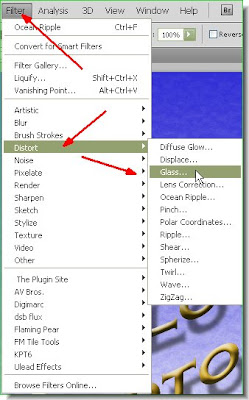 Step 60 : Go to Filter>Distort>Glass.
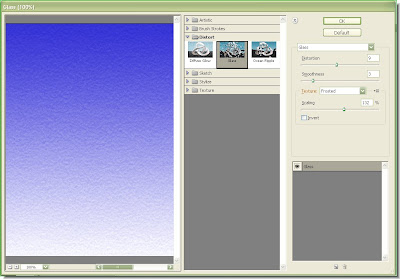 The Glass dialogue box opens.
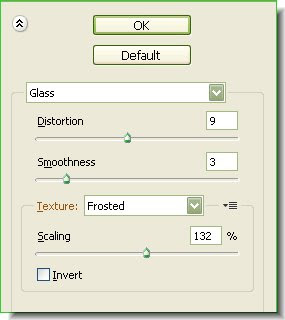 Step 61 : These are the settings I have applied to the Glass filter.
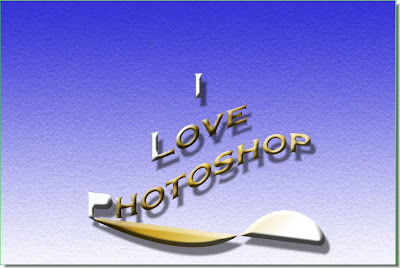 Step 62 : Press CTRL+F to reapply the Glass filter. This is how the image looks. Note that lights on the text is different from the light angle on the background. This has to be fixed.
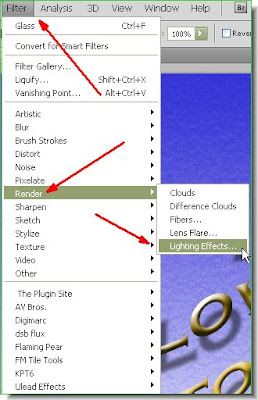 Step 63 : Go to Filter>Render>Lighting Effects.
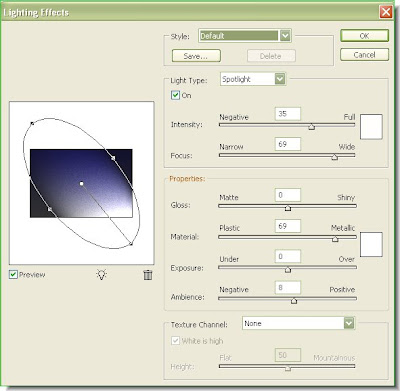 Step 64 : The Lighting dialogue box opens.
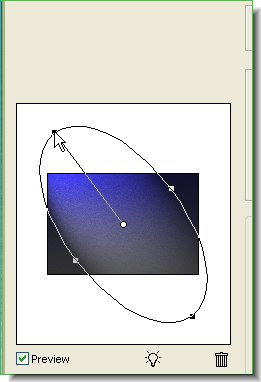 Step 65 : Change the angle of the light by dragging with the cursor.
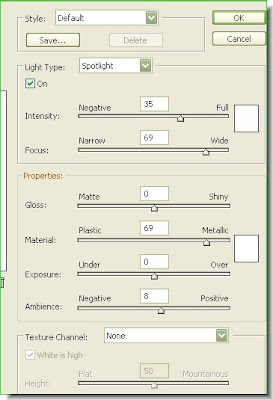 Step 66 : I am leaving the remaining settings undisturbed. Click ok.
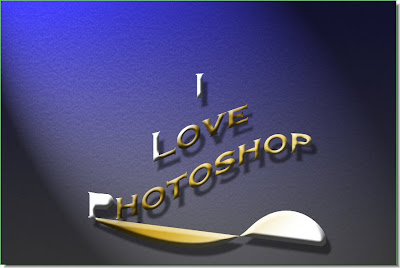 The finished image. Not at all difficult. Just takes a bit of your time. That's all.


