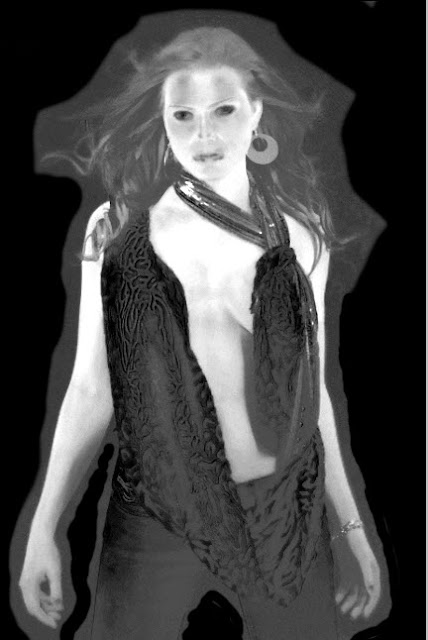
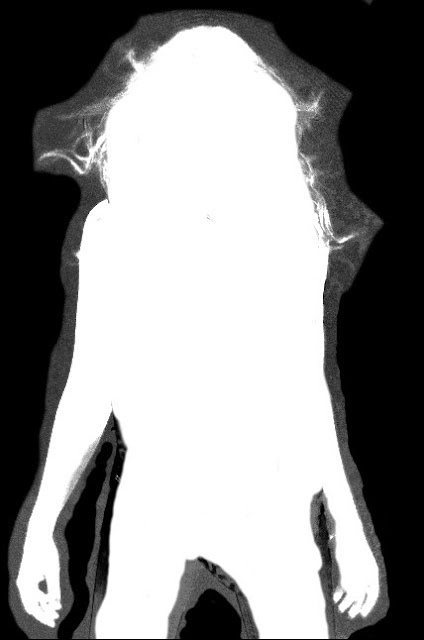
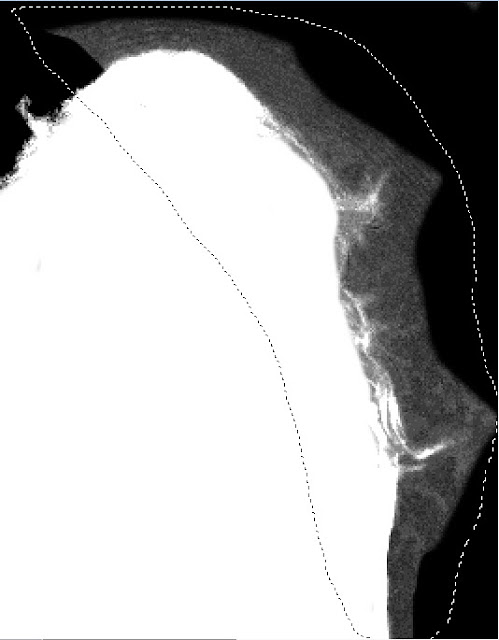
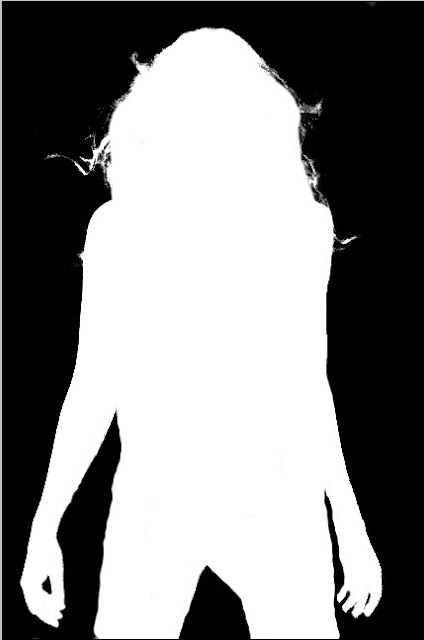
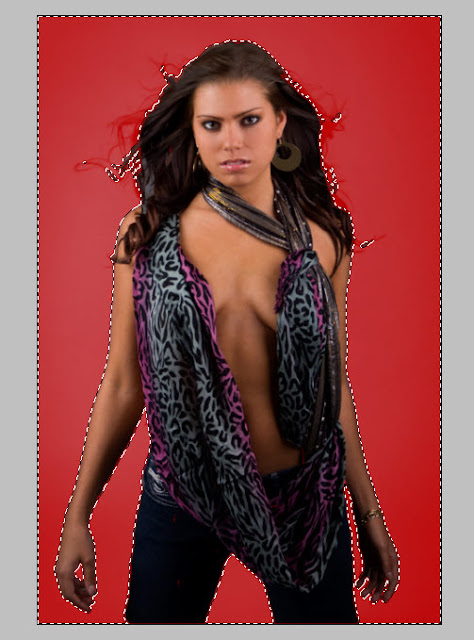
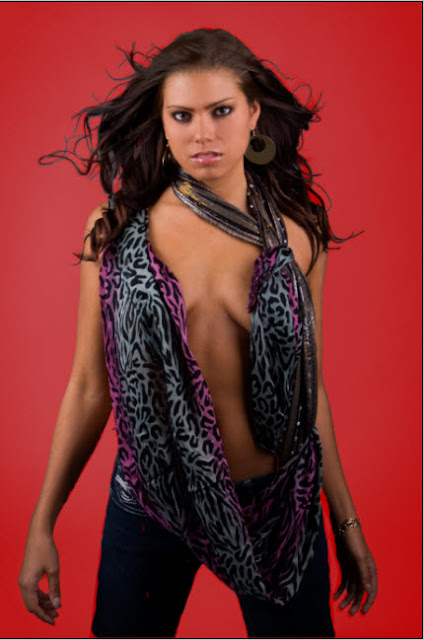
Step 1 : I will be using this free stock image to demonstrate how this complex selection can be cut out cleanly and placed on an absolutely different background.
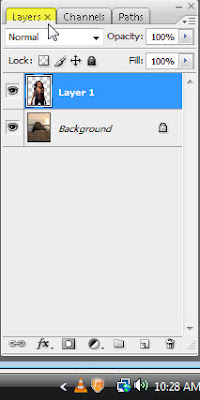
Step 2 : Press CTRL+J. The background Layer duplicates into Layer1.
Step 4 : This dialogue box pops up. Click on Don't Flatten.
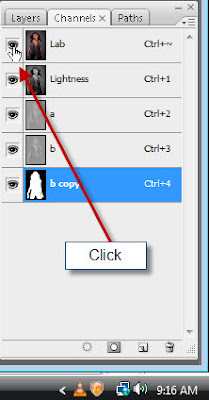
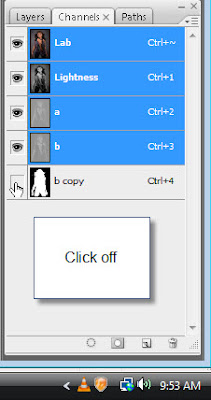
Step 5 : Click on Channels. This will bring up the Channels palette.
Step 6 : The Channels palette opens.
Step 7 : In the Channels palette you will find the 'Lab' at the top, followed by 'Lightness' followed by 'a' and 'b' channels. Click them both in turn. See which has more contrast. Select the one with more contrast.
Step 8 : I have clicked on the 'b' channel. It is not difficult to choose between the 'a' and 'b' channels.
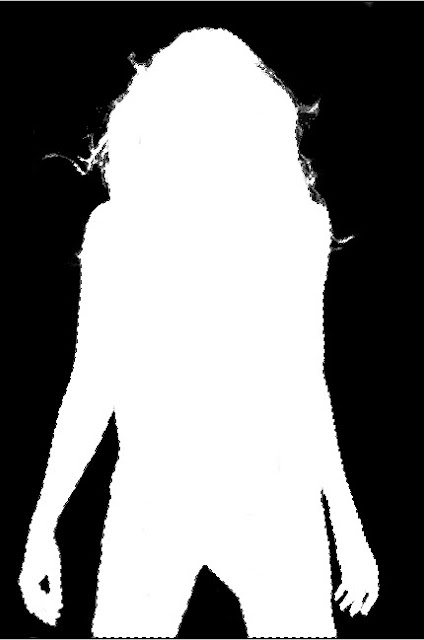
This is how the 'b' channel looks when I click it.
Step 9 : Drag the 'b' channel to the New Channel icon shown and a 'b copy' channel forms.
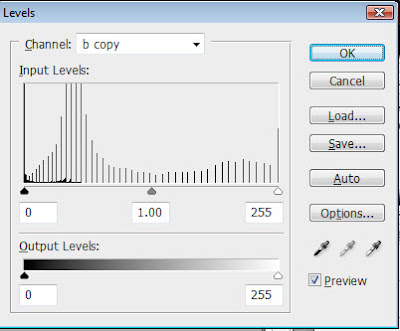
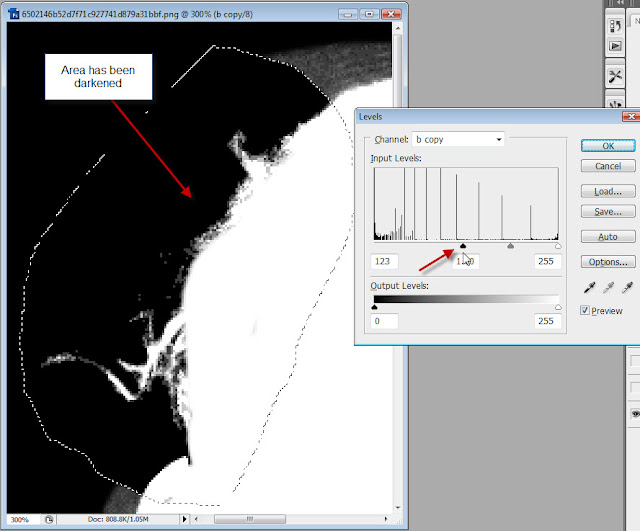
Step 10 : Press CTRL+L. This will bring up the Levels dialogue box. You can see that the graph in the middle called Histogram is very narrow.
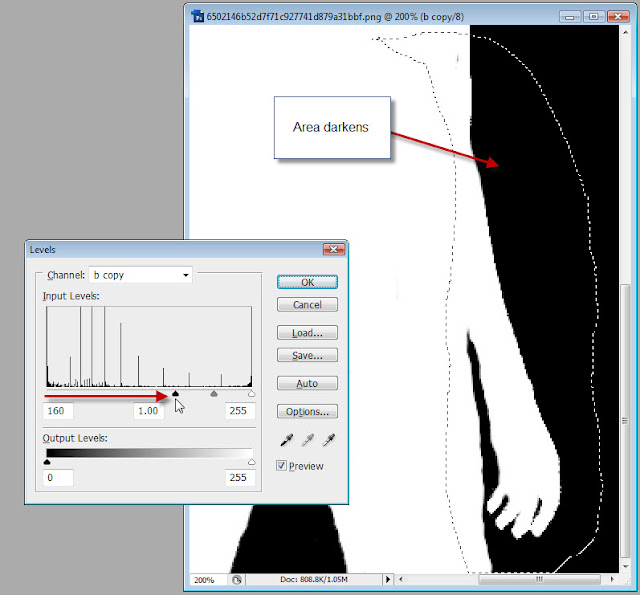
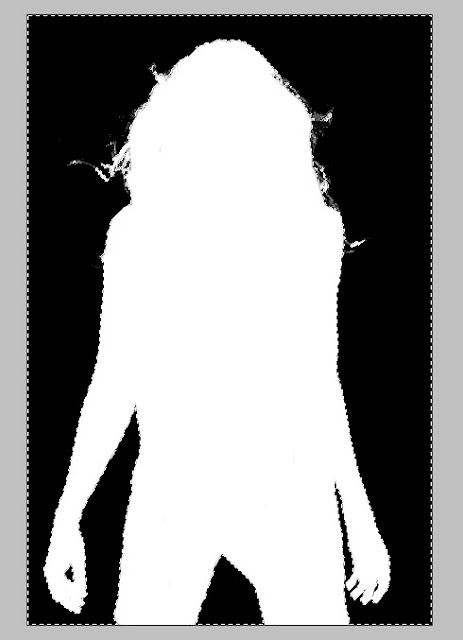
Step 11 : In the Levels dialogue box drag the Black slider at the left till it is under where the graph starts. You will see that the image darkens.
Step 12 : Now drag the White slider at the right towards the edge of the graph. Keep an eye on whether some of the details disappear. Here some of the details on the trousers have gone.
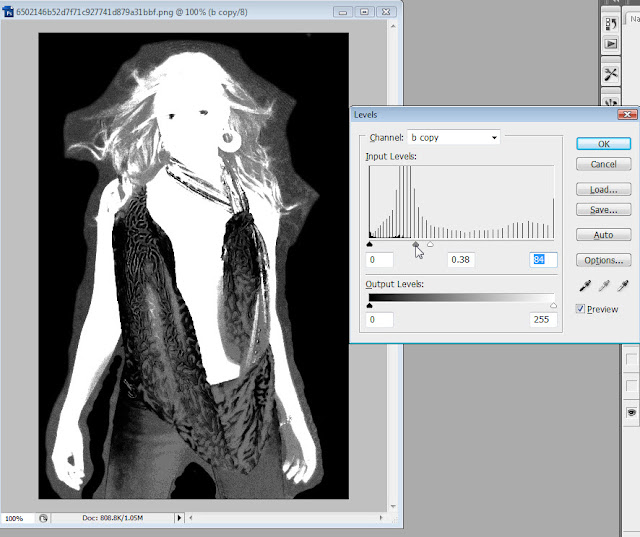
Step 13 : Now drag the gray slider in the middle to darken the highlights.
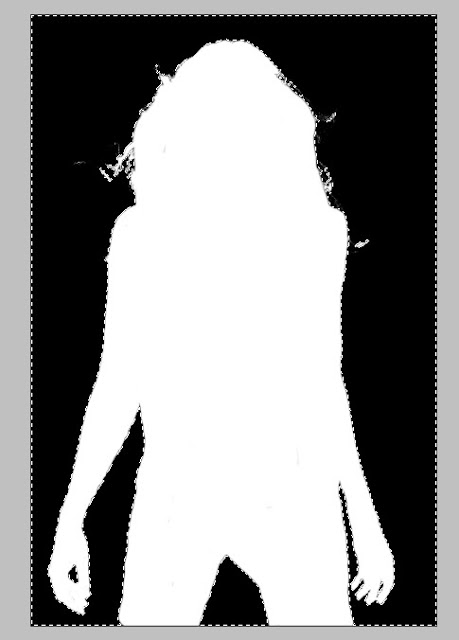
This is how the image looks.
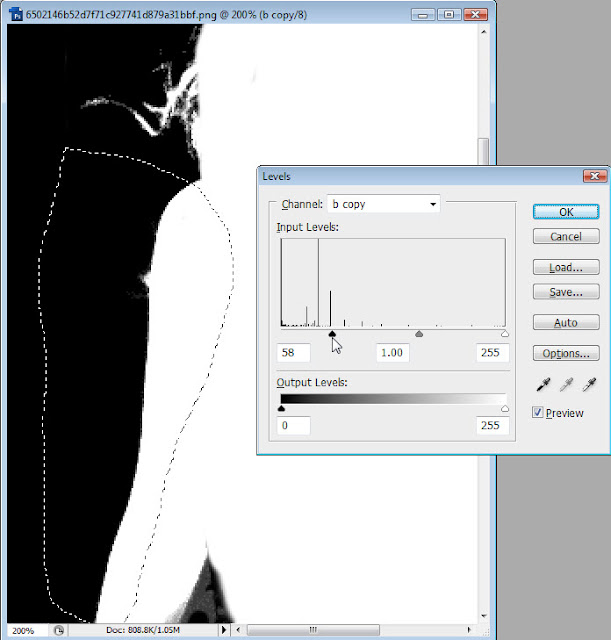
Step 14 : Now drag the White slider in a little more as well as the Black slider. The hair can be made out as also her trousers. Here you will have to do this till you get it right. It just takes a bit of practice. Click OK in the Levels dialogue box.
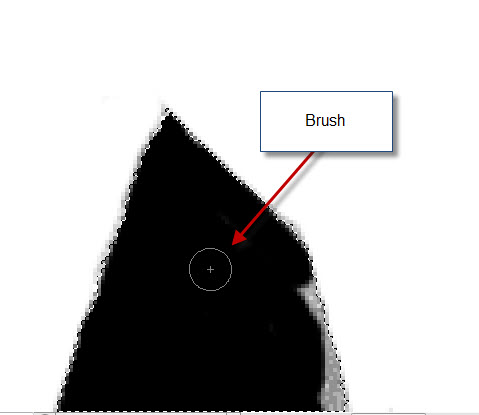
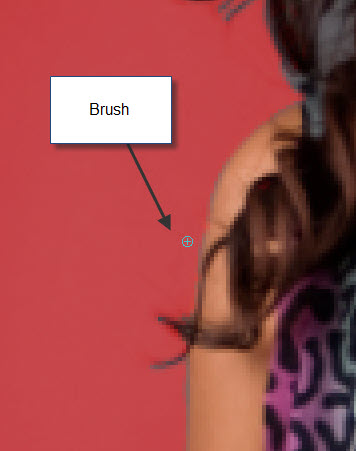
Step 15 : Click the Brush Tool.
Step 16 : Click in the top panel where the arrow points. This will bring up the Brushes dialogue box. Set the Hardness at between 70% and 80%. You can decrease the size of the Brush with [ (left bracket) and increase it with the ] (right bracket).
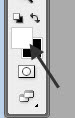
Step 17 : The Foreground Color should be set to Black and the Background to White. If it is not press 'x' and then 'd' for the default.
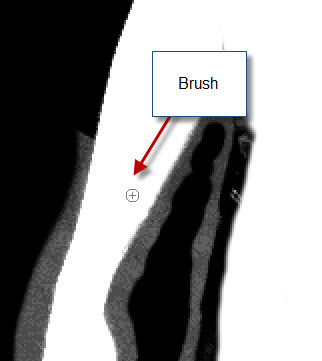
Step 18 : I had chosen a Brush size that was tool small, therefore I have increased its size by pressing ] (right bracket). I am painting the background with Black. I am keeping away from the figure and the hair as I paint.
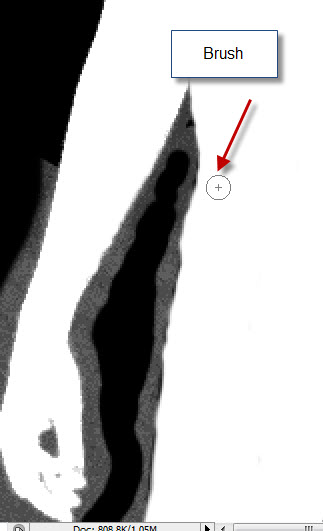
Step 19 : I have painted with Black all around the image. I have not been very careful, but I have kept away from the edges.
Step 20 : Press CTRL+L. The levels dialogue box comes up again.

Step 21 : Now push the White slider to the left. The Whiteness in the image increases. Click OK.
Step 22 : Now I am using the mid point slider and moving it over to the right to darken the highlights and get some of the blacks back in the Background. Click OK.
Step 23 : Press X on the keyboard to flip the Foreground Color to White.
Step 24 : I have used the Brush Tool to paint as much White as possible. Again I have kept away from the edges.
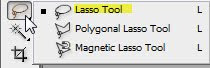
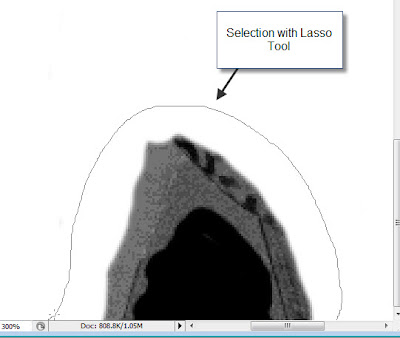
Step 25 : Click the Lasso Tool.
Step 26 : I am using the Lasso Tool to draw a selection around her legs.

Step 27 : Press CTRL+L. The Levels comes up. Drag the white slider over to the left. I can now make out portions of her trousers that should be White but are not. Click OK and deselect.

Step 28 : Since I can see the edges of her trousers, I am using the Brush Tool to paint those portions White.
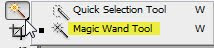
Step 29 : Click the Magic Wand.
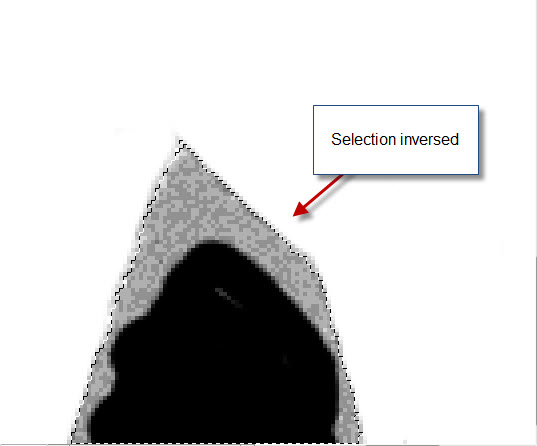
Step 30 : Click on the White portion. A selection appears. Press CTRL+SHIFT+I to inverse the selection.

Step 31 : Press X on the keyboard to change the Foreground Color to Black.
Step 32 : I am now using the Brush to paint in with Black between her legs. Since the area is selected there is no danger of the Brush straying on to the White portion.

Step 33 : Press CTRL+D to deselect. Press X to change the foreground Color to White. I am painting the edges that I missed with the White.

Step 34 : Now I have selected part of her hair with the Lasso Tool.
Step 35 : Press CTRL+L. The Levels comes up. I am now dragging the Black slider to the right to darken the Black portions till only the White edges of her hair show. Click OK. Press CTRL+D to deselect.
Step 36 : I have now selected this portion of her hair with the Lasso Tool.

Step 37 : Press CTRL+L. The Levels dialogue box comes up. I am pushing the Black slider to the right till the area darkens covering up the gray area. Press OK. Press CTRL+D to deselect.

Step 38 : I With the Foreground Color set to White I am painting little details that I have missed out with the white.

Step 39 : I have again drawn a selection with the Lasso Tool.
Step 40 : Press CTRL+L. The Levels comes up. I have again dragged the Black slider to the right till the gray area between the Black of the Background and the White of the image disappears. Press OK. Deselect.
Step 41 : Again I have selected a portion of the arms. I have brought Levels up by pressing CTRL+L. I have dragged the Black slider to the right. The area darkens. Press OK. Deselect.

Step 42 : A portion of the arm has been missed out while Painting with White.
Step 43 : I have painted the left out portion with White.
Step 44 : I have also touched up the side of her trousers with White which I had missed out earlier.

Step 45 : I have drawn a selection with the Lasso Tool. Brought up Levels. Dragged the Black slider to the right. Press OK. Deselect.
Step 46 : This is how the image now looks.
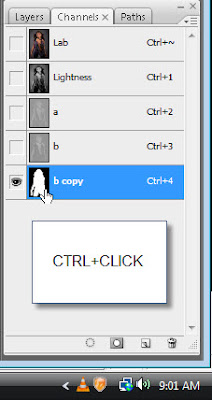
Step 47 : CTRL+CLICK the thumbnail of the b copy channel.
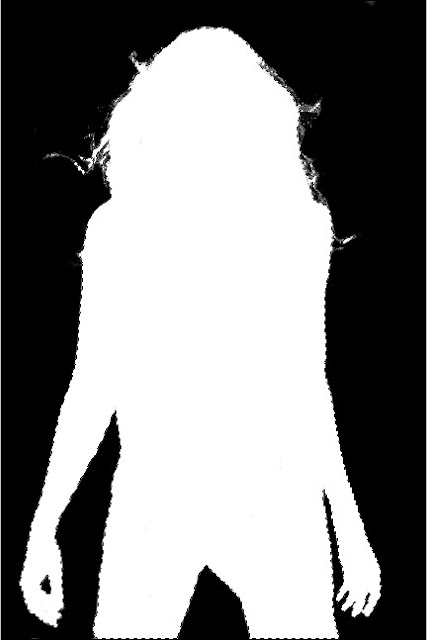
Step 48 : The White area is immediately selected.

Step 49 : Go to Select>Modify>Feather.
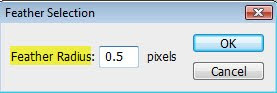
Step 50 : In the Feather selection dialogue box set the Radius to 0.5. Click OK.
Step 51 : This is how the image looks after applying Feather.
Step 52 : Press CTRL+SHIFT+I to inverse the selection.
Step 53 : Make sure Foreground Color is set to Black.
Step 54 : Press ALT+BACKSPACE to fill with Black.
Press CTRL+D to deselect.
Step 55 : Click on the eye icon of the Lab channel.
Step 56 : This is how the image looks. The Red in the background is a Mask. Press CTRL+D to deselect.
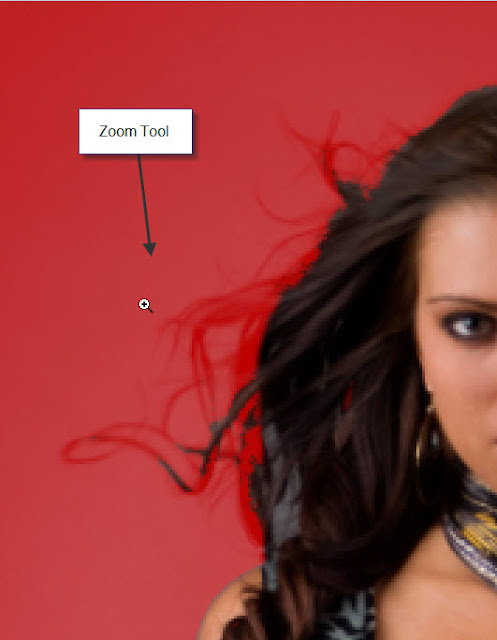
Step 57 : Zoom into the image. You can see where the Mask covers part of her hair. We will fix that.

Step 58 : Make sure your Foreground Color is set to White. Click the Brush Tool.
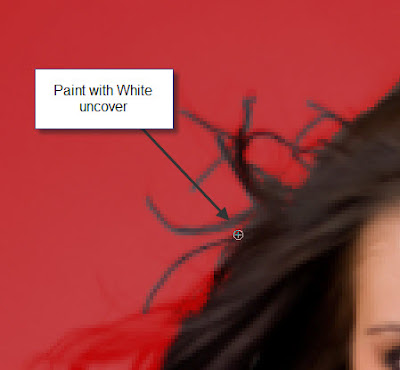
Step 59 : Paint with White to uncover.

Step 60 : Change the Foreground Color to Black.
Step 61 : Paint with Black to reveal where the Mask has missed out.
Step 62 : Alternately painting with White and Black make the necessary corrections. This is how my image looks now.
Step 63 : Click off the eye icon on b copy channel. Click the Lab channel.
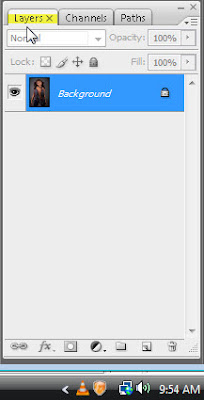
Step 64 : Click back on the Layers palette.
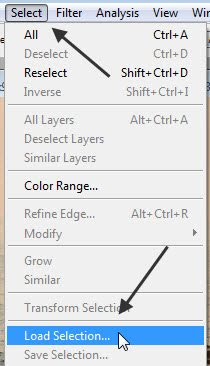
Step 65 : Go to Select>Load Selection.

Step 66 : The Load Selection dialogue box opens. The Channel has b copy selected.
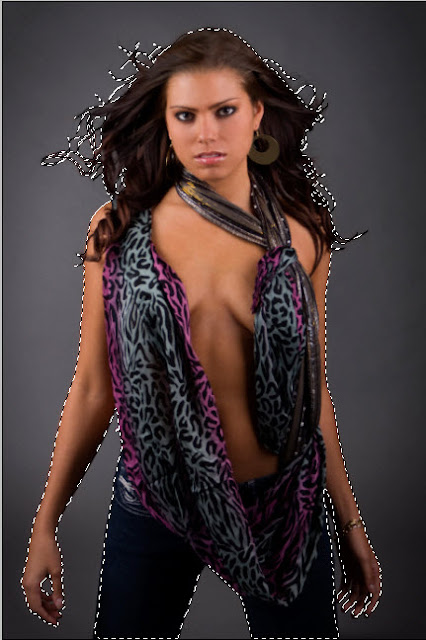
Step 67 : The figure is selected.
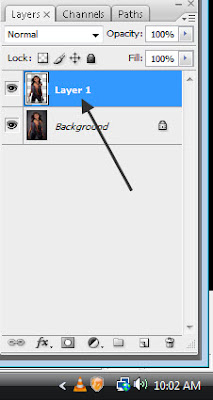
Step 68 : Press CTRL+J. The image of the girl separates into Layer 1.

Step 69 : Click the Move Tool.
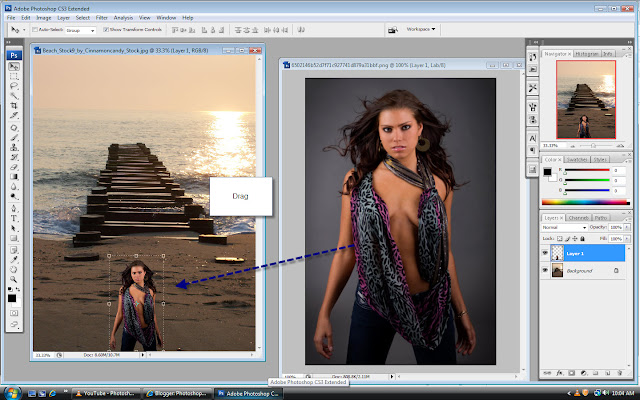
Step 70 : Press SHIFT and drag the image of the girl to the other photo which will be the new Background.
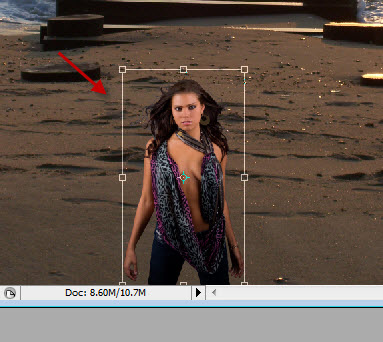
Step 71 : Press CTRL+T. A selection forms.

Step 72 : Press SHIFT+ALT. Drag the left or right corner handle up to resize. Press Enter when finished.
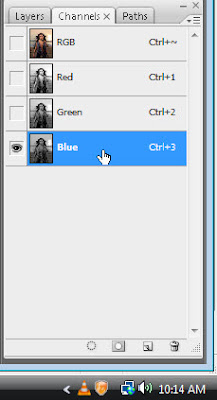
Step 73 : Go to the Channels palette. I have clicked on the Blue channel because it has the most contrast. In your case it may be any of the other two channels as well. Just check the channel with most contrast.
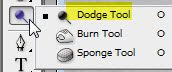
Step 72 : Click on the Dodge Tool.

Step 74 : In the top panel click on Shadows. The exposure is set to 50%.

Step 75 : Make the Brush large. (It functions just like the Brush Tool). wipe the strands of hair gently. It will make them fade a bit so that it blends with the new background.

Step 76 : I have used the Dodge Tool on the edges of the hair.
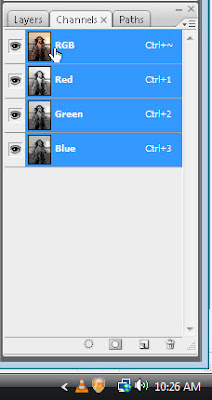
Step 77 : Click on the RGB channel.
Step 78 : Click back on the Layers palette.

Step 80 : Click on the Sponge Tool.

Step 81 : Set the Dodge Tool also to Shadows and sponge away any excess color.

The finished image.
Other Photoshop tutorials are
here


