Let's create an open book with Spiral Binding. You can create the book with pages and then add a spiral binding as a special effect. This is not suggested for beginners. You will also have to have a great deal of patience. It can be done is Photoshop CS. So let's begin.
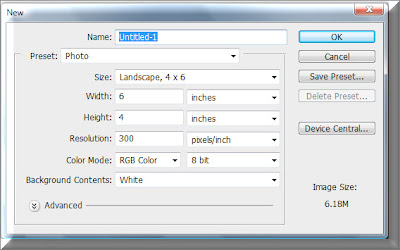
Step 1 : Open a large White Document. I am using the Photo Preset which is 6 inches by 4 inches and has a resolution of 300 pixels. I am using this Preset because if needed it can be printed.
Step 2 : The Foreground Color is set to Black by default.
Step 3 : Press ALT+BACKSPACE. The White layer fills with Black which is the Foreground Color.
Step 4 : Click the Rectangle Tool. You can see where it is found in the left panel.
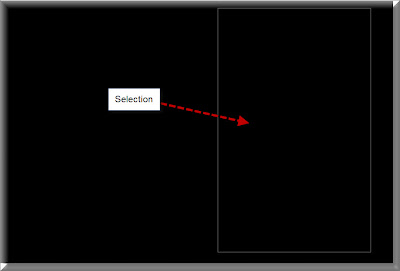
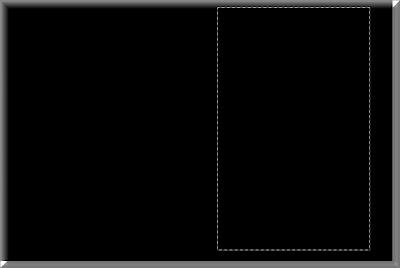
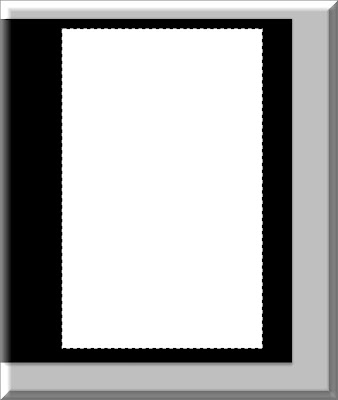
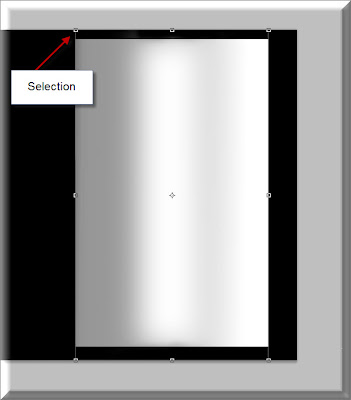
Step 5 : Draw out a selection with the Rectangle Tool as shown.
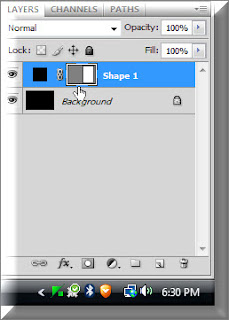
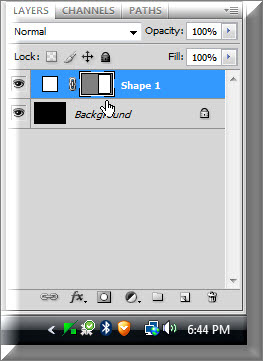
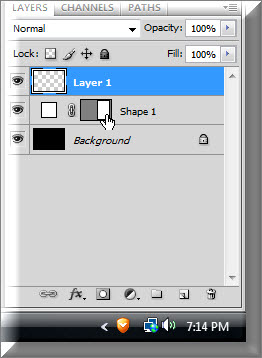
Step 6 : This is how the Layer palette looks. CTL+Click directly on the White portion of the Mask.
Step 7 : As soon as you CTRL+Click the selection is covered by 'marching ants'.
Step 8 : Double click where the small white hand points in the Layers palette and the Color Picker comes up. Type ffffff (6fs) where the yellow arrow points to. It stands for White. Look at 'new' at the top. It has changed to White. Click OK in the Color Picker.
Step 9 : Press CTRL+D to deselect.
This is how the Layers palette looks.
Step 10 : Click the New Layer icon (red arrow) and a New Layer 1 forms (green arrow).
Step 11 : Click on the Gradient Tool and then click at the top where the arrow points to open the Gradient Editor.
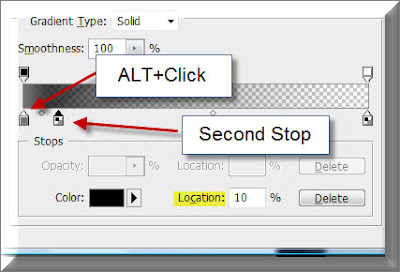
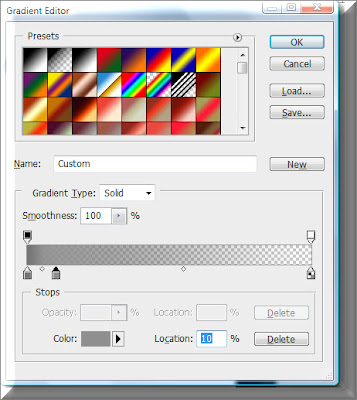
Step 12 : This brings up the Gradient Editor. Click the second Preset shown. Next click on the Color Stop. As soon as you click the Color Stop the 'Color' changes to Black.
Step 13 : The Color Picker comes up again (It is called Select Stop Color and works in the same way as the Color Picker). I have clicked on a shade of gray. You can select it by typing in 757575 in the highlighted box (green arrow). Click OK.
Step 14 : Now click on the first Color Stop. Press ALT and drag to the right. A second Color Stop appears. Again click on Color.
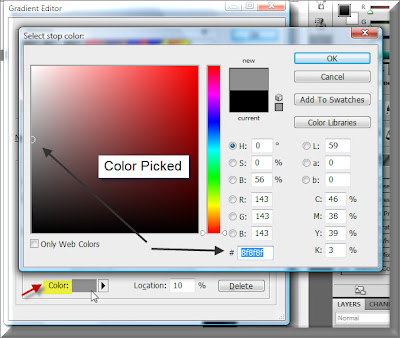
Step 15 : The Color picker appears again. The color chosen is another shade of gray. You can type in the value in the box at the bottom 8f8f8f and click OK.
The second Color Stop has changed to the shade of Gray picked. Click OK.
Step 16 : With Layer 1 highlighted, click on the white portion of Shape 1. A selection of marching ants selects the white portion.
A selection of marching ants appear around the white portion.
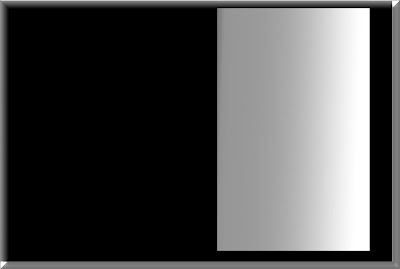
Step 17 : Since the Gradient Tool is already selected, drag across the middle of the white portion till just before the left edge.
This is how the image looks. Press CTRL+D to deselect.
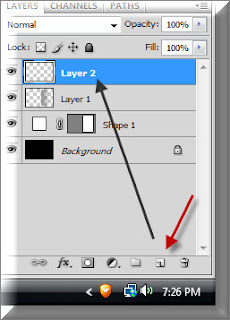
Step 18 : Click the new layer icon in the Layers palette and a new Layer 2 forms.
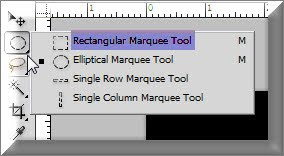
Step 19 : Click on the Rectangular Marquee Tool.
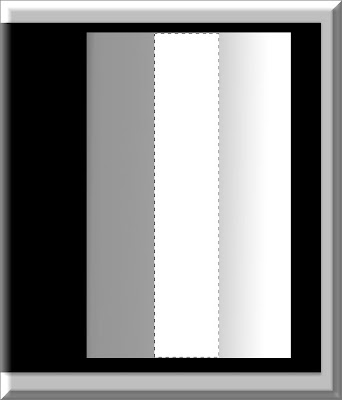
Step 20 : Draw a selection as shown on the white portion.
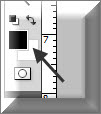
Step 21 : Note that the Background Color is White.
Step 22 : Press CTRL+BACK SPACE. The selection fills with the Background color which is White in this case. Press CTRL+D to deselect.
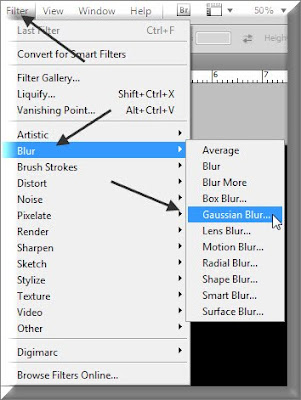
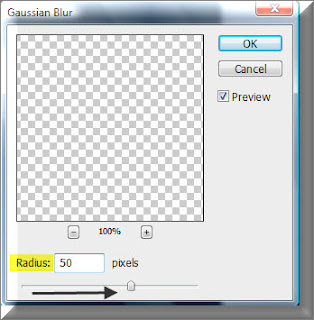
Step 23 : Go to Filter>Blur>Gaussian Blur.
Step 24 : The Gaussian Blur dialogue box opens. I have dragged the slider Radius to 50 pixels.
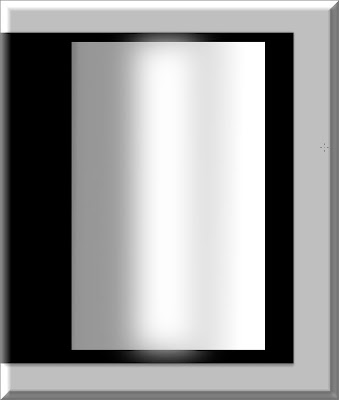
This is how my image looks. A portion of the Blur has gone beyond the white edge.
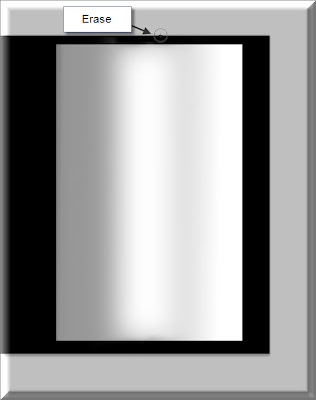
Step 25 : Click on the Eraser Tool.
Step 26 : Erase the blur from the top and bottom edges of the white portion.
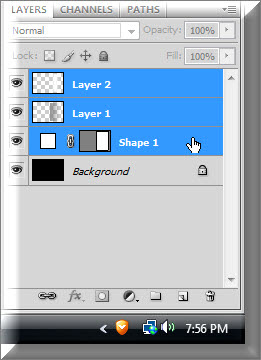
Step 27 : Layer 2 is highlighted. Press SHIFT and click on Shape 1 layer. All the Layers are highlighted.
This is how the Layers palette looks.
Step 28 : Press CTRL+T. A selection appears around the white portion.
Step 29 : Right click inside the selection and from the menu that opens click on Warp.
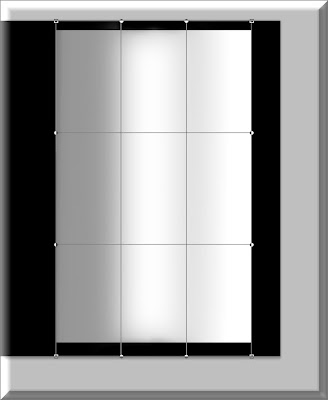
The Warp grids appear.
Step 30 : Push up the handle at the one at the bottom to apply the warp. when you are satisfied press ENTER.
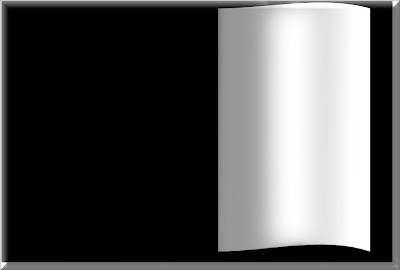
This is how the image looks. Its one page.
Step 31 : Press CTRL+J. Layer 2 duplicates into Layer 2 copy.
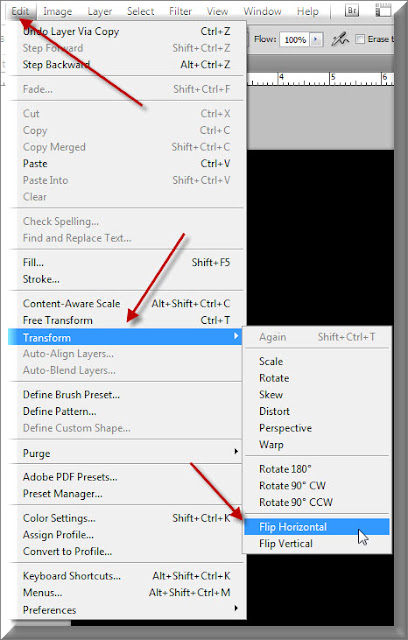
Step 32 : Go to Edit>Transform>Flip Horizontal.
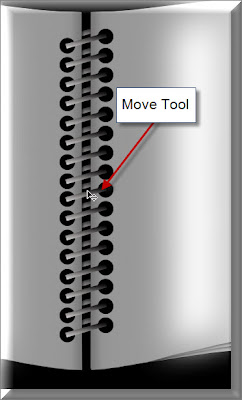
Step 33 : Click the Move Tool.
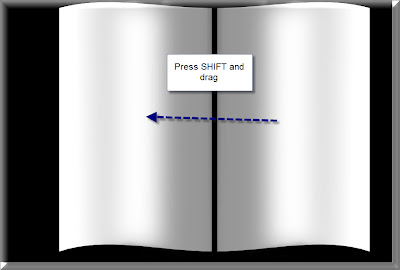
Step 34 : Press SHIFT and Move the Layer to the left as shown.
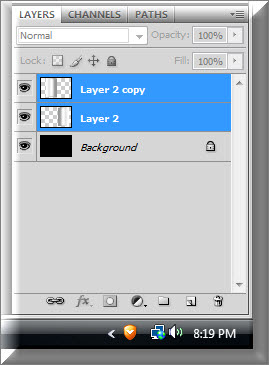
Step 35 : Press SHIFT and click on Layer2. Both Layer2 copy and Layer 2 are highlighted.
Both the Layer have become one - Layer 2 copy.
Step 36 : Press CTRL+J. Layer 2 copy duplicates into Layer 2 copy 2.
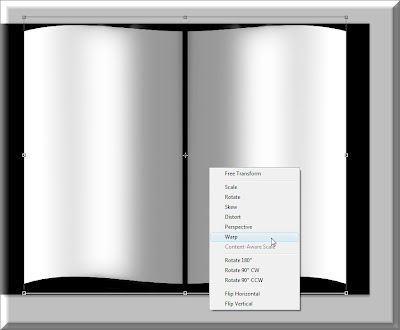
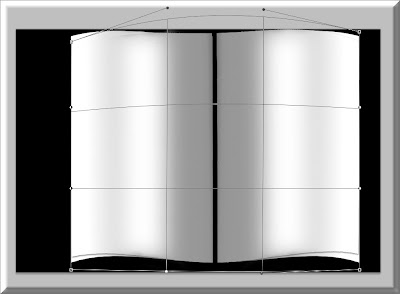
Step 37 : Press CTRL+T. Right click in the middle of the selection that appears. Click on Warp.
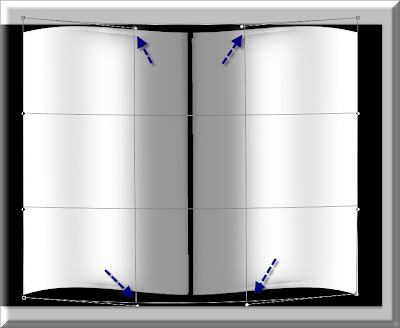
Step 38 : The Warp grid lines appear. Push down/up the handles as shown. Press Enter.
Step 39 : Click on the Add Layers Styles icon and click on Drop Shadow.
Step 40 : In the Drop Shadow dialogue box reduce the Opacity to 50 % and increase the Size to 8. Click OK.
This is how the pages look.
Step 41 : Press CTRL+T. Right click in the Centre and click on Warp as earlier. When the grid lines open correct the upper and top portions of the pages. Press Enter.
Step 42 : Press CTRL+T. Press SHIFT+ALT and the left handle inwards slightly so that you can see the edge of the page. Press Enter. This is how you do the pages one at a time.
Step 43 : You have to continue duplicating the layers, apply warp each time to create the layers.
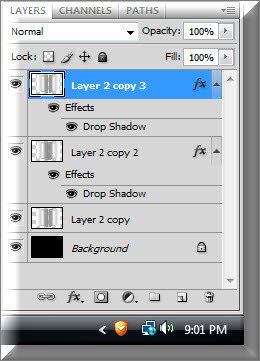
I have made three pages. You can make more if you wish. The more pages you make the longer the time it will take.
Step 44 : I pressed SHIFT and have clicked on the layer just above the Background i.e. Layer 2 copy. All the layers are highlighted.
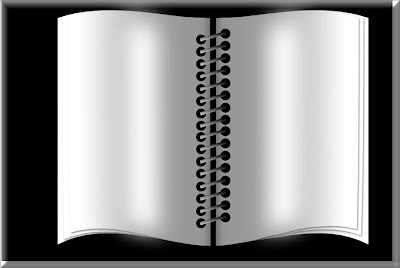
All the Layer have compressed into Layer copy 3 which was the topmost layer. The Book has been completed. Now to make the Spiral Binding.
Step 45 : Click the Rectangle Tool.
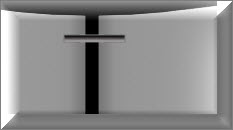
Step 46 : Draw a small rectangle as shown. It immediately fills with Black.
Step 47 : CTRL+Click the Shape 1 as shown.
The selection is enclosed with marching ants.
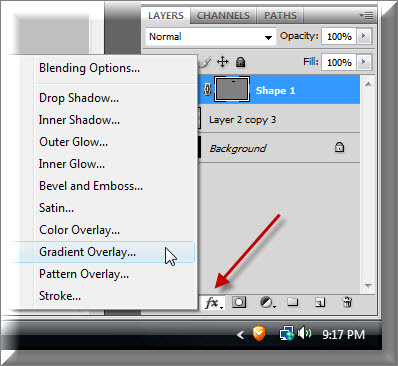
Step 48 : Click on the Add Layer Styles icon and click on Gradient Overlay.
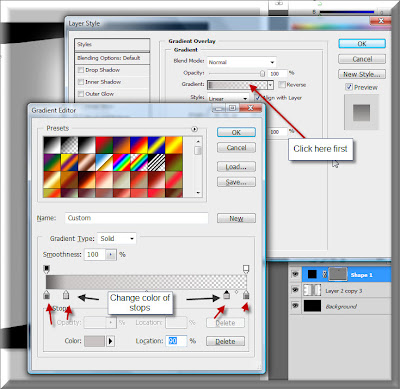
Step 49 : Click to open the Gradient Presets. Set the Color of the stops exactly as in Steps 12-15.
Step 50 : Press Ctrl+D to deselect.
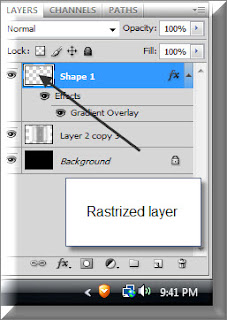
Step 51 : Right click the Shape 1 Layer and click on Rasterize Layer.
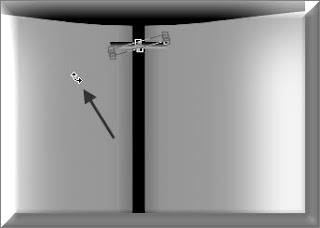
Step 52 : After the Layer is Rasterized. Press CTRL+T, then use the Move Tool to rotate the small rectangle. Press Enter.
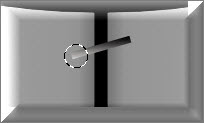
The Rasterized Layer looks like this.
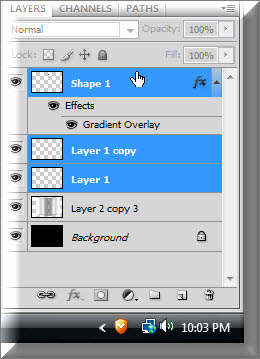
Step 53 : With Shape 1 Layer highlighted, press CTRL and press new Layer Layer icon. A Layer 1 forms below the Shape 1 Layer.
Step 54 : Click the Elliptical marquee Tool.
Step 55 : Press SHIFT and draw a circle with the Elliptical Marquee.
Step 56 : Press ALT+BACKSPACE and the selection will fill with Black which is the Foreground Color. Press CTRL+D to deselect.
Step 57 : Press CTRL+J. Layer 1 duplicates into Layer 1 copy.
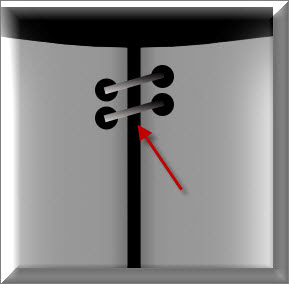
Step 58 : Use the Move Tool to move the duplicated Black circle to the right as shown.
Step 59 : Click on Layer1, press SHIFT and click on Shape 1 Layer. All the Layers are highlighted.
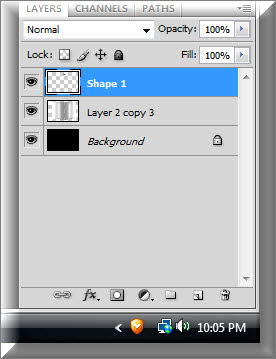
Step 60 : Press CTRL+E. The highlighted layers compress into Shape 1 Layer.
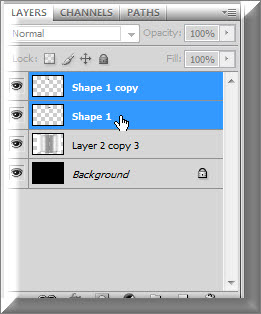
Step 61 : Press CTRL+J to duplicate Shape 1 Layer1 into Shape 1 copy.
Step 62 : Use the Move Tool to drag the duplicated spiral down.
Step 63 : Press SHIFT and click on Shape 1. Both the layers are highlighted.
Step 64 : Press CTRL+E. Both layers compress into Shape 1 copy.
Step 65 : Press CTRL+J. Shape 1 copy duplicates into Shape 1 cop2 layer.
Step 66 : Use the Move Tool to drag the duplicated layer down.
Step 67 : Press SHIFT and click on Shape 1 copy. Both Layers are highlighted.
Step 68 : Press CTRL+E. Both Layers compress into Shape 1 copy. This is how you must go about making the Spiral.
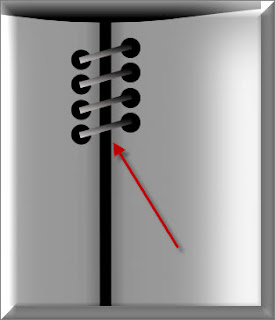
This is how the Spiral binding looks like now.
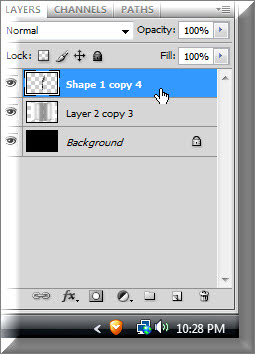
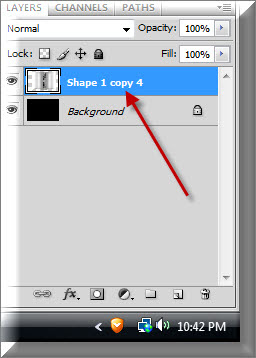
The entire spiral is now on Shape 1 copy 4.
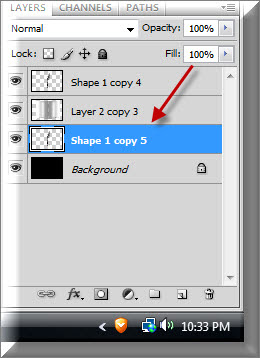
Step 69 : Press CTRL+J and Shape 1 copy duplicates into Shape 1 copy 5.
Step 70 : Drag the Shape 1 copy 5 layer (which contains the duplicate spirals) below Layer 2 copy 3 (which contains the book).
This is how the complete Spiral Binding looks like.
Step 72 : Press SHIFT and click on Shape 1 copy 4. All the layers except the Background layer is highlighted.
Step 73 : Press CTRL+E. All the layers are compressed into one i.e. the spiral binding and the book layer are all on one layer i.e. above the Black Background layer.
Step 74 : Click the Rectangular Marquee Tool.
Step 75 : Draw out a selection with the Rectangular Marquee on the left page.
Step 76 : Go to File>Place.
Step 77 : As soon as I click on Place, Photoshop opens a folder of photos. If it does not, you will have to open a folder with photos.
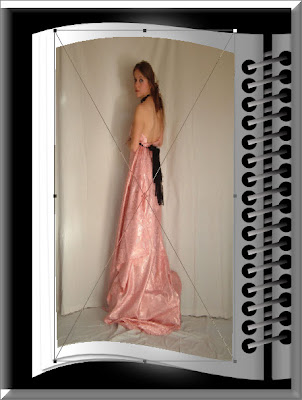
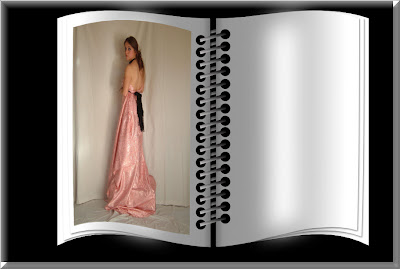
Step 78 : The photo is placed. There is a large X across the photo. Use the Move Tool to move the photo within the selection.
Step 79 : I have used the Move Tool at the corner of the images to move it into the selection.
Step 80 : Right click within the image and click on Warp.
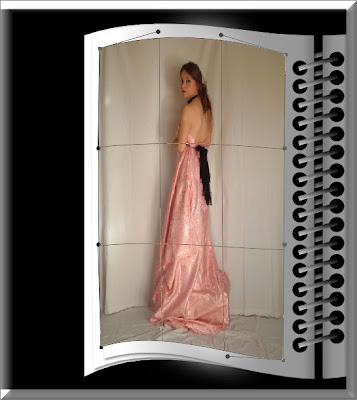
Step 81 : Use the handles to warp the image to the contours of the page. Press Enter.
Step 82 : I have pressed CTRL+T again and dragged the middle handle on the left inwards.
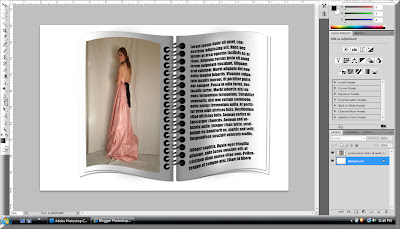
This is how the image looks.
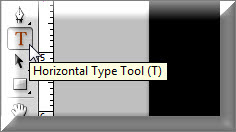
Step 83 : Click the Type Tool.
Step 84 : I have drawn out a Text Box.
Step 85 : I have set the Font, Size and Margin in the top panel.
Step 86 : we no need some ready made text. You will it here.
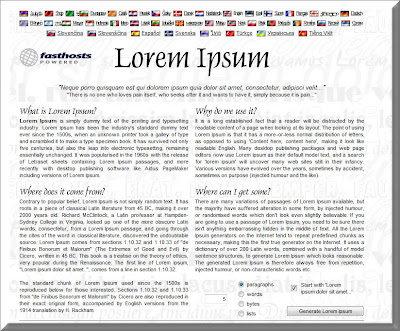
When you click the link you will be taken to http://www.lipsum.com/
The page shown here will open.
Step 87 : At the bottom right of the page you will find the Text Generator. Click it.
Step 88 : The Text has been generated.
Step 89 : Highlight the Text and copy.
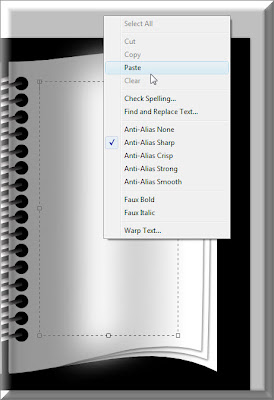
Step 90 : Now Paste into the Tex box.
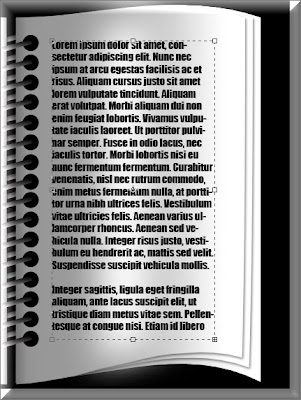
The Text has been pasted.
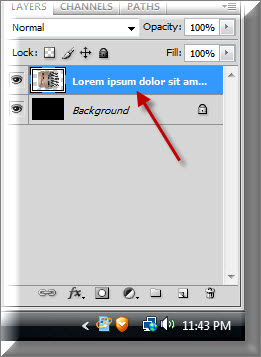
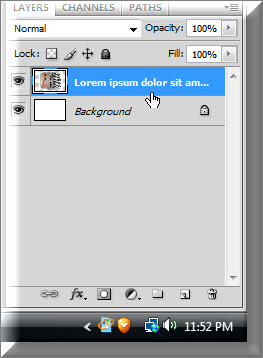
Step 91 : Click the Text Layer and Rasterize the Type.
Step 92 : Press CTRL+T. Right click and bring up Warp.
The Text has been warped. Press Enter.
Step 93 : Press Shift and click on Shape 1 copy 4 Layer. All the layers are highlighted.
Step 94 : Press CTRL+E. All the layers above the Background layer are compressed into one layer.
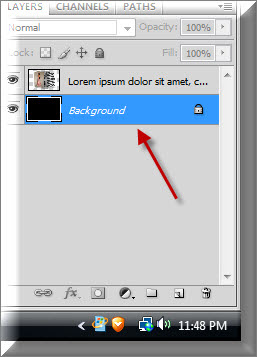
Step 95 : Click on the Background layer.
Step 96 : Since the Background Color is set to White, press CTRL+BACKSPACE. The Background layer fills with White.
Step 97 : Click on the Layer above the Background Layer.
Step 98 : Press CTRL+T. Rotate the selection as shown. Press Enter.
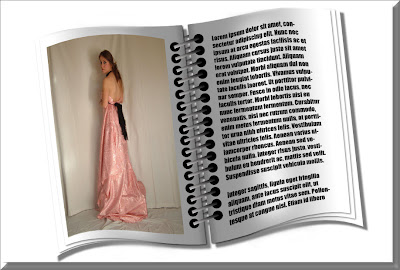
Lastly resize again if necessary and add a Drop Shadow and the Book with Spiral Binding is complete.
Other photoshop tutorials are here.


