This about creating the shape of a droplet in Photoshop and then pasting an image into it. Pasting into is a special command in Photoshop, which I will show you in the course of the tutorial. I will also show you something about Gradients, Brushes and Texts. So let's begin.
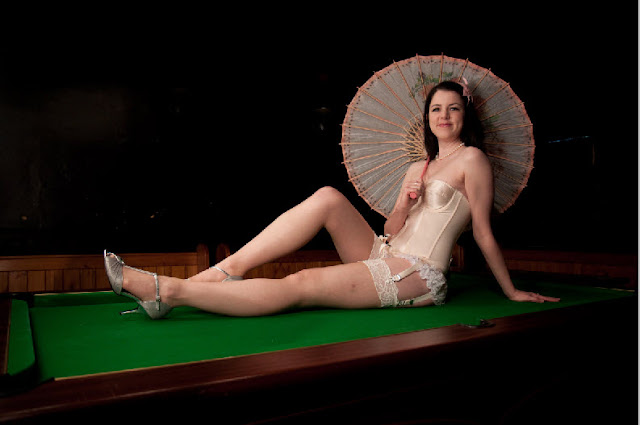
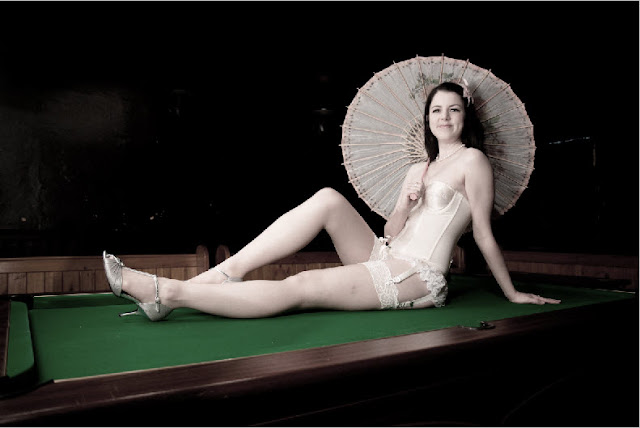
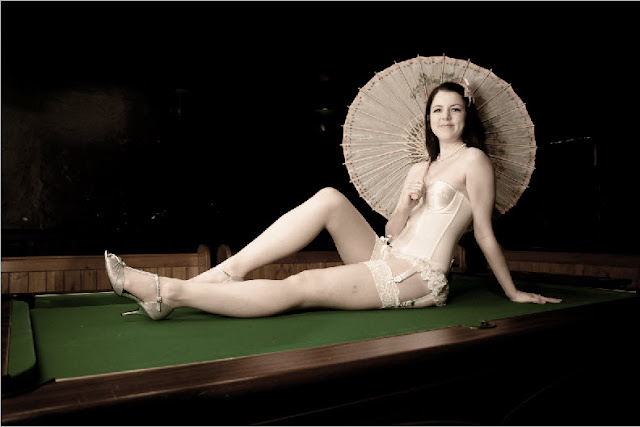
Step 1 : I Have opened this image in photoshop. You will find it
hereStep2 : Open a New Document.
Step 3 : I have opened the New document and named it Lady in Red. It is not necessary to name a document. I have used the 'Photo' preset found in Photoshop CS series. In Photoshop seven you can manually set the Height and Width to 3" x 2".
Step 4 : Click the New layer icon in the Layers palette and a new Layer 1 forms above the Background layer.
Step 5 : Click the Elliptical Marquee Tool.
Step 6 : Press SHIFT and drag with the Elliptical Marquee to draw a perfect circle.
Step 7 : In the top panel click the Add to selection button.
Step 8 : Click the Polygon Lasso Tool.
Step 9 : Click on side of the circle. You should be careful to click exactly on the edge of the circle.
Step 10 : Drag up as shown.
Step 11 : Drag straight down.
Step 12 : Return to the first point.
Step 13 : If you have done it correctly you should get a selection of marching ants like this. If you are not satisfied, press CTRL+Z to undo and try again.
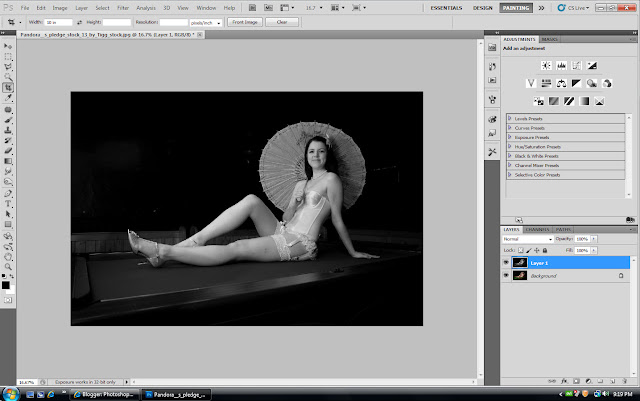
Step 14 : Go over to the girl's image and press CTRL+A (select all), then CTRL+C (copy).
Step 15 : Click back on the white document.
Step 16 : Go to Edit>Paste Into. This is CS5. The Paste Into Command is accessed a bit differently. It is Edit>Paste Special>Paste Into.
Step 17 : This is how my image looks.
Step 18 : Press CTRL+T. A selection becomes visible.
Step 19 : Press ALT+SHIFT and drag on the left top corner handle to resize. You may have to do this quite a number of times if the image you are using is a high resolution one like I am doing.
Step 20 : The image has been resized. Press Enter to apply the transformation.
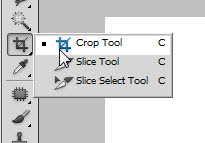
Step 21 : Click the Crop Tool.
Step 22 : Drag out with the Crop Tool. Press enter to apply the crop.
Step 23 : Click the Layer Mask next to the layer thumbnail on Layer2.
Step 24 : Click the Add Layer Style button and click on Stroke.
Step 25 : The Layer Style dialogue box comes up with Stroke checked since you have chosen it. Click on the Color. It is red by default in CS3 and earlier and black in CS4 and CS5. Click on it to change the stroke color.
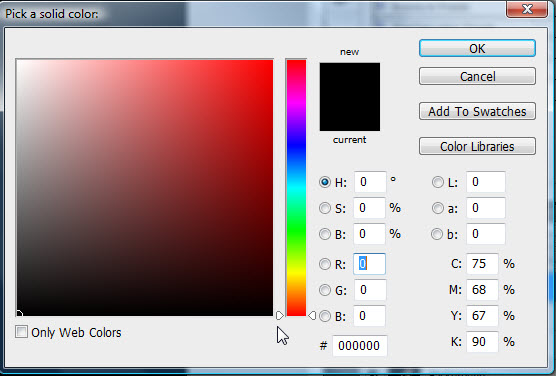
Step 26 : The Select Stroke Color dialogue box opens.
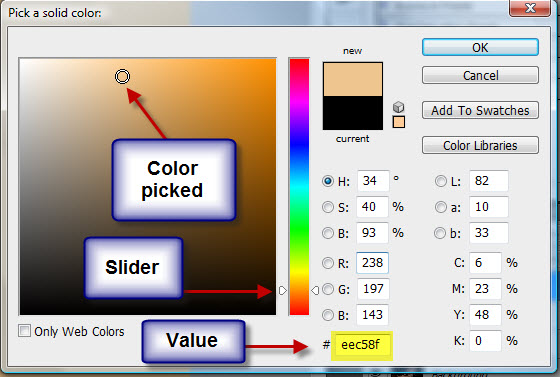
Step 27 : Click on a Red shade at the top as shown. (You may ofcourse pick any color). Click OK.
Step 28 : I am increasing the Size to 4 from 3. Do not click OK as yet.
.Step 29 : Click on Outer Glow.
Step 30 : I am increasing the Spread and Size by dragging the sliders.
Step 31 : Click off the eye icon on the Background Layer.
Step 32 : Now you can see the glow. Turn on the eye icon in the Background layer.
Step 33 : Click on the Layer thumbnail. So long we had been working on the Mask.
Step 34 : Click on the Foreground Color.
Step 35 : The Color Picker comes up again.
Step 36 : I am clicking on the red dress.
Step 37 : The color is automatically selected as soon as you click the red dress. Click OK.
Step 38 : Click on the Background Color.
Step 39 : I have clicked on a portion of skin. The color is automatically selected in the Color picker. Click OK in the Color Picker.
Step 40 : The Foreground and Background Colors have been set. (When later you need to set it to the default Black and White press x and then d on the keyboard). Now let us work with the changed Background and Foreground colors.
Step 41 : Click on Layer 1.
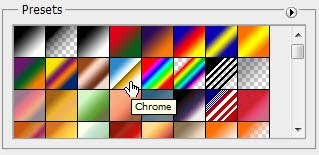
Step 42 : Click the Gradient Tool. Look in the top panel. The Gradient has already been set from the Background and Foreground colors chosen earlier.
Step 43 : Press SHIFT and drag straight up. You will be able to drag up in a straight line. I have not quite dragged to the top as you can see.
Step 44 : This is how the image looks after applying the Gradient.
Step 45 : Click on the Layer Mask on Layer 2.
Step 46 : Drag the Mask to the Trash can at the bottom of the Layers palette.
Step 47 : This dialogue box appears. Click apply.
This is how the Layer palette looks after deleting the Layer Mask.
Step 48 : Press CTRL+J. Layer 2 duplicates into Layer 2 copy.
Step 49 : Click the Rectangular Marquee Tool.
Step 50 : Drag across the entire image. Then press DELETE. Press CTRL+D to deselect. Nothing seems to have changed, but it has.
Step 51 : The image on Layer 2 copy has disappeared because it has been deleted. The Layer Style however remain as you can see below it. We will need the Layer Styles.
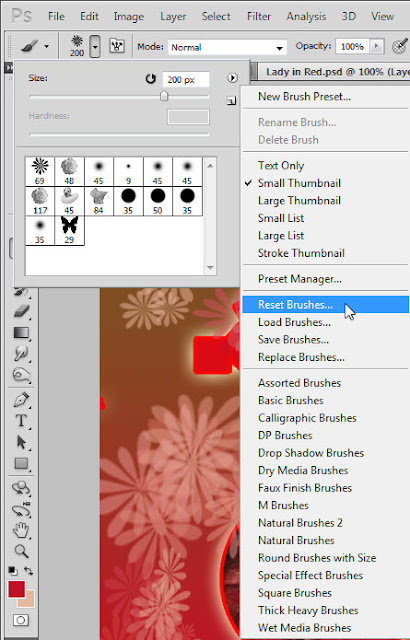
Step 52 : Press b on the keybord to select the Brush Tool. Click in the top panel. Click where the red arrow points.
Step 53 : When you click the arrow, it reveals the Brush sets available.
Step 54 : Click on Square Brushes. It is found in all versions of Photoshop.
Step 55 : This dialogue box appears. Click OK.
Step 56 : If you click in the top panel you can see the Square brushes.
Step 57 : I have clicked on Brush 22.
Step 58 : Click on the Brush icon on the right of Photoshop CS5. In other versions you will find a small box at the right of the top panel.
Step 59 : This dialogue box opens.
Step 60 : Click on Shape Dynamics, then on Scattering. You can see the Brush change at the bottom.
Step 61 : Now click on Brush Tip Shape. A slider called Spacing will be visible at the bottom. Drag the slider to the right.
Step 62 : I have dragged the slider to 59 %. You can see how the tip shape at the bottom has changed.
Step 63 : To make the Brush dialogue box go away click where the arrow points.
Step 64 : I have used the Brush at random in the right of the image. To make the brush larger press ] (right arrow key) to make it small, press [ (left arrow key).
Step 65 : I have made the Brush slightly larger and dragged it on the right.
Some of the brush strokes have come over the image. Do not worry about it.
Step 66 : Click on the New Layer icon and a new Layer 3 forms.
Step 67 : Bring up the Brushes by clicking in the top panel. Let us choose another brush set. I have clicked on Special Effect Brushes. You will find it in Photoshop.
Step 68 : Again this dialogue box comes up. Click OK.
Step 69 : The Brush set has changed.
Step 70 : I have clicked on one of the Brushes.
Step 71 : Again I have clicked at random with the new Brush. This is the effect I have got.
You should always reset your brushes, or else the last used becomes the default one.
Step 72 : Click on the Type Tool.
Step 73 : Click at the top to bring up the fonts available in your version of Photoshop. You can set the size at right by entering a value in the box.
Step 74 : I have typed in my Text.
Step 75 : Click the Tick mark in the top panel to apply the transformation.
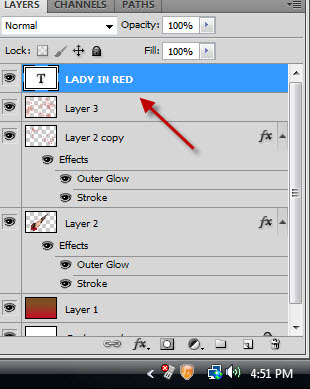
This is how the Layer panel looks like. The Text is always on its own layer.
Step 76 : Right click the Text layer and click on Rasterize Type.
Step 77 : CTRL+CLICK the layer thumbnail on the Text Layer.
Step 78 : The Text is immediately selected by marching ants.
Step 79 : The Text disappears. Only the marching ants remain.
Step 80 : Click the Gradient Tool. The Foreground and Background Colors had been set earlier. The Gradient can be seen at the top.
Step 81. Drag diagonally.
Step 82 : The Text is visible. Press CTRL+D to deselect.
Step 83 : Click on the Add Layer Style button and click on Bevel and Emboss.
Step 84 : When the Bevel and emboss dialogue box appears, change the Technique to Chisel hard.
Step 85 : Change the Gloss Counter to Ring Double. Check Anti-alias.
Step 86 : Drag the Depth and Size sliders suitably.
Step 87 : Click on the Drop Shadow.
Step 88 : Drag the Distance, Spread and Size sliders depending on the effect you want. Click OK.
This is how the image looks.
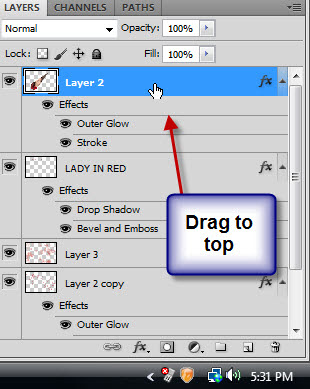
Step 89 : Click on Layer 2 which contains the droplet shape.
Step 90 : Drag to the top.
This is how the image looks.
Step 91 : Click on Layer 3. This is the layer just below the Text layer.
Step 92 : Press CTRL+SHIFT+ALT+E. A new layer 4 forms.
Step 93 : Press CTRL+J. Layer 4 duplicates into Layer 4 copy.
Step 94 : Press CTRL+SHIFT+U to desaturate the layer.
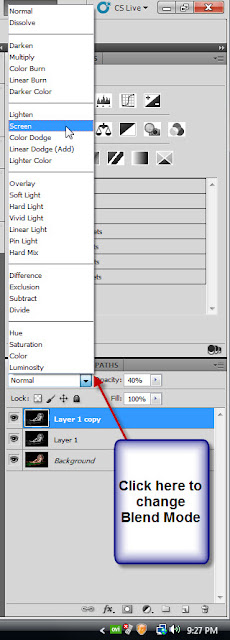
Step 95 : Change the Blend Mode to Screen.
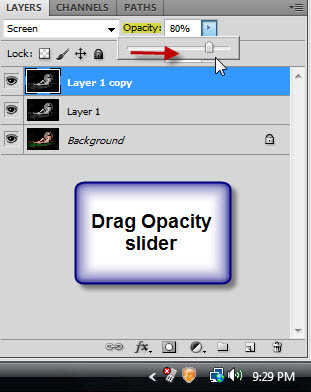
Step 96 : Decrease the Opacity of the layer to 80%.
This is the finished Droplet shape.
Other photoshop tutorials are
here


