Hue/Saturation is something that you must have used in any version of Photoshop. You can create a special effect by using a New Fill and adjustment Layer to keep part of the image in mono color while revealing the actual colors in the remaining portion. And it can be done pretty quickly.

This is effect I will be aiming at.

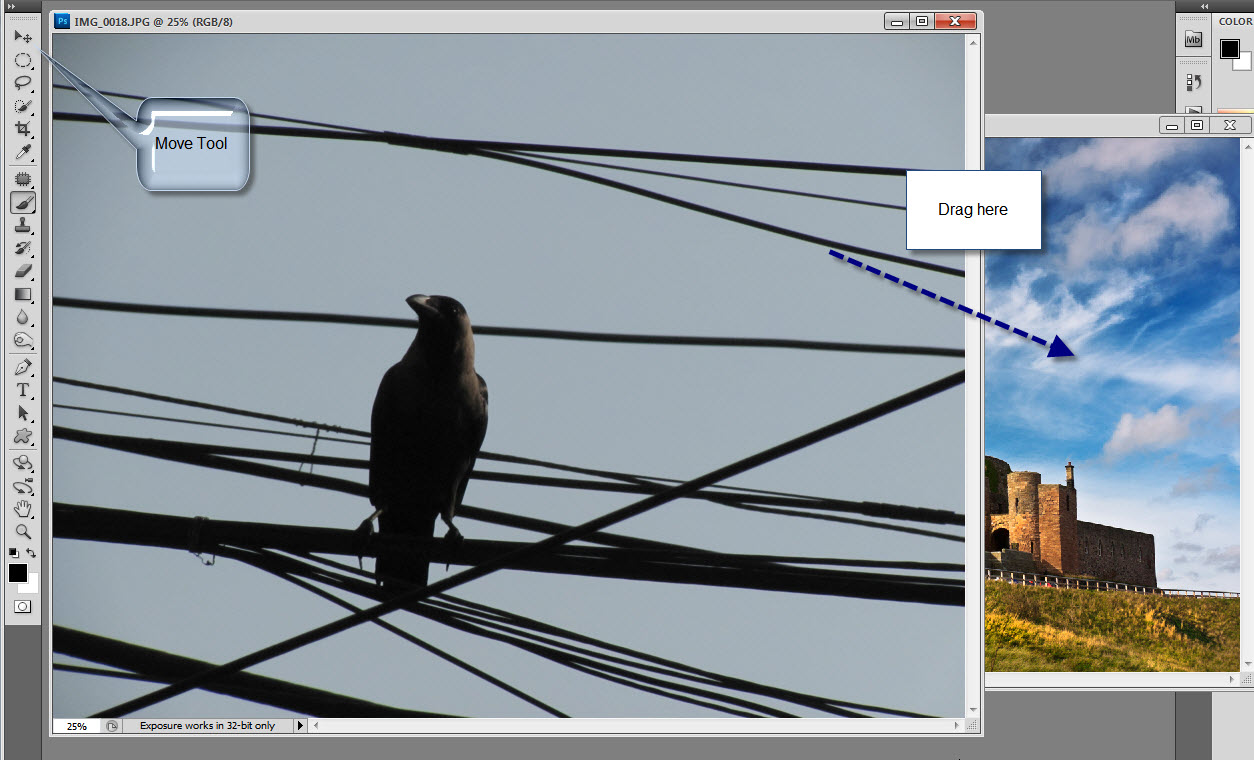
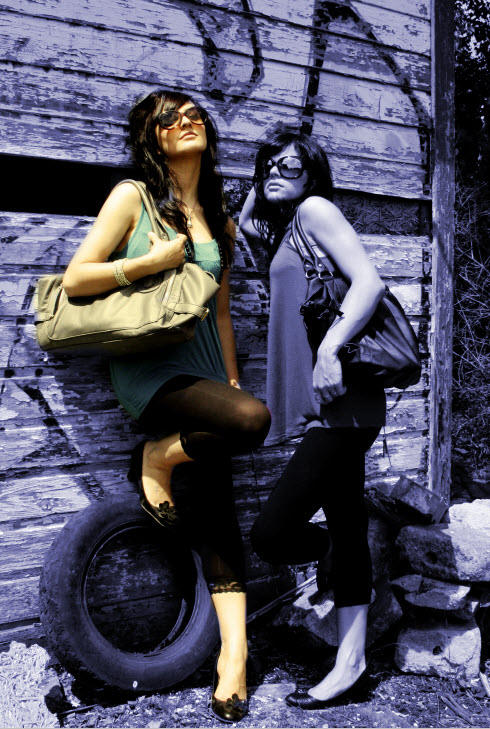
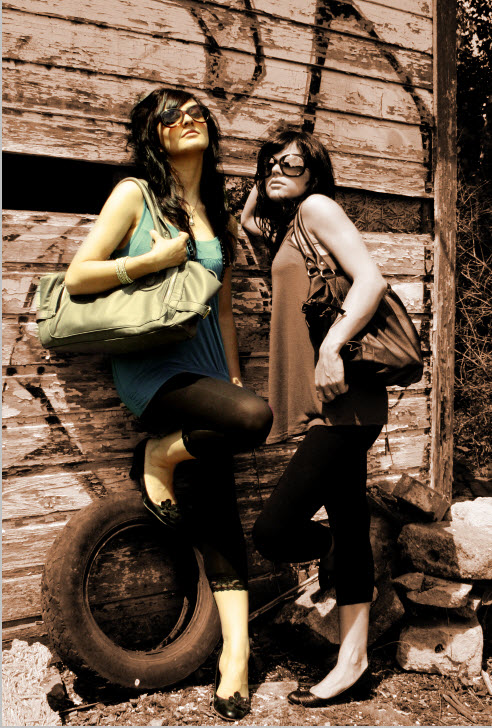
Step 1 : I have opened this free stock image. You will find it here
It belongs to DenalisaInsane

There is only the Background Layer in Photohshop.

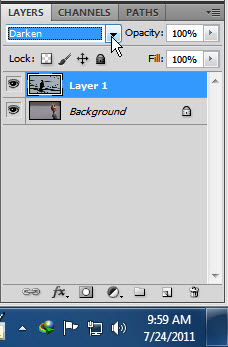
Step 2 : Click the New Fill or Adjustment Layer button.
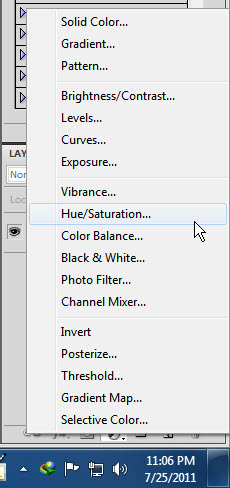
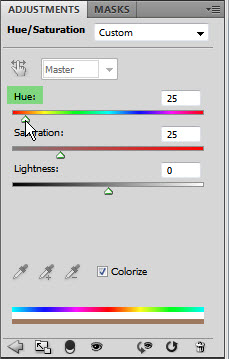
Step 3 : Click on Hue/Saturation from the pop up menu.

The Hue/Saturation dialogue opens.
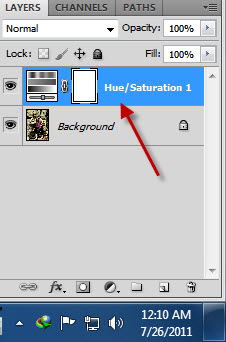 The Hue/Saturation Adjustment Layer has been added.

Step 4 : Check the Colorize. This is the default setting.

This is how the image looks.

Step 5 : As you drag the Hue slider to the right, the color keeps changing.

The image looks like this with the settings given above. The Color depends on where you move the Hue slider.
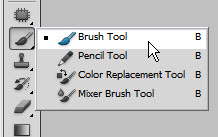
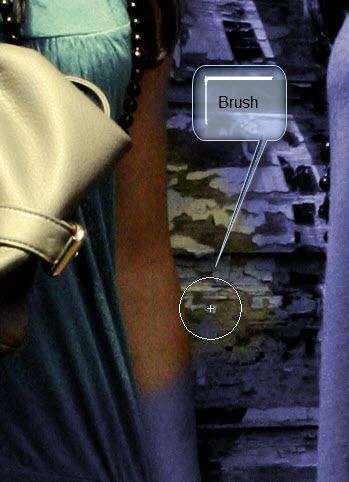
Step 6 : Click the Brush Tool.
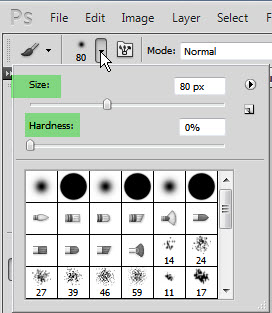
Step 7 : Click in the top panel to open the basic Brush controls. Set the Hardness to 0%. Drag the Size slider to make the Brush bigger or smaller. You can also use a shortcut. Press [ (left square bracket) to make the Brush small and ] (right square bracket) to make it large. The shortcut saves time.
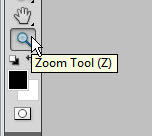
Step 8 : Click the Zoom Tool.
Step 9 : The sign with the plus sign is for zooming in and minus for zooming out.

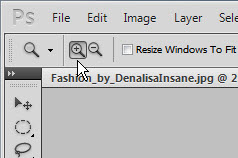
Step10 : Zoom into the image.
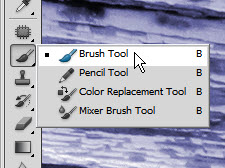
Step 11 : Click the Brush Tool again.

Step 12 : Make sure that the Foreground Color is Black and the Background White. If it is not, press x and then d on the keyboard to restore the default.

.Step 13 : begin painting with the Brush Tool. The color returns.

Step 14 : Keep painting with the Brush.
What happens if you accidentally paint in the wrong place. Nothing to worry.

Change the Foreground Color to White by pressing x on the keyboard or click the tiny two headed arrow.

Paint out the mistake.

Press x on the keyboard again to switch the Foreground Color to Black and continue painting.
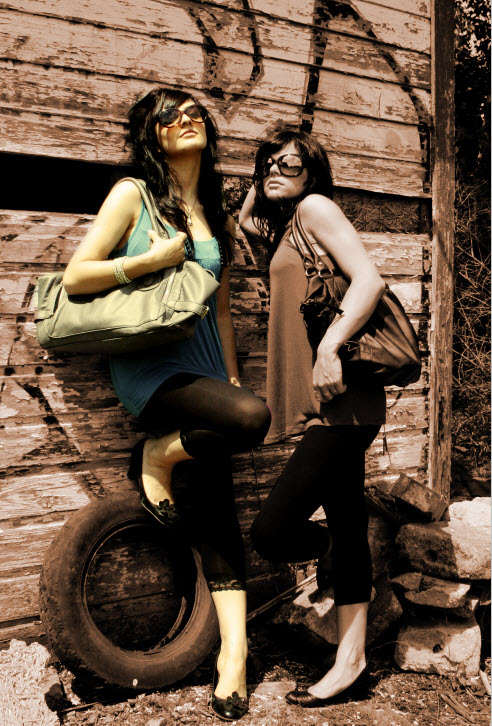
Step 15 : I have painted away on the girl at the left while leaving the other as it is.
Step 16 : You can further change the Background color by dragging the Hue slider either to the left or right.
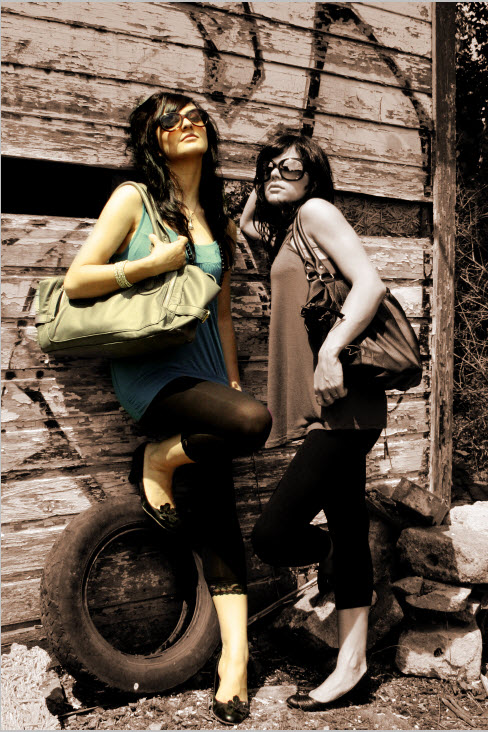
The image looks like this.

Step 17 : You can lighten or deepen the monochromatic color by dragging the Saturation slider to the left or right.
The image looks like this after tweaking the Saturation slider.

Step 18 : You can further tweak the monochrome by dragging the Lightness slider to the left to darken and to the right to lighten
The finished image looks like this.
Other photoshop tutorials are here