


Creating realistic fire in photoshop is possible. The fire created can then be used on any image.

Step 1 Open a New White document.
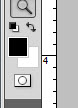
Step 2 : The Foreground/Background should be set to the default Black/White.

Step 3 : Press ALT+BACKSPACE to fill with Foreground Color which is Black.

Step 4 : Go to Filter>Render Clouds.

The image looks like this.

Step 5 : Go to Filter>Render>Difference Clouds.
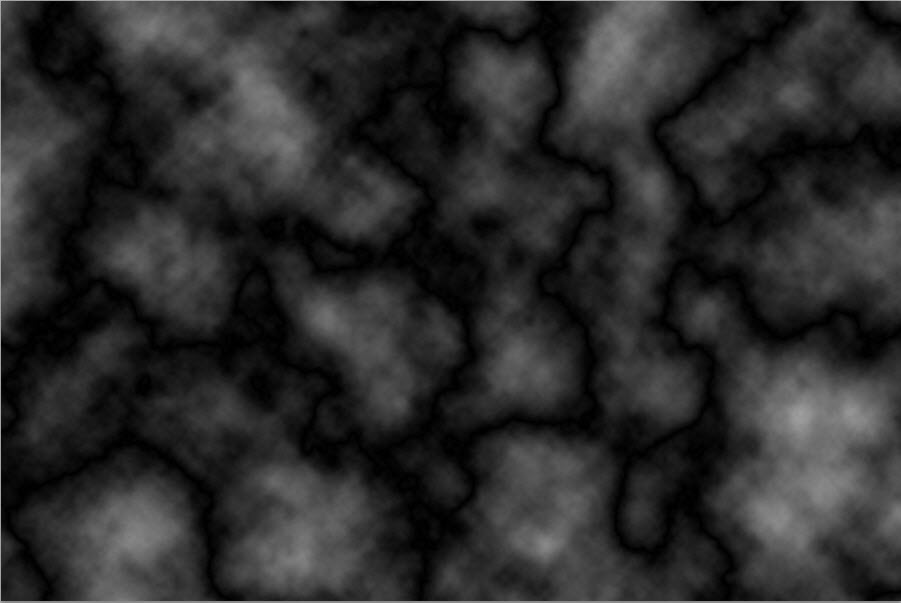
The image looks like this.

Step 6 : I have pressed CTRL+F 15 times to reapply the filter 15 times.
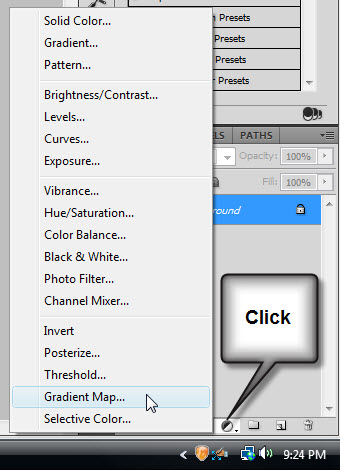
Step 7 : Click the New Adjustment or Fill Layer and click on Gradient Map.
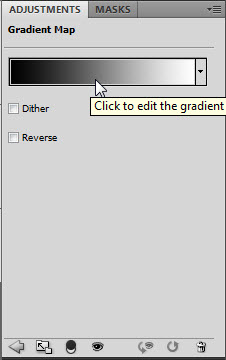
Step 8 : Click the Gradient Editor.

Step 9 : Click on the Orange, Yellow, Orange Gradient.

The image looks like this.
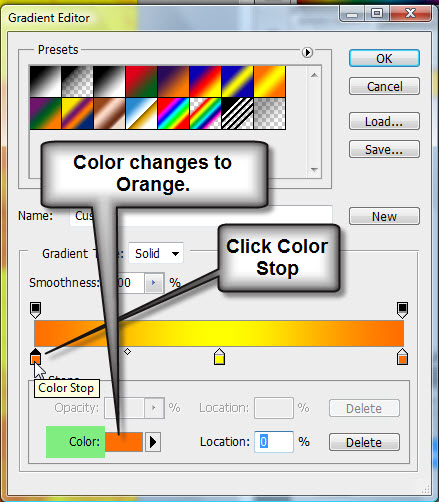
Step 10 : Clicking on the Orange Color Stop at the left makes the Color changes to Orange.
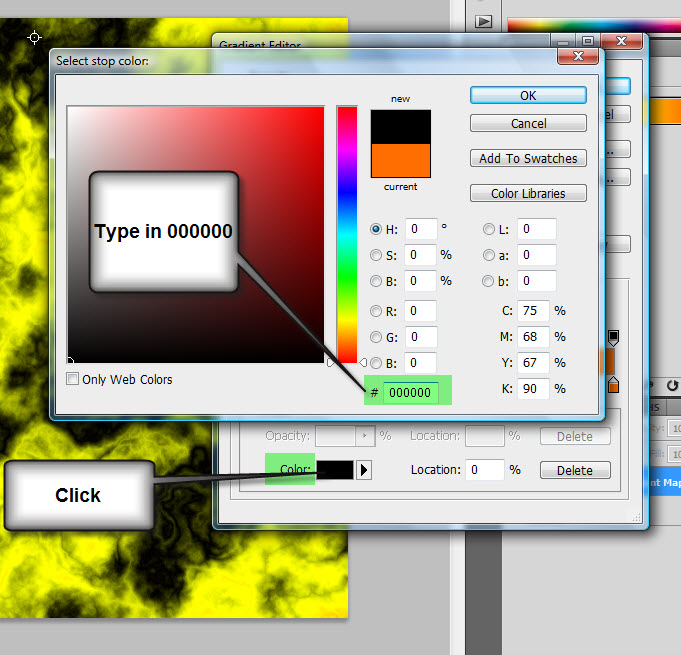
Step 11 : Click the Color. It brings up the Stop Color. Type 000000 at the bottom. Click OK in the Stop Color.
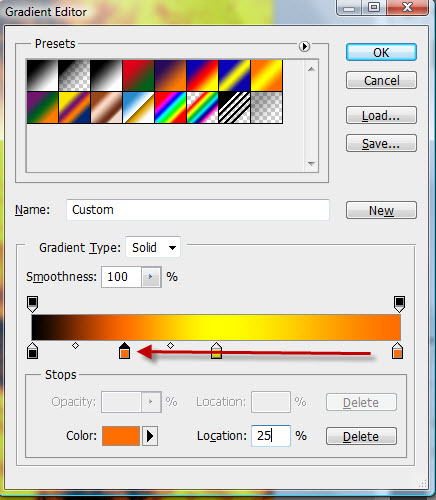 Step 12 : Press ALT and drag the Orange Stop at the right. Put 25% in the Location. Click OK in Stop Color.
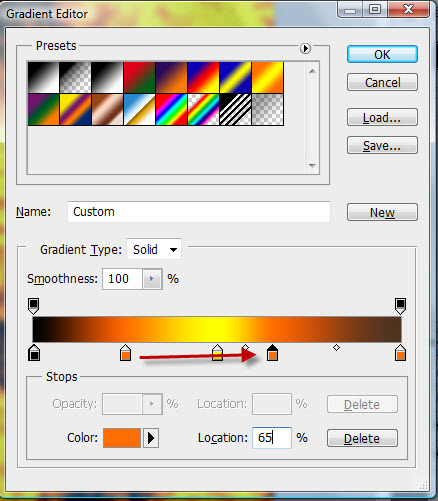 Step 13 : Press ALT and drag the Orange stop at the left to the right. Put 65% in the Location.
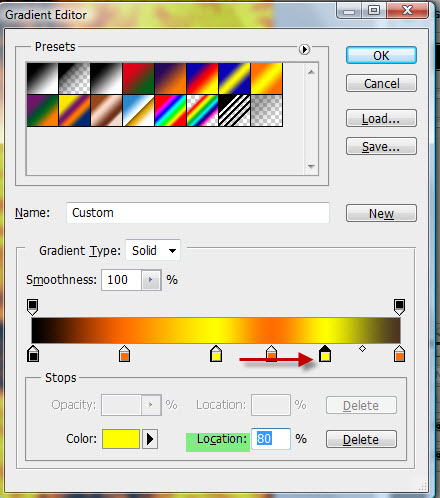 Step 14 : Press ALT and drag the Yellow Stop to the right. Set the Location at 80. Click OK in the Gradient Editor.
 The completed fire.
 Step 15 : Go to Layer>Merge Down.
 Step 16 : I have opened this free stock image.
 Step 17 : Click the Quick Selection Tool.
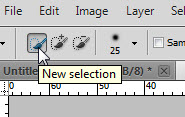 Step 18 : The New Selection should be selected in the top panel.
 Step 19 : Zoom into the image.
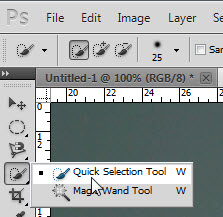 Step 20 : Again click the Quick Selection Tool.
 The second icon adds to the selection.
 The third icon is to substract from the selection.
 At the top you can set the selection controls. You can increase or decrease the size.
You can also set the Hardness.
 Step 21 : Begin making the selection by drawing with the Quick Selection Tool.
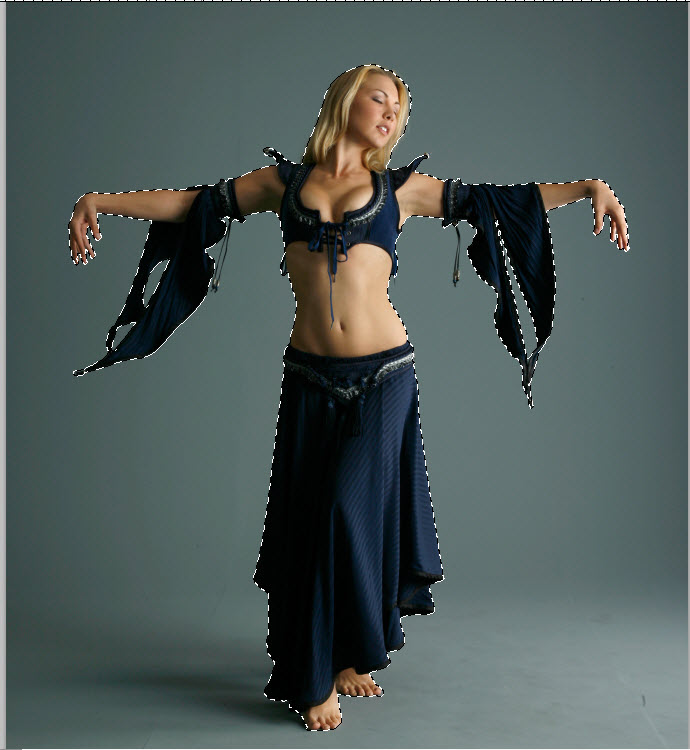 I have made the selection. You will have to switch between add to selection and subtract from the selection. To increase the size of the selection, it works like a brush. Press [ (left bracket) to decrease the size and press ] (right bracket) to increase the size of the Brush.
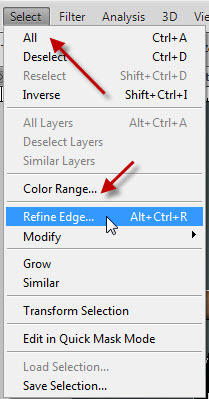 Step 22 : Go to Select>Refine Edge.
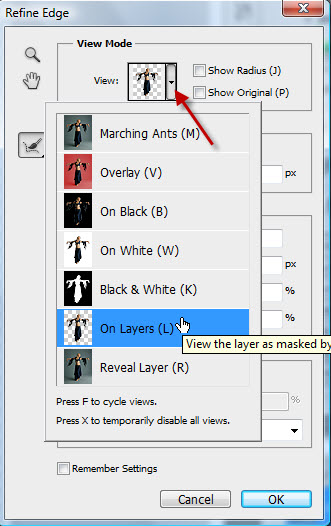 Step 23 : In the View change it to On Layer.
 Step 24 : I have set Smooth, Feather and Contrast at 2 each. Click OK.
 Step 25 : The selection has been refined.
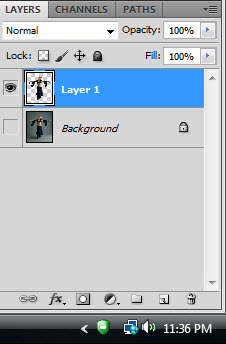 Step 26 : Press CTRL+J. The selection is copied and pasted into Layer1. Switch off the eye icon in Background Layer.
 Step 27 : Drag the dancer's image to the Fire Texture.
 Step 28 : Press CTRL+T. A selection forms. Press SHIFT+ALT to resize the image proportionately. Press ENTER after resizing.
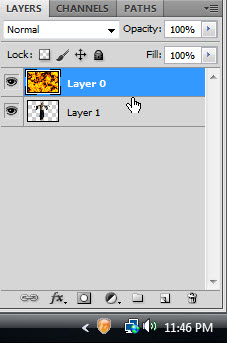 Step 29 : Drag Layer 0 over Layer 1.
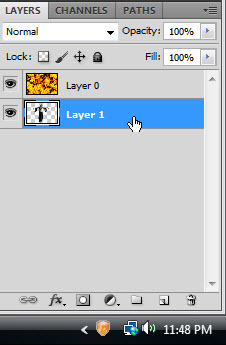 Step 30 : Click on Layer 1.
 Step 31 : Press CTRL and click the New Layer icon. A new Layer 2 forms below Layer 1.
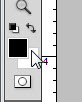 The Foreground Color should be set to Black.
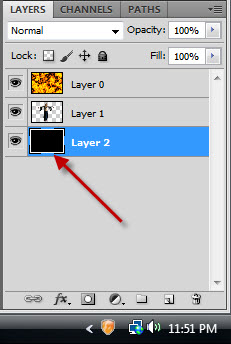 Step 32 : Press ALT+BACKSPACE to fill with Foreground color which is Black.
 Step 33 : Click on Layer 0.
 Step 34 : Press ALT and click on the Layer Mask button. A Black Layer Mask forms next to the layer thumbnail on Layer 0.
 The image looks like this.
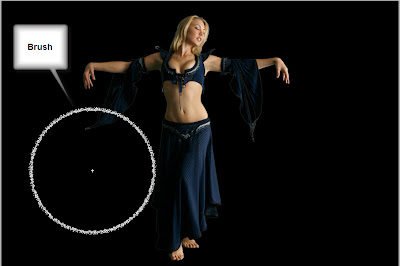 Step 35 : Press b on the keyboard to bring up the Brush Tool. To make the Brush Large press ] (right bracket). To make it small press [ (left bracket. To make the Brush hard press SHIFT+] (right bracket). To make the Brush soft press SHIFT+[ (left bracket). We will will using a soft brush.
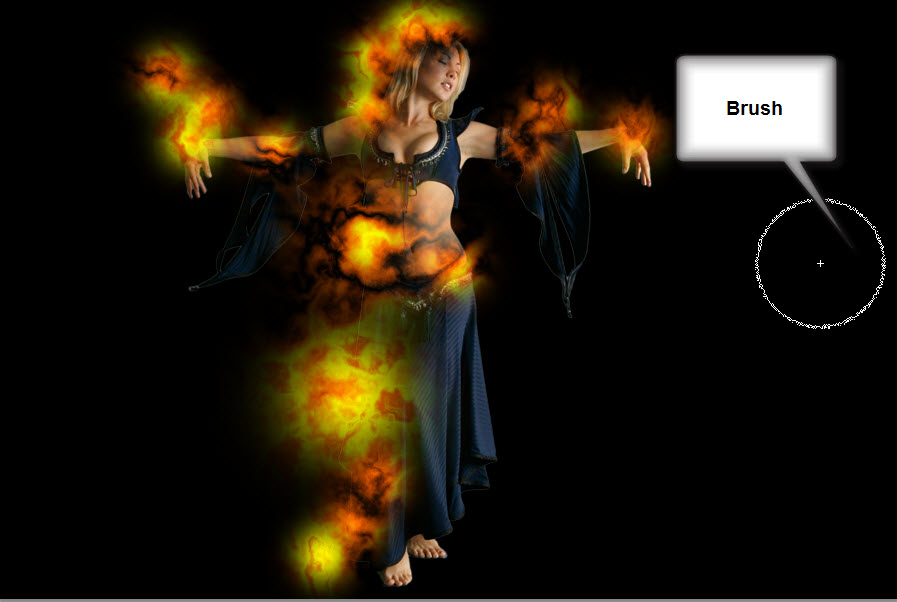 Step 36 : With the Brush set to a large size, click om the image and around it.
 Step 37 : Click some more on the Black Background.
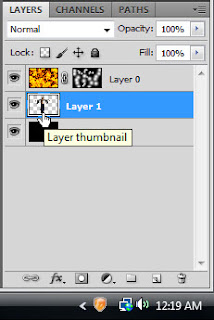 Step 38 : Click on the Layer 1 thumbnail.
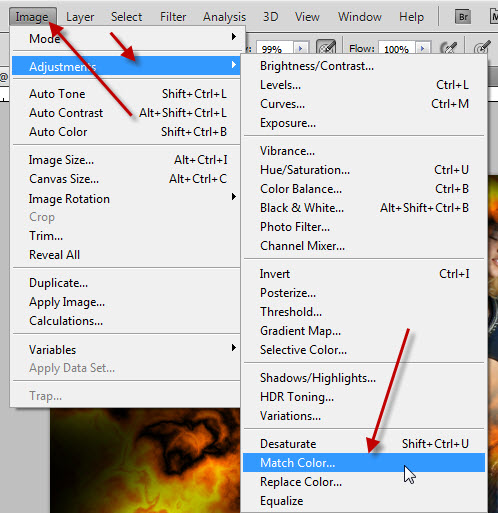 Step 39 : Go to Image> Adjustments>Match Color.
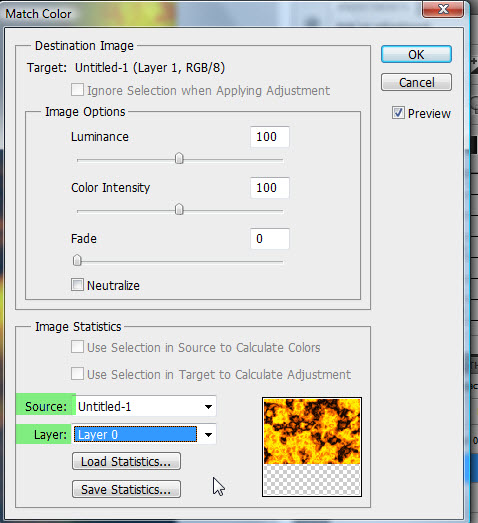 Step 40 Change the Source to Untitled 1 and the Layer to Layer0.
 The image looks like this.
 Step 41 : Check Neutralize. Drag the Fade slider to 35. Click OK.
 The completed image.
Other Photoshop tutorials are here


You can also set the Hardness.


Other Photoshop tutorials are here


