We all know what a Layer Mask does, it hides or reveals. A White Layer Mask reveals all and a Black Layer Mask hides all. Sometimes when you mask out a portion of an image you can get jagged edges showing when you zoom into the image. This can be got rid off so that do different images can be used one on top of another without it being apparent that there are two images or more.
Read on.

I will be using this rust texture as the Background.

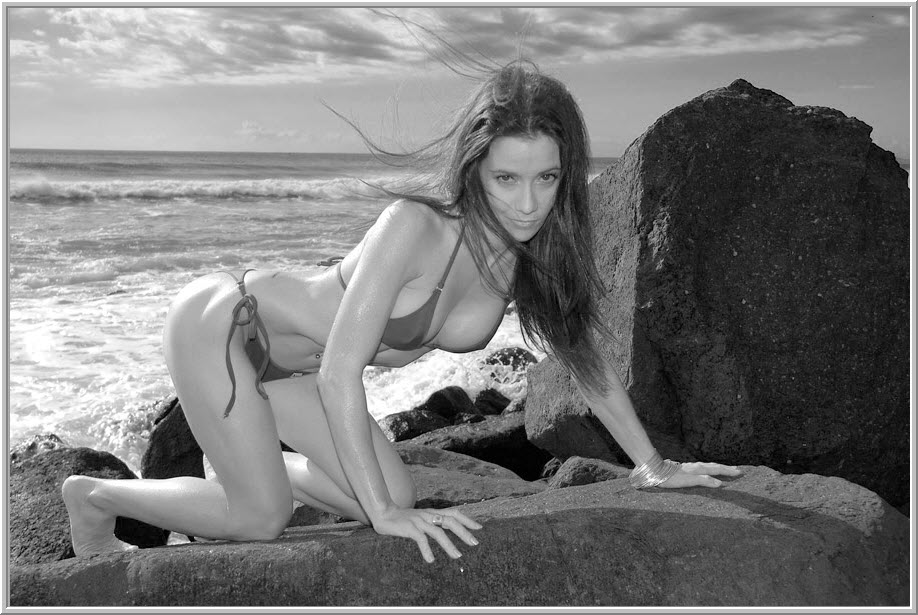
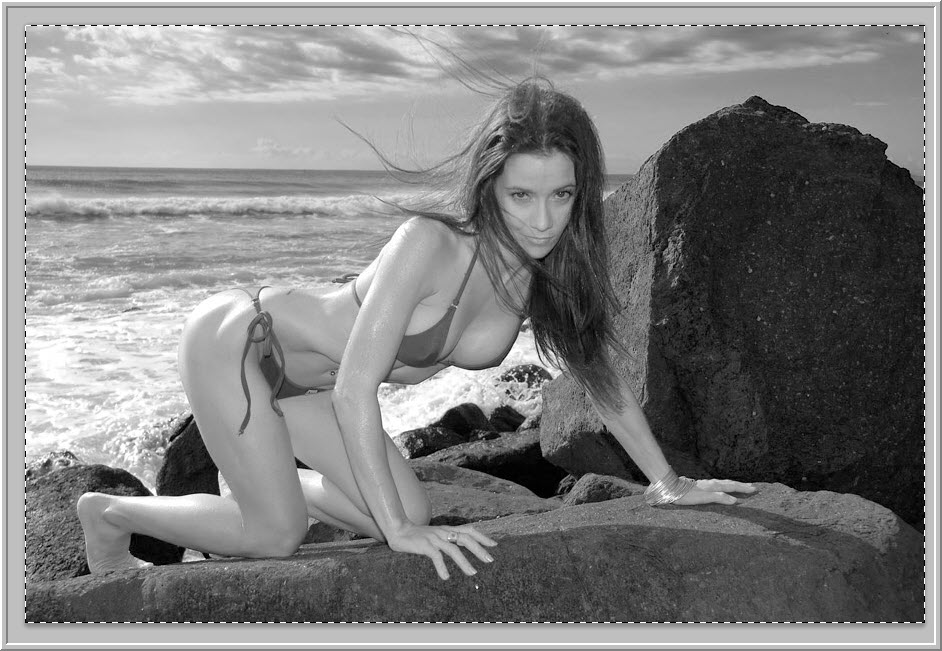
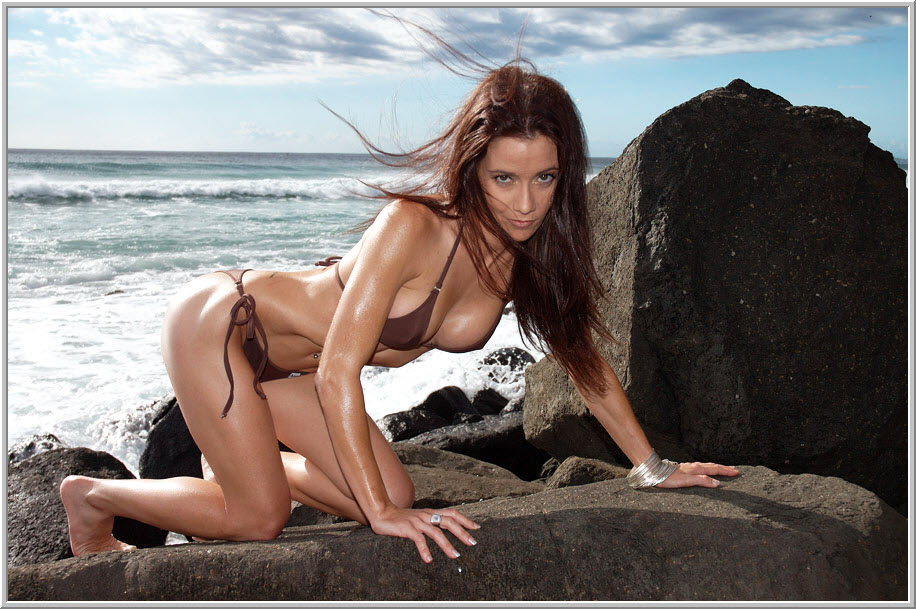
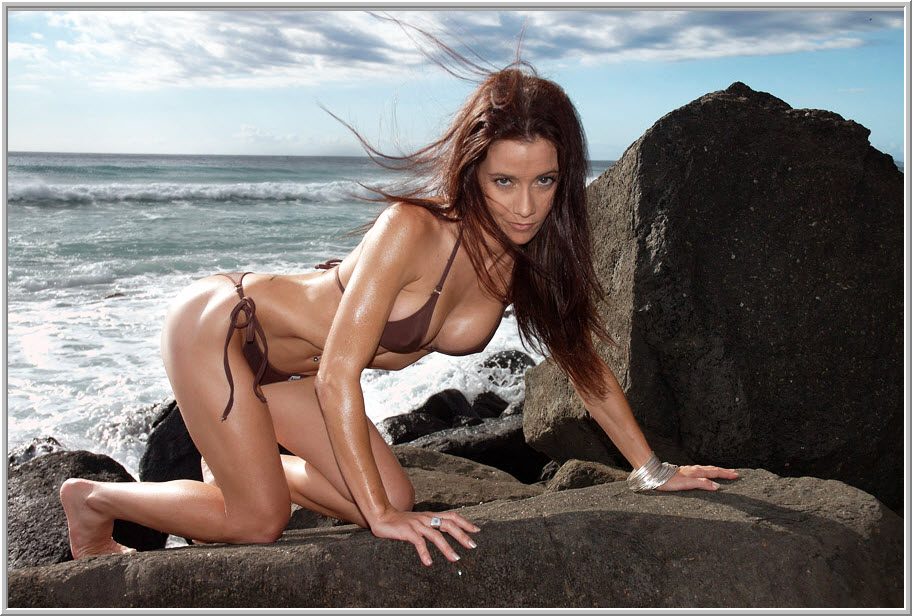
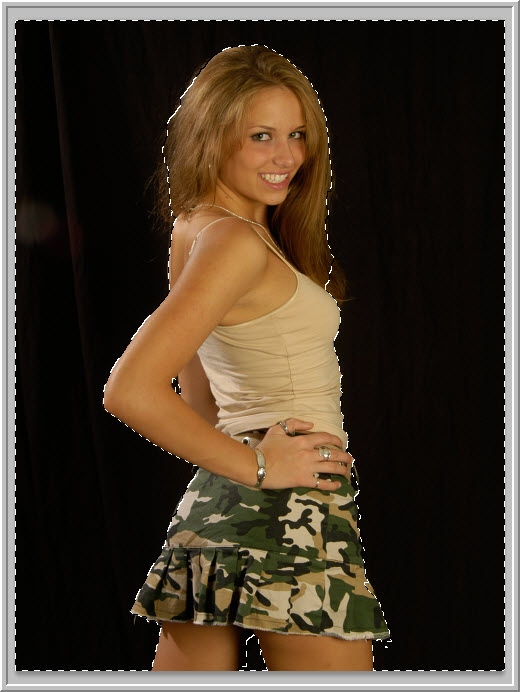
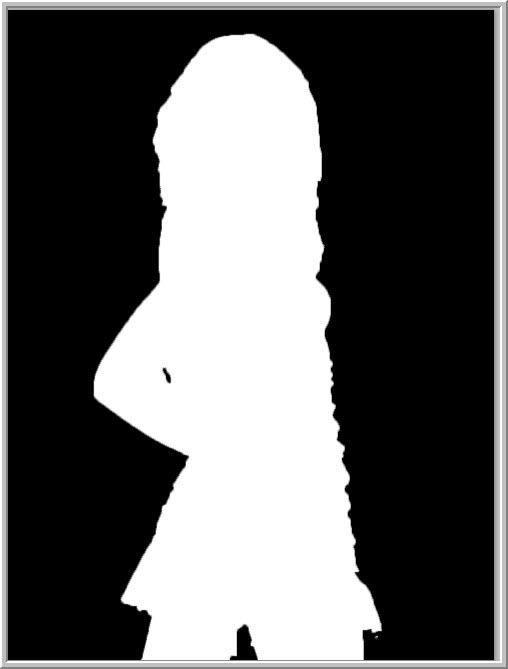
I will be using this image in the foreground or in other words I will replace the Black background with the rust texture.
You will find plenty of free Textures and images for download free at http://www.deviantart.com/

Step 1 : I am pressing CTRL+A (Select ALL) and CTRL+C (copy).

Step 2 : I am going over to the Rust texture and pressing CTRL+V (Paste).

The image of the model (on Layer 1) has been pasted on the Rust texture (Background layer).

Step 3 : The image of the model is larger than the Rust Texture. It has to be resized. Press CTRL+T. A selection (Free Transform) appears.

Step 4 : Press SHIFT+ALT and drag the top left corner handle and drag down and up to resize.
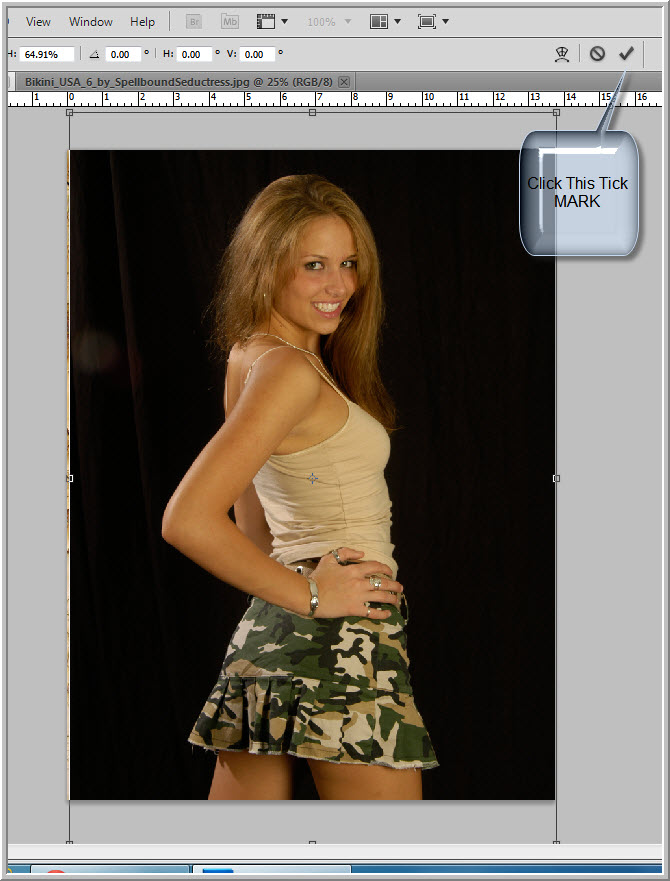
Step 5 : The model's image has been resized. Click the Tick Mark in the top panel to accept the transformation.
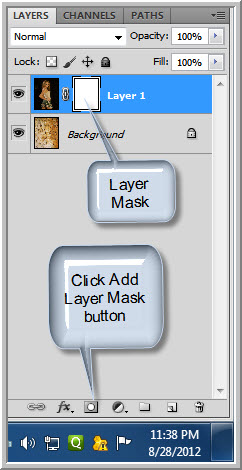
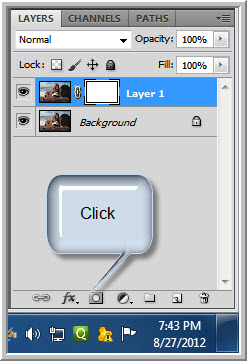
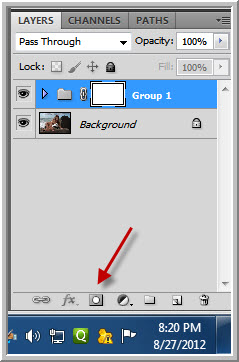
Step 6 : Click the Add Layer Mask button and a Layer Mask forms next to the Layer thumbnail on Layer 1.

Step 7 : Click the Quick Selection Tool. (You will find a tutorial here on using the Quick Selection Tool in case you don't know how to use it).
Step 8 : Click on the Black Background to select it.

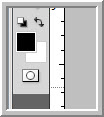
Step 9 : Ensure that the Foreground Color is set to the default Black and Background to White or press x then d on the keyboard to restore the default.
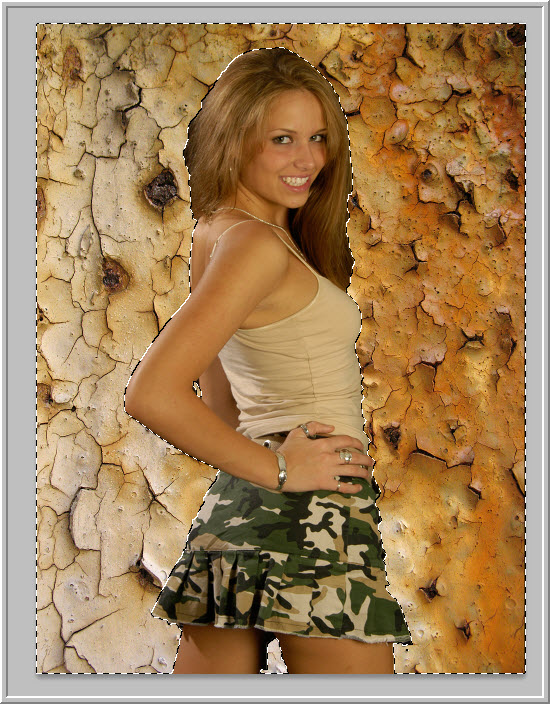
Step 10 : Press ALT+BACKSPACE to fill with the Foreground Color which is Black in this case. The Background Texture is revealed. Press CTRL+D to deselect.
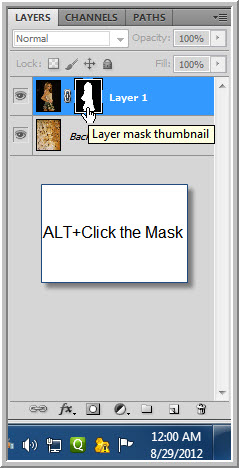
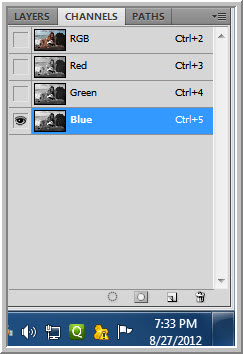
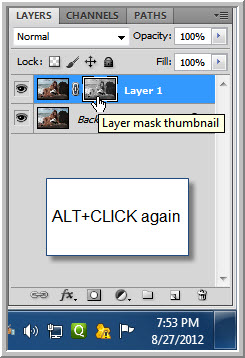
Step 11 : ALT+CLICK the Mask.
You can now see the Mask in Detail.

Step 12 : Zoom into the image to see the parts that needs to be fixed. Some details can be fixed here.
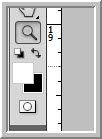
Step 13 : Press x on the keyboard to change the Foreground Color to White.
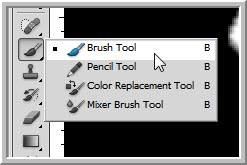
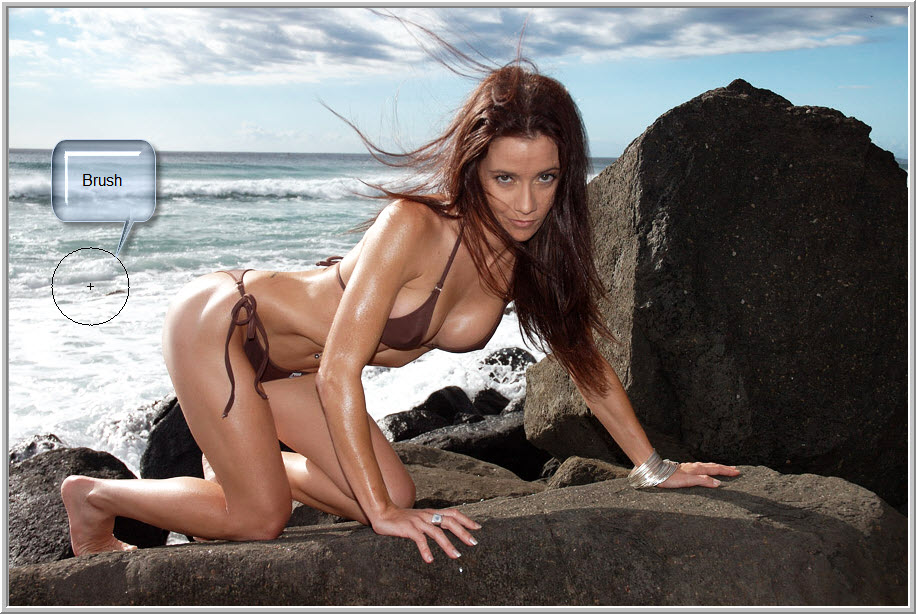
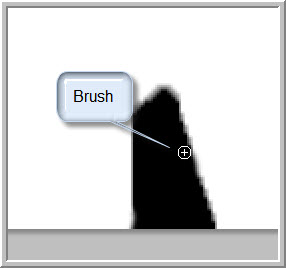
Step 14 : Click the Brush Tool or just press b on the keyboard. To make a Brush SOFT press SHIFT+[ (left square bracket). To make it hard press SHIFT+] (right square bracket). To make a brush large press ] and [ to make it small. We will be using a SOFT brush.
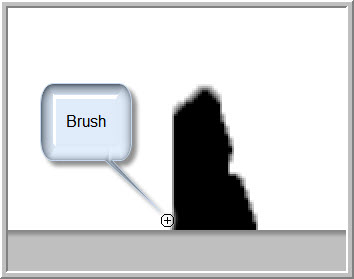
Step 15 : I am using the Brush to fix a small detail here.
Step 16 : Press x on the keyboard to change the Foreground Color to Black.
Step 17 : Click the Brush Tool to remove the spot of white.

If you zoom in the selection is still not perfect at the edges.
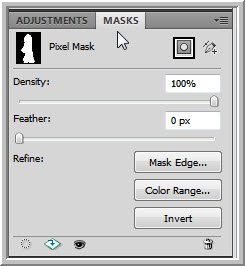
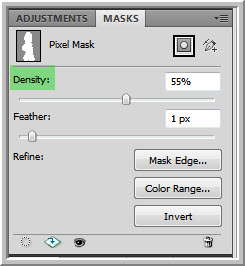
Step 18 : Click the Mask panel. You can see that there are two sliders -- Density and Feather.
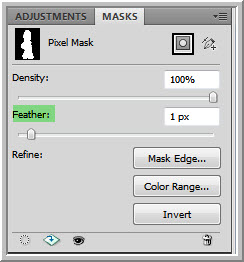 Step 19 : Drag the Feather slider by 1 pixel. It should do the job. But do not use more than 2 pixels.
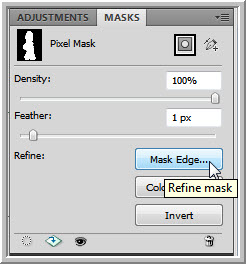 Step 20 : Click the Mask Edge.
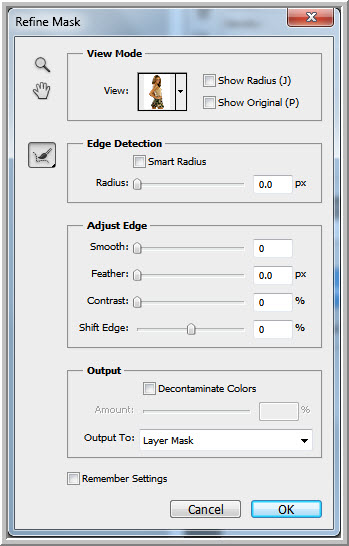 Step 21 : The Refine Edge dialogue opens.
 Step 22 : In the view I have chosen On White.
 The image is now previewed on white.
 Step 23 : Highlight the Smooth box and press SHIFT+UP ARROW to move the slider by increments of 10. Or just press the UP ARROW and move the slider by increments of 1. I have moved the Smooth slider to 10. It smooths out the rough edges.
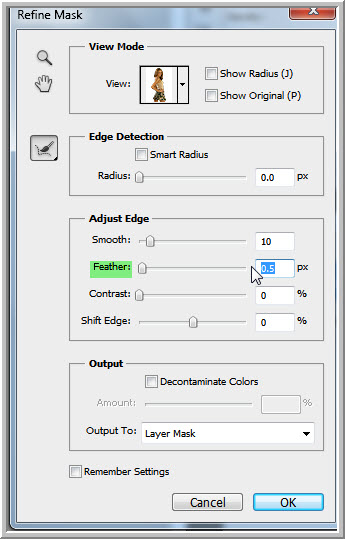 Step 24 : Highlight the Feather box and press just the UP ARROW to move the value up in increments of 0.1. I have left the slider at 0.5.
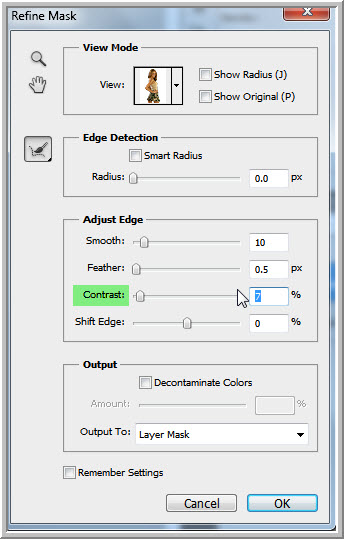 Step 25 : Similarly highlight the Contrast box, press the UP ARROW to move the slider in increments of 1. I have left the slider at 7.
 Step 26 : Lastly check the Smart Radius. Highlight the Radius box. Press the UP ARROW to move the slider in increments of 0.1. I have moved it to 0.5.