Making a Color Splash in Photoshop is easy. Color Splash is to keep some bits of an image in color and make the rest Black and White. I will show how to change the color too and also a better way of desaturation than CTRL+SHIFT+b. Doing it in CS6 has got easier, but it can be done in other versions of Photoshop too. There are some tools in Photoshop CS6 which are unavailable in earlier versions. That is the difference.
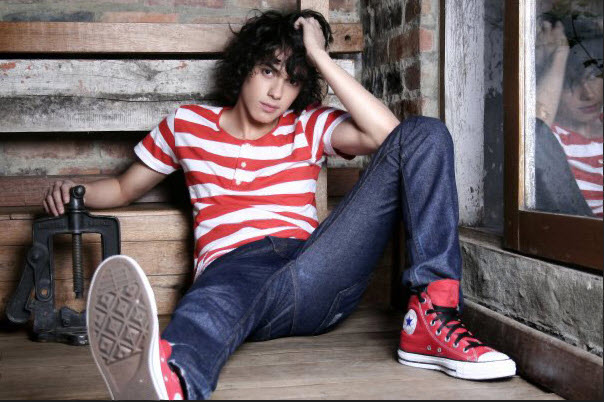
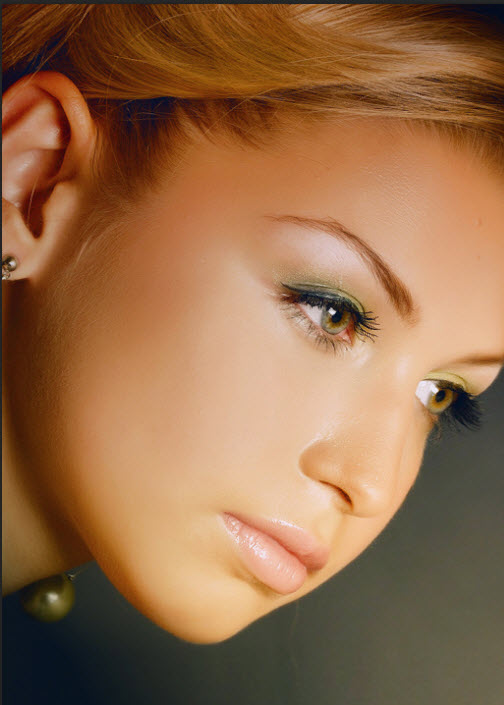
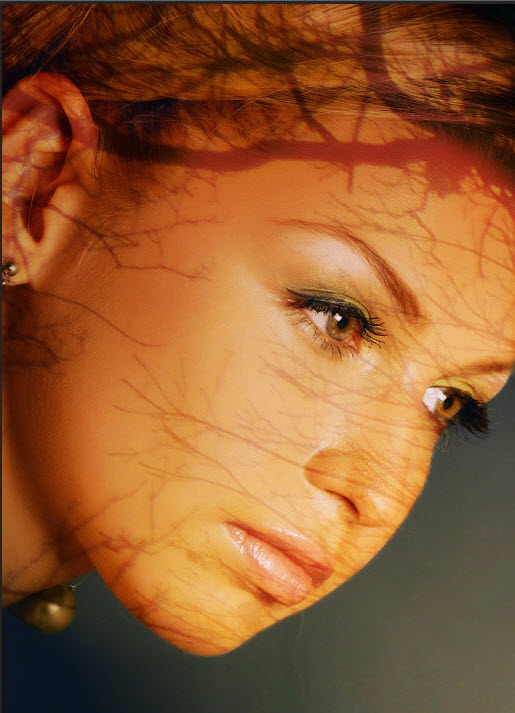
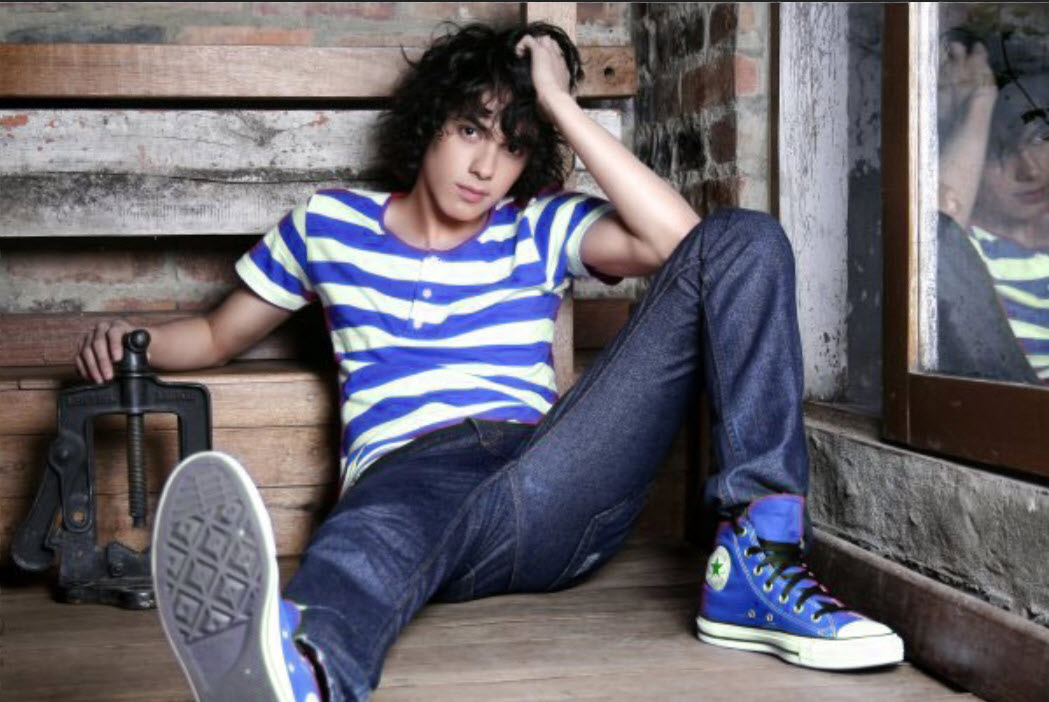
I will be using this stock image. You will find it here
It belongs to

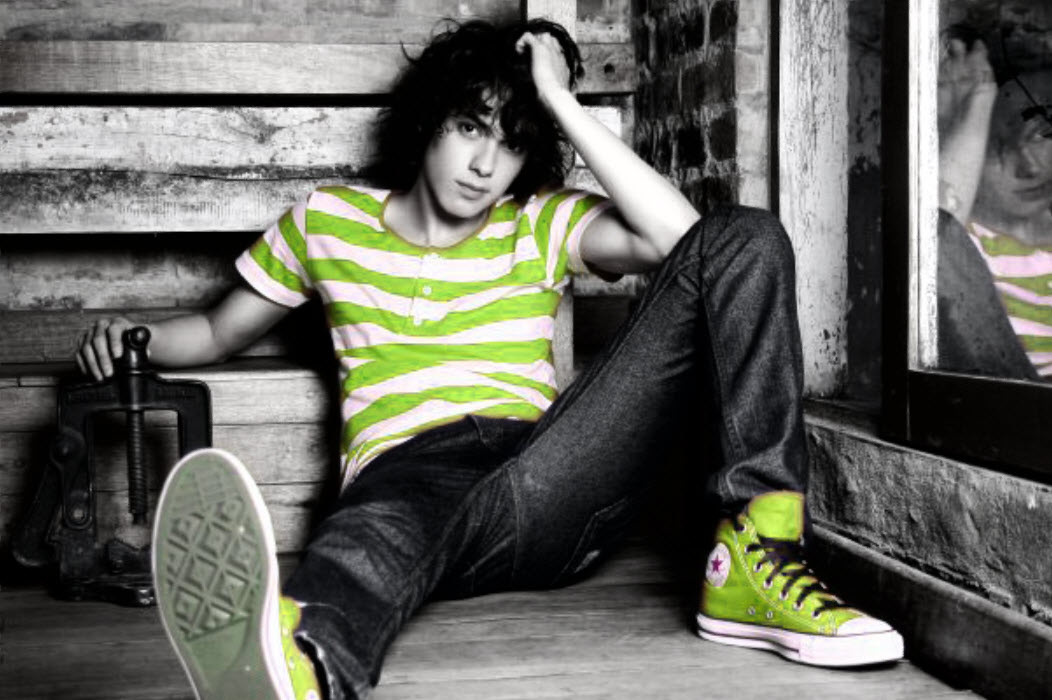
I wish to keep the Tshirt and shoes in color which I will change and desarurate the rest of the image.

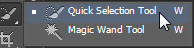
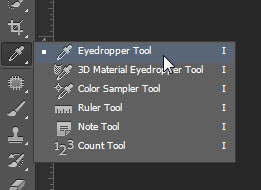
Step 1 : Click the Quick Selection Tool.
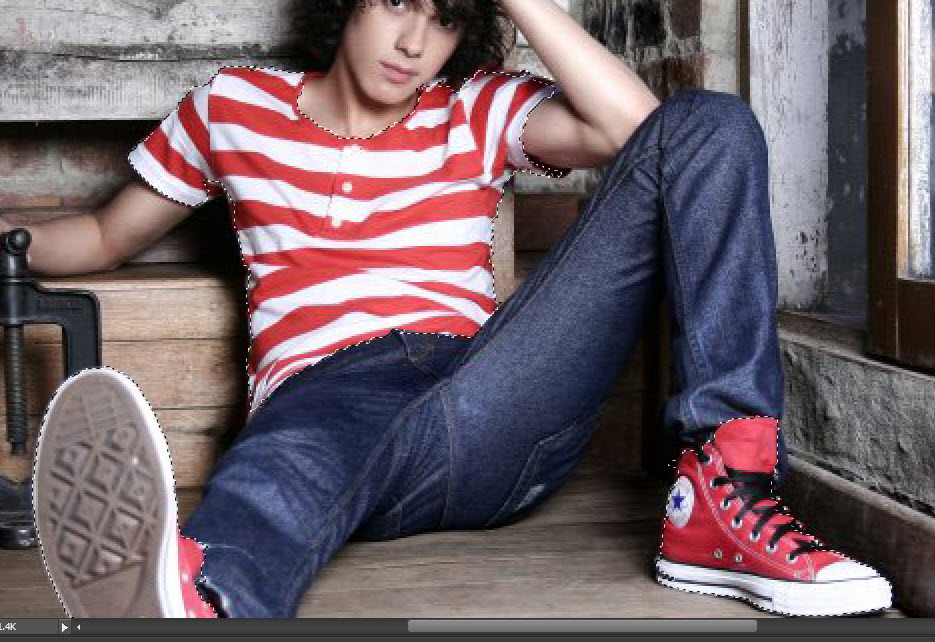
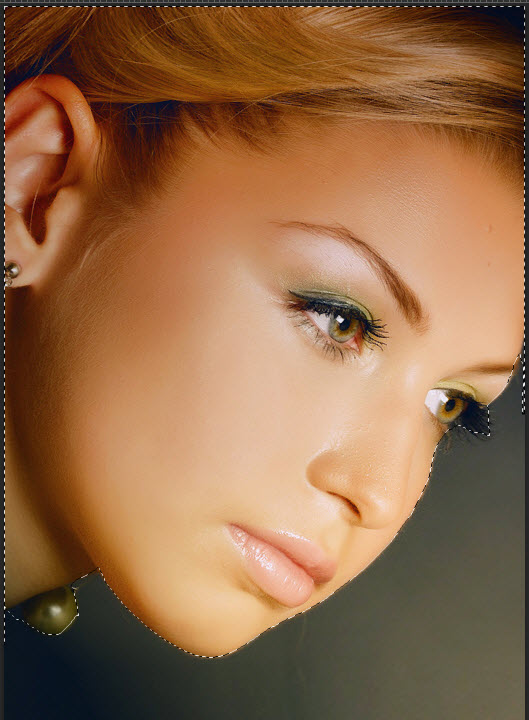
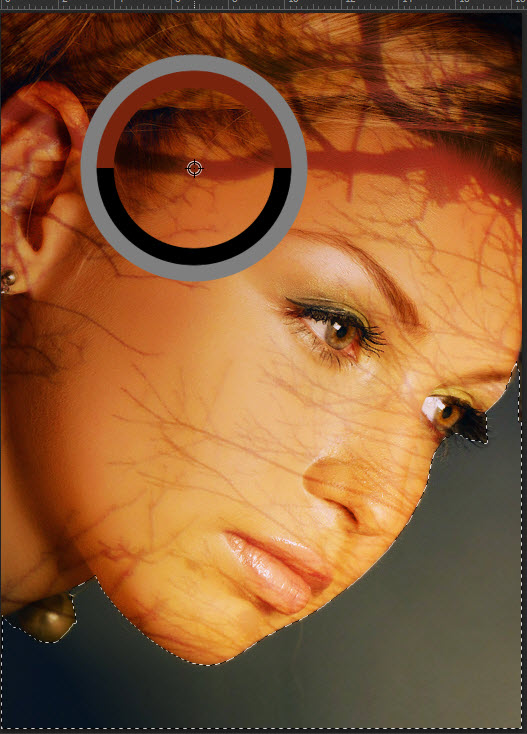
Step 2 : I have used the Quick Selection Tool to select the areas I wish to keep in color. If you do not know how to use the Quick Selection Tool there is a tutorial here
You can use other selection tools like the Pen Tool or Magnetic Lasso
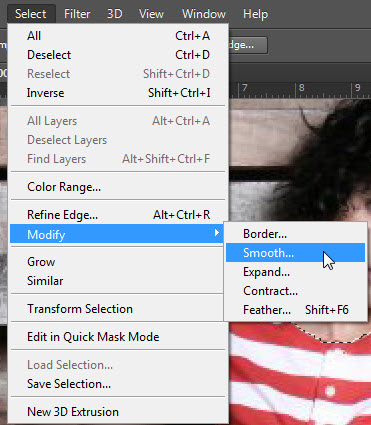
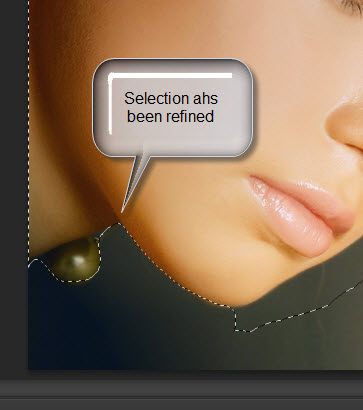
Step 3 :After making the selection go to Select>Modify>Smooth.
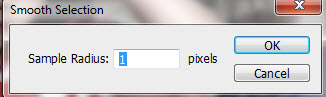
Step 4 : Set the Sample Radius at 1 pixel. Click OK.
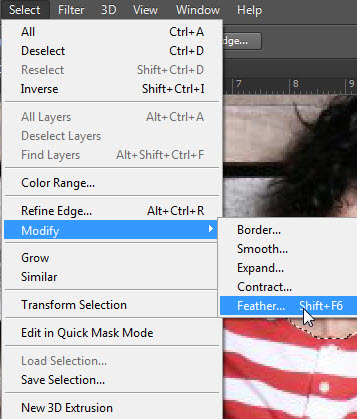
Step 5 : Go to Select>Modify>Feather.

Step 6 : Set a Feather Radius of 3 pixels and click OK.
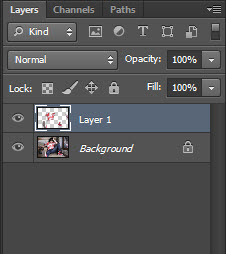
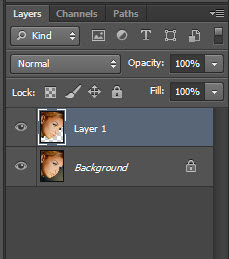
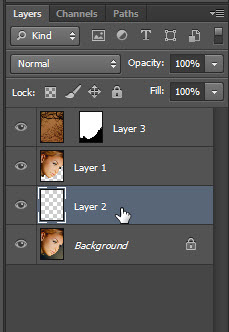
Step 7 : Press CTRL+J. The selection is copied and pasted on Layer1.
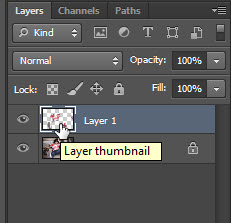
Step 8 : CTRL+CLICK the Layer thumbnail on Layer1.

The selection reappears.

Step 9 : Click on the Hue/Saturation Adjustment Layer from the bottom of the Layers panel.
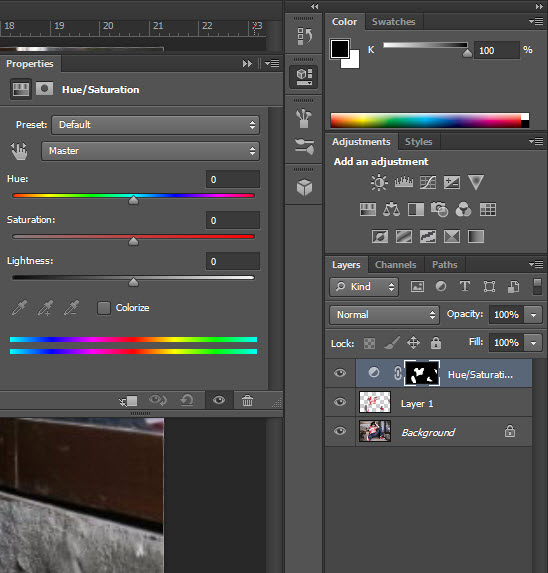
Step 10 : The Hue/Saturation adjustment layer forms over Layer1. The Hue/Saturation panel also opens.
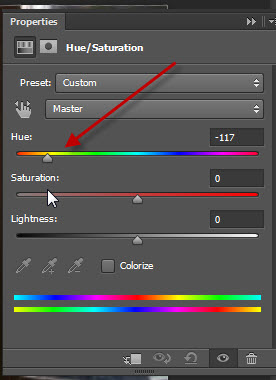
Step 11 : Moving the Hue slider to the left or the right changes the color of the selection.


You can change the color of the selected area by dragging the slider to the left or right as can be seen from these images.

Step 12 : You can use the Saturation slider to increase or lessen the color of the selected area. You can use the Lightness slider to to make the color brighter or duller. That takes care of changing the color of the selected areas.
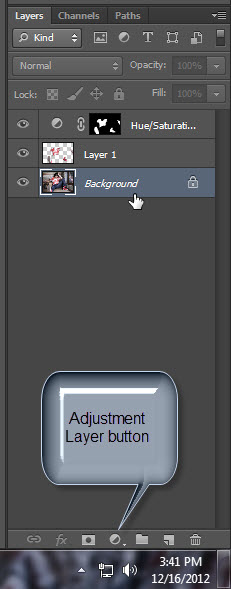
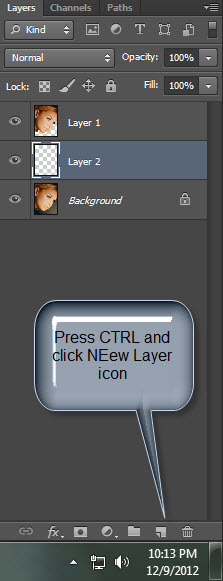
Step 13 : Click on the Background layer. Click on the Adjustment Layer button.
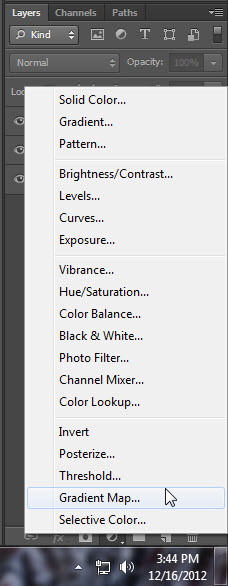
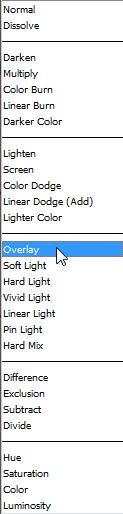
Step 14 : Click on the Gradient Map adjustment layer.
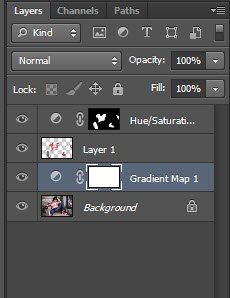
The Gradient Map 1 adjustment layer forms over the Background layer.

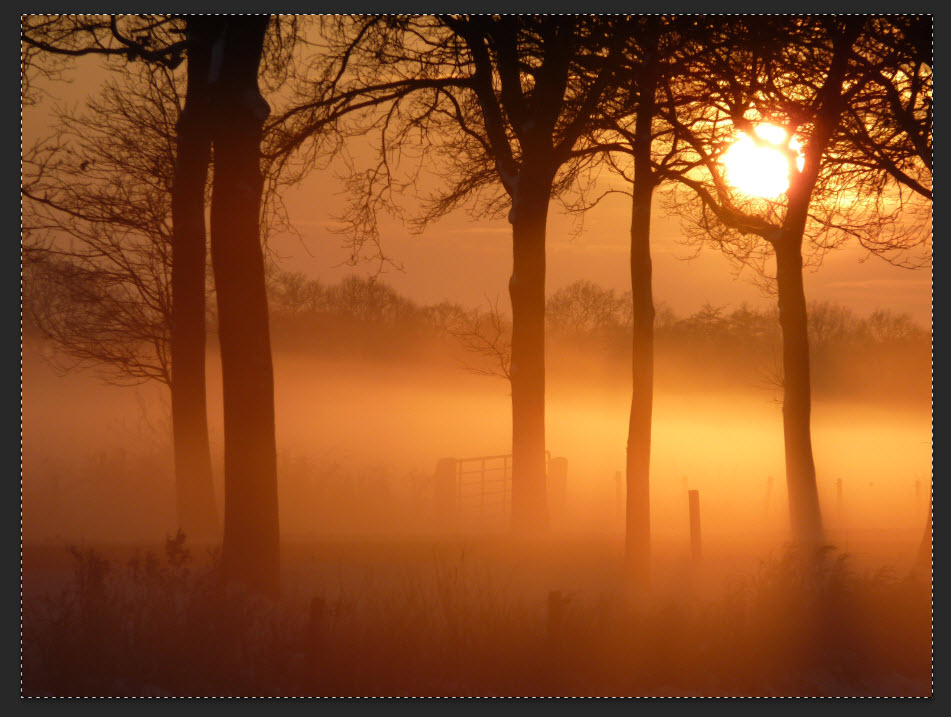
The image looks like this.

Step 15 : Click where shown to edit the Gradient. This is the default gradient which will be used.

Step 16 : The Gradient Editor comes up.
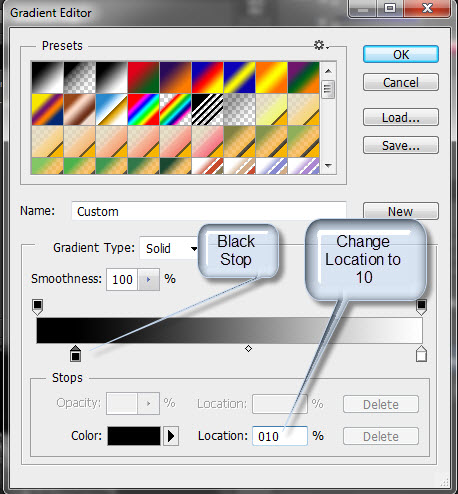
Step 17 : Click the Black stop. Enter 10 in Location.
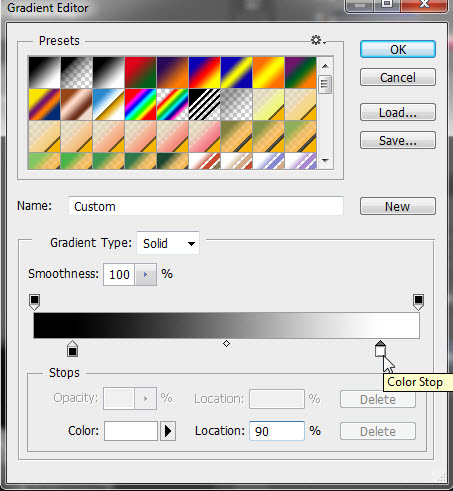
Step 18 : Click the White Stop and enter 90 in Location. Now click OK in the Gradient Editor.

Step 19 : Reduce the Opacity of the Layer to 90% if the desaturation seems too dark.
The completed image.
Other photoshop tutorials are here