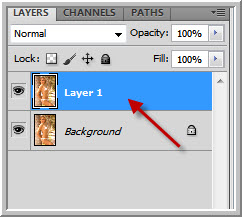
Step 4 : Press CTRL+J to duplicate Background copy into Background copy 2 layer.
Step 5 : Press CTRL+I to invert the layer.
After pressing CTRL+I the Background copy 2 layer is inverted. The image looks like this.
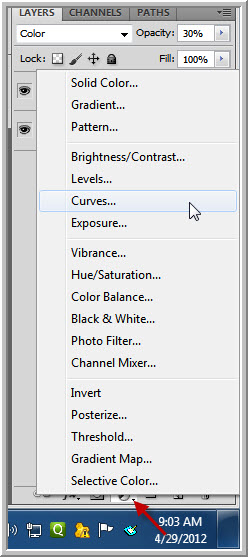
Step 6 : Change the Blend Mode to Color Dodge.
Step 7 : The image looks like this. Some black spots remain here and there. This is quite normal. The image can turn fully white also. It will depend on the image.
Step 8 : Go to Filter>Blur>Gaussian Blur.
Step 9 : In the Gaussian dialogue box that appears set a Radius of between 3 and 4 and click OK.
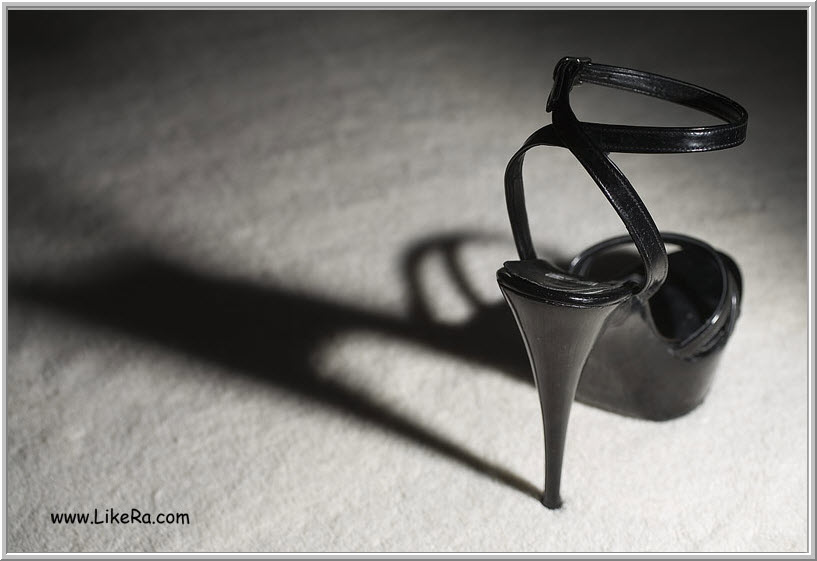
This is how the image looks. It can me made into a brush, but I wish to remove the shadow and the dirty white in the background.
Step 10 : Press x to change the Foreground Color to White or click the bent arrow.
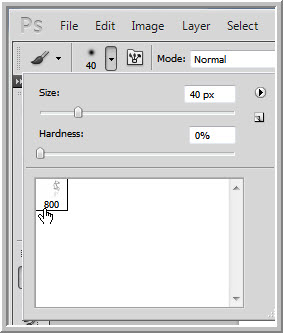
Step 11 : Click the Brush Tool or just press b on the keyboard for the Brush Tool Click in the top panel as shown.
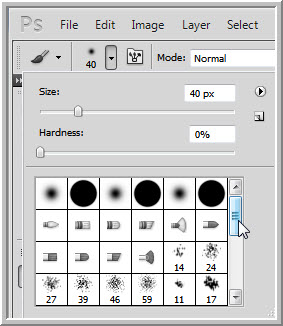
Step 12 : Set the Hardness to 0 in the Brush controls. To make the Brush large press ] (right square bracket) and to make it small [ (left square bracket). You are ready to paint.
Step 13 : In the top panel ensure that the default settings of Opacity and Flow are set to 100%.

Step 14 : Before beginning to paint click the New Layer icon. A new Layer 1 forms.
Step 15 : Begin painting with the Brush.
Step 16 : Zoom into the image and paint the entire Background. The background should look absolutely White after painting.
Step 17 : Now the image is ready to be turned into a Brush. You can crop the sides if you wish.
I am not doing so.
Step 18 :Go to Layer>Flatten Image.
There is only the Background Layer left.
Step 19 : Go to Edit>Define Brush preset.
Step 20 : This dialogue box pops up to name your Brush. I have named it high heels. Click OK.
Close the image and open a new Blank document.
Step 21 : Press x to change the Foreground Color to Black.
Step 22 : Open the Brush dialogue box and scroll to the bottom. You will find your Brush at the very end. But this Brush has not been saved for later use.
Step 23 : Scroll up to the first brush and ALT+CLICK it. The cursor will change into a scissor (not shown here). When you click it will delete the Brush. ALT+CLICK all the brushes to delete all of them except the high heels. (Don't worry you will get all of them back).
After deleting all the Brushes, only the high heels brush is left.
Step 24 : Click on the tiny black arrow to open the panel at the right and click on Save Brushes.
Before you do this, it will better if you create a folder somewhere on your computer called high heels brush.
Step 25 : I have made a folder for the high heels Brush. Click to open it.
Step 26 : Name the Brush High heels and click on Save. The Brush will be saved for later use.
Step 27 : Now again click on the Brush and navigate to the Eeset Brushes and click on it.
Step 28 : This dialogue appears. Click OK.
Step 29 : The default Brushes are back.
Step 30 : Before using the new brush I have opened a new White layer as I said earlier. Click on the New layer icon to add a new Layer 1. Always work on a New layer for each brush you use.
Step 31 : Click in the top panel and scroll to Load Brushes.
Step 32 : Navigate to the folder where you saved the Brush and click on it. Brushes are saved as abr files.
Step 33 : Scroll to the bottom of brushes and you will find the high heels brush. But this Brush has been saved and you can reset the brushes with no fear of losing it. Click to load the Brush.
The Brush looks like this. For further instructions on how to use a Brush please the tutorial
hereOther photoshop tutorials are
here


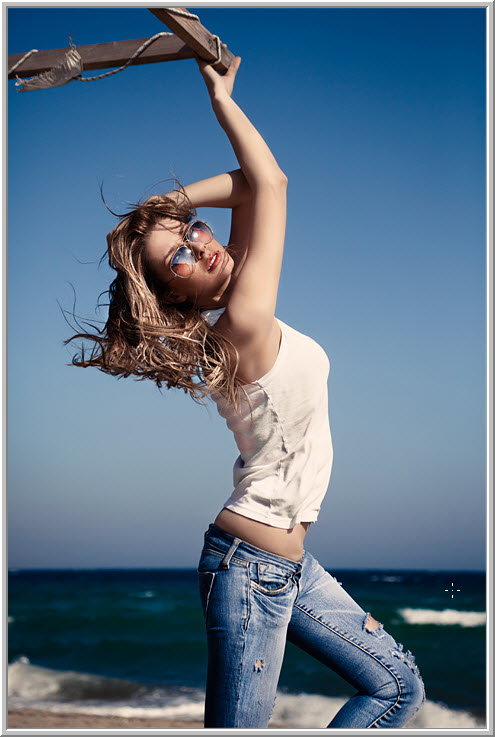
 This is a color image turned into high contrast B&W.