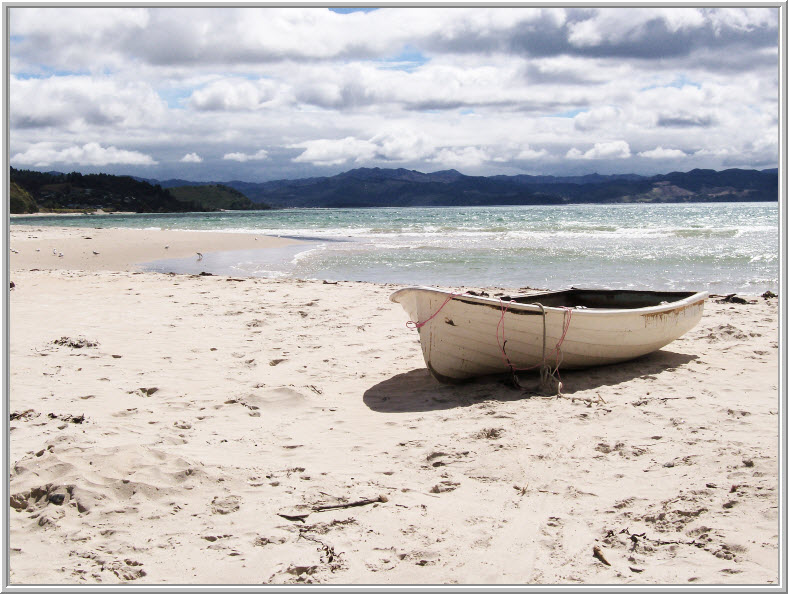
The Channel Mixer used as an Adjustment Layer is a very powerful tool to tinker with the lighting and contrast. But the channels and sliders appear to be quite confusing. Using the sliders at random sometimes may create an effect by accident, which cannot be replicated on other images. It gets to be frustrating. This is not so much as creating an effect, but to know what makes the Channel tick.
The colors in this image has been heightened using only the Channel Mixer. Curves and Levels have not been used. The original image is below.
I have opened this free stock image. You will find it here
It belongs to this-river--is--wild
You will need an image. You can use this image and you will find it easy to follow.
Step 1 : Click on the Add New Fill or Adjustment Layer button.
Step 2 : Click on Channel Mixer from the popup.
Step 3 : The Channel Mixer 1 Layer opens. You can see the default view of the Channel Mixer. The Channel Mixer is set to Default and the Output Channel is Red. Look at the default settings of the sliders. The Red slider is set to +100 and the Green and Blue Channels to 0. If you click on the Green and Blue Output channels, the Green and Blue channels will be set to 100 and the remaining two channels to 0. Keep the Output Channel at Red.
Step 4 : Clicking on the downward pointing arrow next to Default reveals a dropdown.
The Presets are : Black & White Infrared (RGB)
Black & White with Blue Filter (RGB)
Black & White with Green Filter (RGB)
Black & White with Orange Filter (RGB).
Black & White with Red Filter (RGB)
Black & White with Yellow Filter (RGB).
Step 5 : Click to make the dropdown go away. The Default option is highlighted.
Look at the sliders -- The Red is set to +100, while the Green and Blue are set to 0 each. The total is 100%.
Step 6 : With the Default highlighted, use the DOWN ARROW to scroll through the presets one by one.
The second in the dropdown is Black & White Infrared. Note the Output channel is automatically set to Gray. The Red channel is set to -70, Green to +200 and Blue to -30. The total is still 100. All images that you use will have these values in this particular channel.
The image turns B&W.
Step 7 : The next in the dropdown is Black & White with Blue Filter (RGB). Red and Green channels are set to 0 and Blue to +100. Again all three channels add up to 100. In fact all the channels will add up to 100%.
The image looks like this. There is a difference between the earlier B&W image under Step 6.
As you scroll through the channels there will be subtle difference in the light and shade.
Step 8 : The next preset is Black & White with Green Filter (RGB). The Red and Blue channel are set to 0 and Green to 100%. Why? Because you are using Black & White with Green filter.
The image looks like this.
Step 9 : Change the preset to the next one -- Black & White with Orange Filter (RGB). This is a bit different. The Red and Green channels are +50 each and the Blue channel is 0.
The image looks like this.
Step 10 : Change to the next preset -- Black & White with Red Filter (RGB). The Red channel is at 100 an Green and Blue at 0 each.
The image looks like this.
Step 11 : We have come to the last preset -- Black & White with Yellow Filter (RGB). Here the values are different. Red is +34, Green is +66 and Blue is 0.
When you scroll through the Presets of the Channel Mixer you will get exactly the same values for the Presets for all images. How does the image look now?
The image looks like this. At the cost of repetition let me show you the different effects.
Infrared preset.
Blue preset.
Green preset.
Orange preset.
Red preset.
Yellow preset.
The Infrared filter darkens the image. Then Blue, Green, Orange and Red make the image brighter. Yellow again turns a bit dark. Once you have understood this the rest should be easy.
Step 12 : Go back to the Black & White Infrared (RGB).
Step 13 : Change the Blend Mode to Soft Light.
Step 14 : These are all the Blend Modes available. I am using Soft Light because it works best in all images. You can also choose Darken, Overlay or Luminosity. But see if it suits your images.
Let us see how the different presets look with Soft Light.
Infrared.
Blue.
Green.
Orange.
Red.
Yellow. Note each of images closely. There are differences in each of the images especially the light and shade and contrast.
Step 15 : I am clicking on the Black & White with Red Filter. Red is +100 and Green and Blue are 0 each.
The image looks like this.
Step 16 : I am changing Red and Green to +50 and Blue to - 200. The total is -100.
The image looks like this.
Step 17 : Reduce the Opacity of the Layer to 75% or to taste.
This is how the image looks. This is how you use the Channel Mixer. I have shown you how to proceed. Now it is up to you.
Other photoshop tutorials are here


