Monday, September 17, 2012

Radial Blur Special Effect

Sometimes the tools in Photoshop will give you a special. Here I will demonstrate how you can use the Radial Blur filter for an effect that can be achieved very simply but looks great. It can be done in any version of Photoshop even Photoshop7. It will also work with any image.
This is the effect I have in mind.
I will be using this image. You will find it here
It belongs to alubb77
Step 1 : Duplicate the Background Layer by pressing CTRL+J.
Step 2 : Go to Filter>Blur>Radial Blur.
Step 3 : In the Radial Blur set the Amount to 100, Blur Method to Spin and Quality to Good or Best. Click OK.
Step 4 : This is the effect I have got.
Step 5 : Click the Add Layer Mask button. A Layer Mask forms next to the layer thumbnail on Layer 1.
Step 6 : Press b for the Brush Tool. Make it soft by pressing SHIFT+[ (left square bracket) a number of times. To increase the size of the Brush press ] (right square bracket). To make it small press [ (left square bracket).
Step 7 : In the top panel lower the Opacity of the Brush to 25%. Let the Flow remain at 100%.
Step 8 : Place the Brush where the face is and click a number of times. The face will begin to appear.
Step 9 : Click some more with Brush to reveal the face and whichever portions you wish to uncover.
Here is the finished effect.
Other tutorials are here


Saturday, September 15, 2012

Brightening and Sharpening in Lab Mode

Sometimes images may not have the vibrance and color that you would wish for in an image,. Though there are many ways to do this the easiest is doing this after converting images to Lab Mode. Then Curves and Unsharp Mask can do the rest. This works for all images.
This is the processed image. The original is below.
I will be using this free stock image. You will find it here
It belongs to ThrashDrummer
Step 1 : After opening the image in Photoshop. Go to Mode>Lab Color.
Step 2 : Press CTRL+J to duplicate the Background Layer to Layer 1.
Step 3 : Click the New Fill or Adjustment Layer button and click on Curves. The Curves Adjustment Layer opens.
In the Curves you see that there are three channels in the drop down menu -- Lightness, a and b.
Step 4 : Click on the a channel.
Step 5 : Drag the top of the diagonal one square left and the bottom one square right as shown.
The image looks like this. The colors look unreal.
Step 6 : Now click on the b channel.
Step 7 : Do the same as in Step 6.
The image looks like this. The colors are over saturated.
Step 8 : Click on Layer 1.
Step 9 : Go over to the Channels pallete and click on the Lightness channel.
Step 10 : Go to Filter>Sharpen>Unsharp Mask.
Step 11 : Keep the Threshold at 9 levels, Adjust the Radius to between 2.4 and 3.5 or a bit more and increase the Amount from 0 to maybe 150%. These values are not hard and fast. It will depend on your image. Click OK. You can use the hand tool to see an area you wish on the image. Here I wish to see the face.
Step 12 : Click on the Lab channel. Then click back on the Layers palette.
The image looks like this. The colors are a bit too strong.
Step 13 : Click on Curves 1 Layer. Reduce the Opacity suitable. I have reduced it to 60%.
The finished image. Other photoshop tutorials are here.


Friday, September 7, 2012

Border with Layer Mask

Take a Texture or an image as background. Paste another image in the foreground. Apply a border and use a Black Layer Mask to see through the border into the texture for a simple special effect.
This is the effect I wish to create.
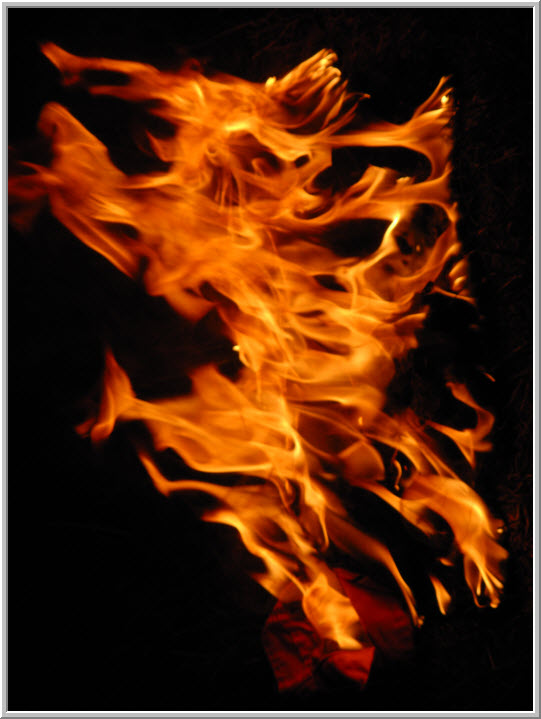
I will be using this stock image.

And this stock image for the composite.
Step 1 : I have the Texture in the Background layer and that of the girl on Layer1.
Step 2 : I have resized the image of the girl on the fire texture. To do this press CTRL+T. A selection will form. Press SHIFT+ALT and drag a corner handle up and down to resize.
Step 3 : Click the Rectangular Marquee Tool. Click the Subsract from selection icon.
Step 4 : Drag a selection where the border will be placed.
Step 5 : Draw another selection inside. Since the Substract from selection icon was checked I am able to do it. 
Step 6 : Press ALT and click the Add Layer Mask button.
Step 7 : Look at the Layer Mask. A border in black has replaced the selection. Now look at the image.
This is the finished image.
Other photoshop tutorials are here


Monday, September 3, 2012

Layer Mask How to use it

Layer Masks need no introduction. They have been part of Photoshop for a long time. White Layer Mask reveals all and a Black Layer Mask hides all. There are also shades of gray which partially reveal. In Photoshop CS5 masking has become easier. There are ways that you can tinker with a mask which you could not do earlier. Let us see how it works and in what way it is different.
This is made up of two images blended together with a Layer Mask.

I have opened these two images in photoshop. I admit that the lighting in two images are different. But let us see if they can be made part of a single image as above.
Step 1 : I have these two images stacked one on top of the other.
Step 2 : The easiest way to open the Masks panel is to go to Windows>Masks.
Step 3 : In the Masks panel click the button shown.
Step 4 : The Layer Mask has been added on Layer 1. Earlier or even now you can also add the Layer Mask by clicking on the Add Layer Mask button. But it has been made simpler with the Mask panel.
Step 5 : Click the Gradient Tool.
Step 6 : In the Gradient Editor in the top panel click on the small black arrow to reveal the Gradients and click on the first one which is Foreground to Background. By default the Linear Gradient is selected. Select it if it is not.
Step 7 : Reverse should be unchecked in the top panel.
Step 8 : Let the Mode remain at Normal and Opacity set to 100%.
I am going to Flip the canvas by going to Image>Image>Rotation>Flip Canvas Horizontal. I am doing this for better blending of the two images. It is not a necessary step. It is only necessary with these two images. This has to be done before pasting the image above the sunset layer.
Step 9 : Drag down with the Gradient Tool. I have dragged till just below the horizon. You may not get it correct at one go. Press CTRL+Z to undo and drag till you are satisfied.
The image looks like this. Though the two images have blended together but the face of the woman has faded, while the tree trunks from the lower image has come into the second image. This has to be corrected.
Step 10 : Press b on the keyboard for the Brush Tool or click on it from the flyout.
Step 11 : You can set the Size and Hardness from the top panel, but you will have to going back to it to make adjustments in size and softness every now and then. There is an easier way. Press SHIFT+[ (left square bracket) to make the Brush soft and SHIFT+] (right square bracket) to make it hard. To make a brush small press [ and to make it large ].
Step 12 : In the top panel lower the Opacity to 25%. We are now ready to paint.
Step 13 : Switch the Foreground Color to White by pressing x or use the small bent arrow above the Foreground and Background  Colors.
Step 14 : Zoom into the image by pressing CTRL and the Plus sign. (zoom out by pressing CTRL and minus sign). You are painting at 25% per cent Opacity therefore you will have to go over the parts you want to reveal quite a number of times with the Brush. Go over the dress and arms too.
Step 15 : You can also increase the Opacity of the Brush as you paint.
Look at the Layer Mask as you paint. You can make out where you have painted on the Mask.
The two images have blended together.
Step 16 : Now lower the Density of the Mask in the Masks panel.
The Layer Mask fades.
And this is the finished image.
Other photoshop tutorials are here


Share

Twitter Delicious Facebook Digg Stumbleupon Favorites