


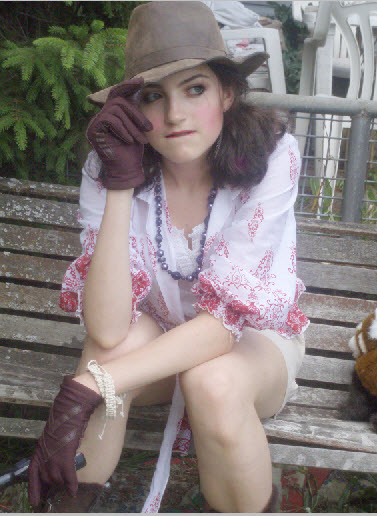
Step 1 : I have opened this free stock image in Photoshop.
It belongs to ~rangercookiestock I intend to change the skin tone, add a blush to the cheeks and lipstick with the help of a few layers an some tweaks in Photoshop.

Step 2 : Click the New Fill or Adjustment Layer button and click on Solid Color.

Step 3 : The Pick a solid color dialogue box opens.

Step 4 : Click on the extreme top left corner, not exactly on the corner, but just a little bit to the right. Click OK.

Step 5 : The image looks like this.

Step 6 : Change the Blend Mode of the Layer to Soft Light.

The image looks like this.

The Layers Palette looks like this.

Step 7 : The Layer Mask is not selected. Click on the Layer Mask to select it. A tiny border appears around it as soon as you click. This means it has been selected.

Step 8 : Press b on the keyboard to bring up the Brush Tool. To increase the size of the Brush press ] (right bracket key) and to decrease it [ (left brackey). To make the Brush Hard press SHIFT+] (right bracket) and to make it soft SHIFT+[ (left bracket). We will need a soft Brush here.

Step 9 : Make sure that the Foreground/Background colors are set Black/White. If it is not press x and hen d on the keyboard.

Step 10 : Lower the Opacity of the Brush in the top panel to 50%.

Step 11 : Make the Brush Tip small and paint carefully on the eyes and the lips.

Step 12 : Click on the New Fill and Adjustment Layer and click on Curves.

Step 13 : In the Curves change the channel to Red from the dropdown.

Step 14 : Pull the midpoint up.

The image looks like this.

Step 15 : Change the channel to Green. Push up the diagonal line in the middle.

Step 16 : Drag the diagonal line in the middle down.

The image looks like this.

Step 17 : Click on the Blue channel.

Step 18 : Drag the diagonal line in the middle just a little bit.

Step 19 : The Mask on the Curves Layer is selected. It has the tiny border around it which shows it is selected.

Step 20 : Press CTRL+I. The Mask changes from white to Black.

The image looks as before.

Step 21 : Make sure the Fore ground Color is set to White. Press x to switch between the Foreground and Background Colors.

Step 22 : Make the Brush large by pressing the ] (right bracket) so that it covers the cheek and click once. You can see the effect that it has here. It is the blush.

Step 23 : Click may be once more on the right cheek, then once on the left cheek. (It will depend on your image.

Step 24 : Click again on the New Fill or Adjustment Layer button. Click on Curves.

Step 25 : Click on the Red channel. Drag the diagonal line up.

Step 26 : Select the Green channel and drag the diagonal line as shown.

Step 27 : Lastly select the Blue channel and drag the diagonal up slightly.

Step 28 : Press CTRL+I to change the Mask from White to Black in the Curves 2 Layer.

Step 29 : Set the Foreground Color to White.

Step 30 : Press b on the keyboard. Reduce the size of the brush by pressing [ (left bracket). Paint over the lips to give it the 'lipstick'.

Step 31 : With the Curves layer 2 already selected press SHIFT and click on Color Fill 1 layer. All the three layers are highlighted.

Step 32 : Press CTRL+G. A Group 1 layer forms.

Step 33 : Reduce the Opacity of the layer to about 80%.

This was the original image.
This is the edited image.

Step 34 : I am further lowering the Opacity to 40%.

This is the effect after reducing the Opacity further.
That is all.
Other photoshop tutorials are here


