


This is the third Pen and Brush Tutorial. The earlier parts are here and here. In this tutorial let me show you how to make a composition while using the Pen Tool and Brush Tool. The photos used in this tutorial are from http://www.sxc.hu/ . Free, high resolution stock photos are available from here. You only need to register. The tutorial is divided into parts. Do one part at a time. Don't hurry. You will find it quite easy. The photos used in the tutorial are here, here and here.
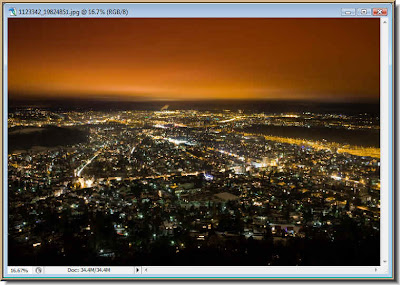
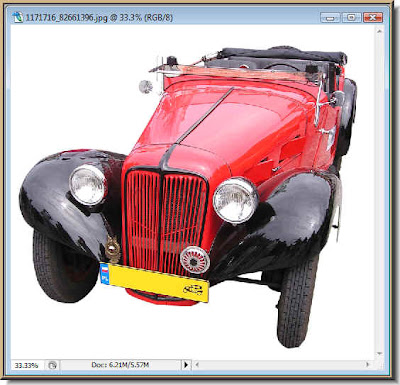
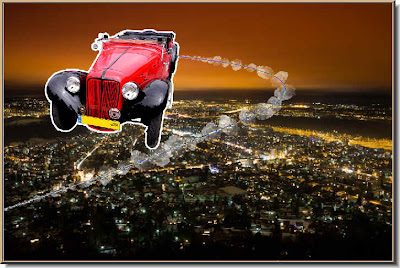
Step 1 : Open any two photos in Photoshop for the composition. I am using these two free stock photos. 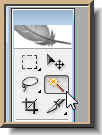
Step 2 : Click on the Magic Wand Tool.
Step 3 : Since the background of this photo is white, you can use the Magic Wand to cut out the car. Click the White background with the magic Wand and the background will be selected.

Step 4 : Now press CTRL+SHIFT+I to inverse the selection. You can also do this by going to Select>Inverse.
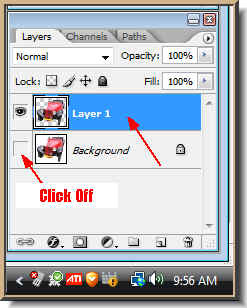
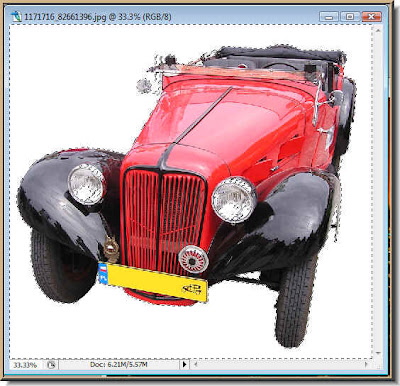
Step 5 : Now press CTRL+J. Look in the Layers pallette. The car selection has been copied and pasted on to a new layer -- Layer 1. Turn off the eye icon on the Background Layer by clicking on it.

This is how the car photo looks.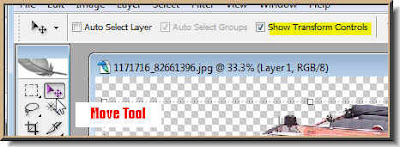
Step 6 : Click the Move Tool. Make sure that Show Transform Controls which is called Bounding Box in PS7 is checked.
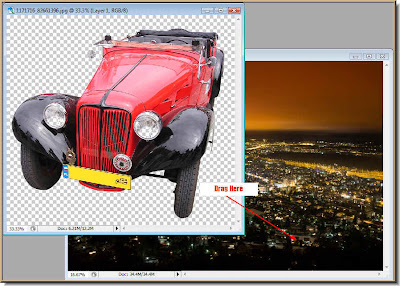
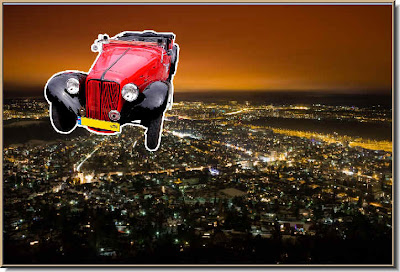
Step 7 : Keeping the SHIFT key pressed drag the car image to the other image. Keeping the SHIFT pressed will ensure that it lands exactly in the middle of the other photo.
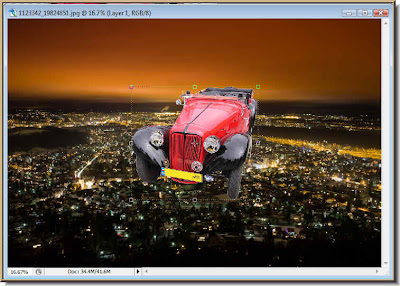
You can see that it has landed in the middle of the other photo.
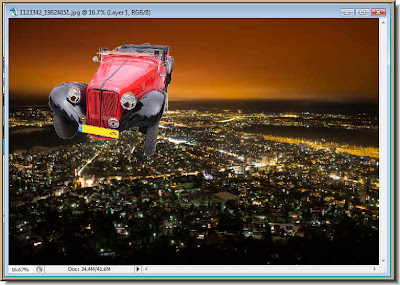
Step 8 : Use the Move Tool to move the car to the top left corner.
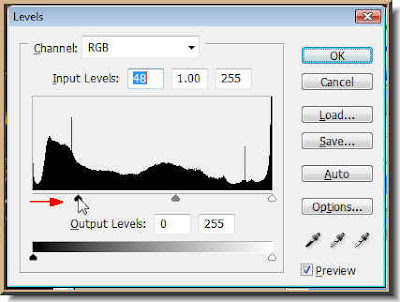 Step 9 : Press CTRL+L. This will bring up the Levels dialogue box. Drag the Black slider on the left to the right to make the image darker.
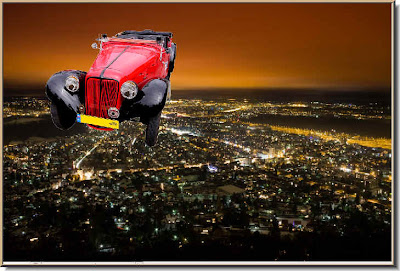 The car has become darker and looks better against the background.
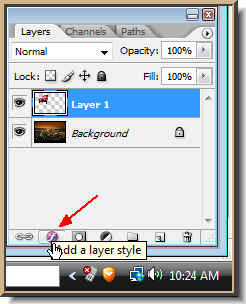
Step 10 : Click the Add layer Style button.
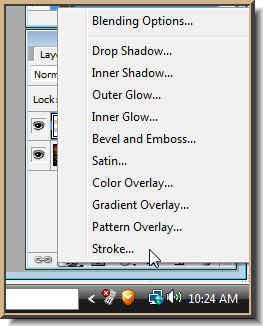
Step 11 : From the popup click on Stroke.
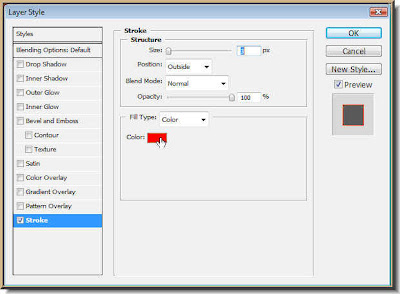
Step 12 : The Layer Style dialgue box opens. Stroke is highlighted. It means that it is selected. Click the Color.
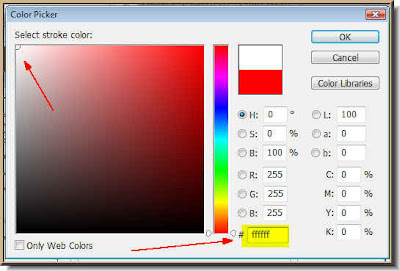
Step 13 : The Color Picker pops up. Type in 'ffffff' (6 fs) in the box shown. the 6 fs denote White. You can see the cursor has automatically selected the white. Click ok.
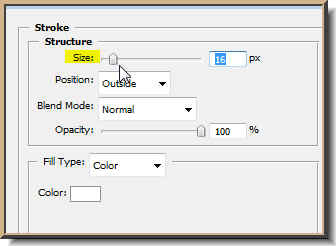
Step 14 : Drag the Size slider suitably. These are high resolution images. I have made it 16. It will depend on your image. If it is low resolution it will be considerably less.
Step 15 : The Stroke has been added. This part is finished.
Section B
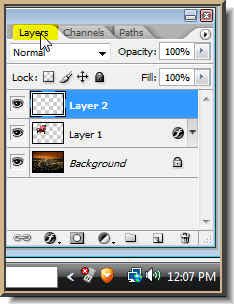
 Step 16 : Make a new layer by clicking on the New Layer button. A new Layer 2 forms.
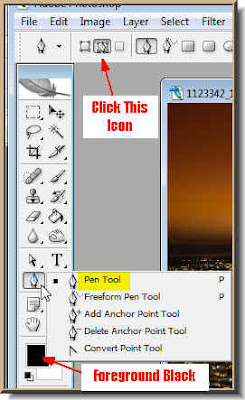 Step 17 : Click the Pen Tool. Click the icon in the top pane. The Foreground Color is Set to Black and Background White.
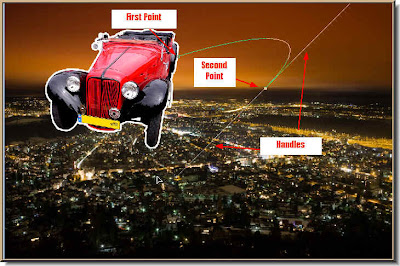 Step 18 : Click a first point then a second. A line immediately connects the two points. Do not let go the left mouse button when you click the second point, but begin dragging. By moving your wrist you can drag and you will find the line bending. Simultaneously two handles will emerge.
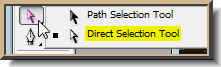 Step 19 : Click the Direct Selection Tool.
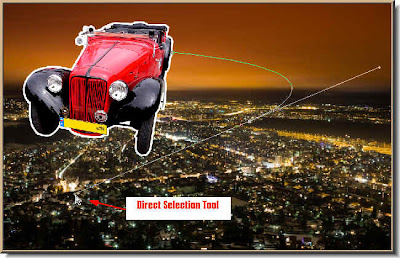 Step 20 : Place the Direct Selection Tool on the third point and drag down, upwards or sideways to change the angle of the curve. Then click on the handle and drag till you are satisfied with the curve.
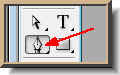 Step 21: Click back on the Pen Tool.
 Step 22 : I have used the Pen Tool to click a third point at the left edge of the photo.
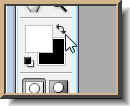 Step 23 : Change the Foreground Color to White by clicking on the small bent arrow just above.
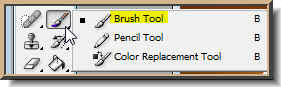 Step 24 : Click the Brush Tool.
 Step 25 : Click this icon on the right of the top panel to reveal the Brushes pallette.
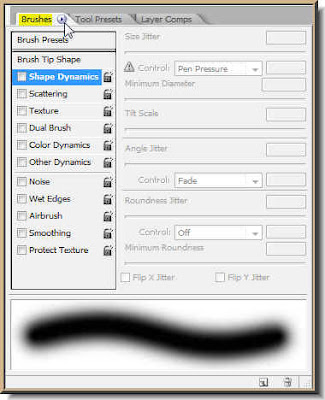 Step 26 : The Brushes panel is revealed. Click the tiny black arrow next to the Brushes.
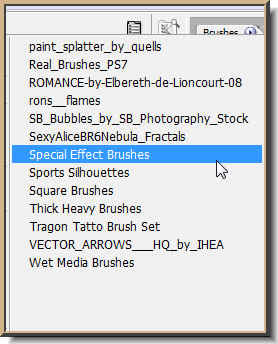 Step 27: It reveals the Brushes available. Click on Special Effect Brushes. You will find it in Photoshop.
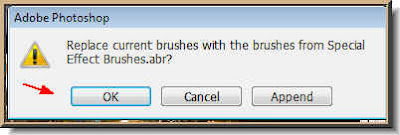
Step 28: This dialogue box pops up. Click ok.
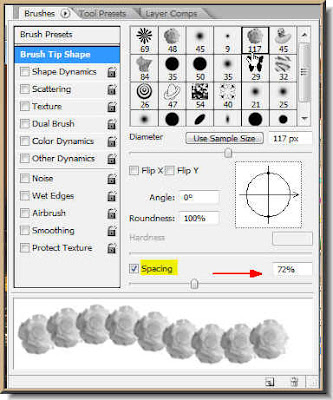
Step 29 : Click on the Brush Tip Shape and this dialogue box is revealed. At the bottom drag the Spacing slider to the right suitably.
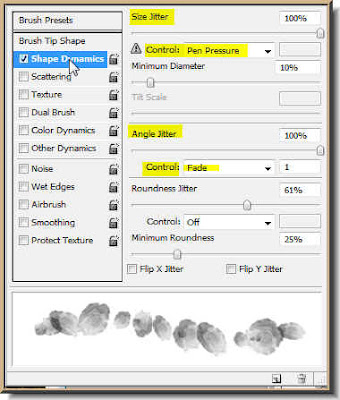
Step 30 : Now click on Shape Dynamics. Set the Size Jitter Control to Pen Pressure and the Angle Jitter Control to Fade.
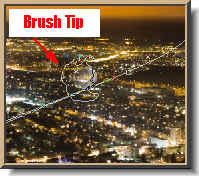 Step 31 : : To determine how big the Brush Tip size is, click with it on the Path. To make the tip smaller press [ (bracket key next to letter P on the keyboard). To make the tip larger press ]. To make the brush tip hard press SHIFT +]. To make it soft press Shift+[. Remember these shortcuts.
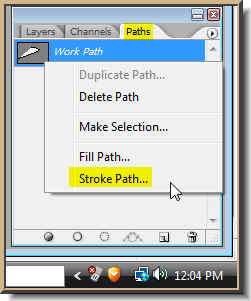
Step 32 : Now click on the Paths pallette. It is different from the Layers pallette. Now click the Workpath that you see. From the popup click on Stroke Path.
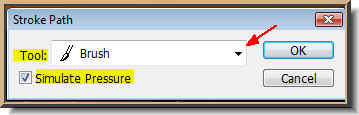
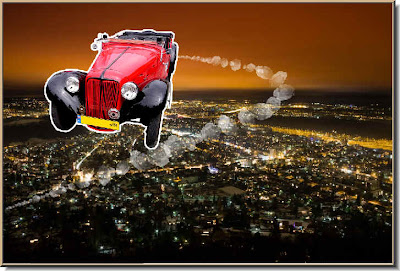
Step 33 : This pop up nw appear. From the dropdown where the red arrow point to set the Tool to Brush. check the Simulate Pressure.
Step 34 : This is how the image looks.
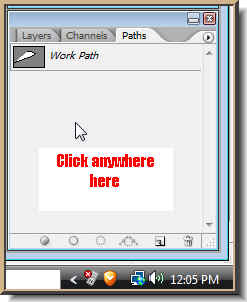
Step 35 : Click anywhere below the Workpath in the Paths pallette to make the Path go away from the image.
Step 36 : This is how the image looks like. The path has gone away.
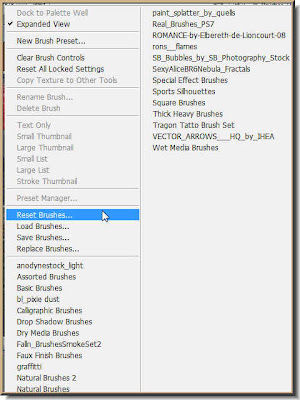
Step 37 : Before proceeding further, you should reset the Brush pallete. Go to the icon in the top panel and from the drop down click on Reset Brush. A popup will appear as in Step 29. Click on Yes.
Step 38 : Now click back on the Layers pallette.
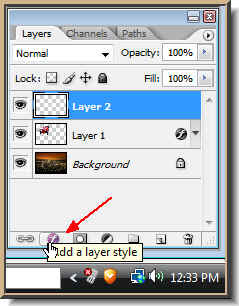 Step 39 : Click on the Add Layer style Button. In PS 7 it looks aa bit different, but is found in the same place.
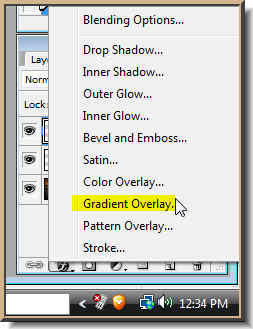 Step 40 : Click on the Gradient Overlay from the popup.
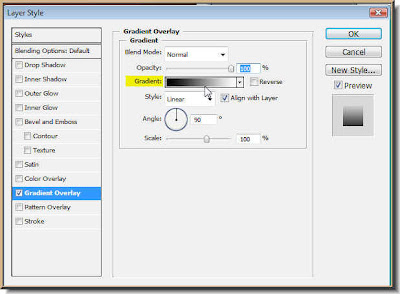 Step 41 : This dialogue box pops up. Click where the white arrow points to.
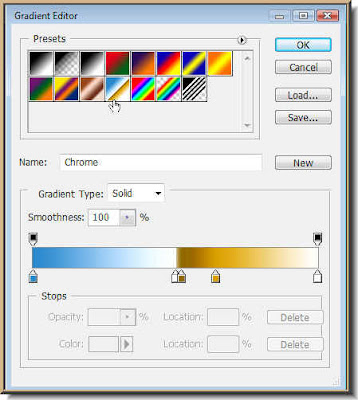
Step 42 : : From the Presets click on any one which suits your image. I have clicked on Chrome. It is the name of the Gradient. If you hover your cursor over the Presets, you will be able to read their names. Click ok.
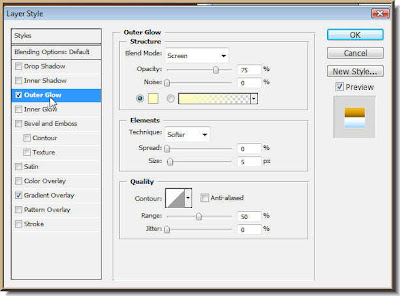
Step 43 : In the Layers Style box click on Outer Glow.
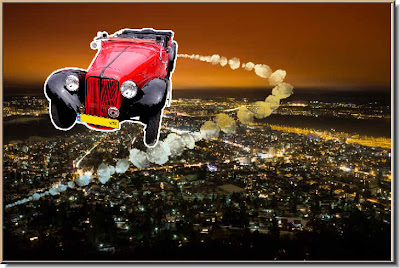
Step 44 : This is how my image looks with the Outer Glow applied. I have not changed any of he settings of Outer Glow. I have left them at the default. I have clicked on ok on the Layer Styles. This portion is now complete.
Section C
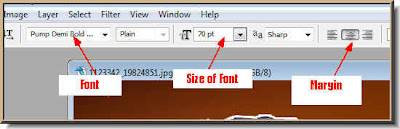 Step 45 : You can set the Font, the Size of the Font and the Margin for the Type from the top panel. If you click the Fonts a dropdown will reveal all the fonts available. click to select a font. The size of the font can be set by entering a value directly in the box. The Margin can be set to left, centre or right. I prefer to set it at Centre.
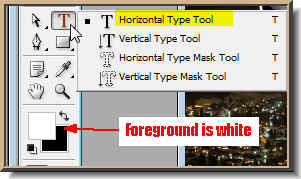 Step 46 : Now Click on the Type Tool and then on Horizontal Type Tool.
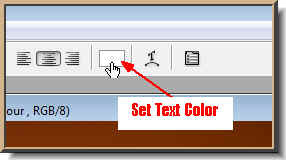 Step 47 : The text color can be set from the Text panel. By default it is Black. It is set to White here. For the purpose of this tutorial the color does not matter.
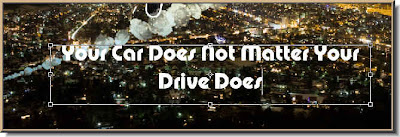
Step 48 : Draw out the Text box with the Text Tool by dragging. Now type in your text. I have typed my text.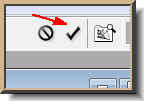
Step 49 : After typing in the Text click the Tick mark in the top panel to apply the transformation.
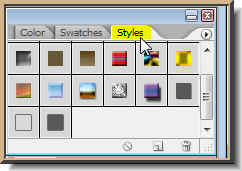
Step 50 : Now click on Styles.
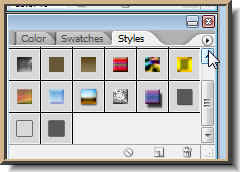
Step 51 : Note the tiny Black arrow in the right top corner. Click it.
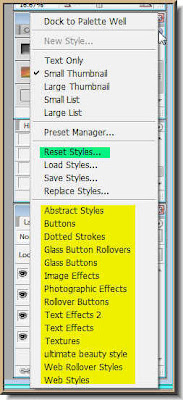
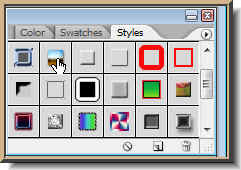
Step 52 : This reveals all the Styles available. the styles available have been highlighted. You can use any of them. Click on them to use them.
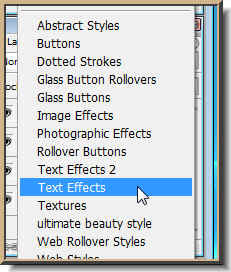
Step 53 : I have clicked on Text Effects.
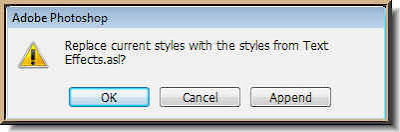
Step 54 : This dialogue box pops up. Click Ok.
Step 55 : From the choice available, I have clicked on a Style.
 This how the Text looks with the addition of Style.
Section D
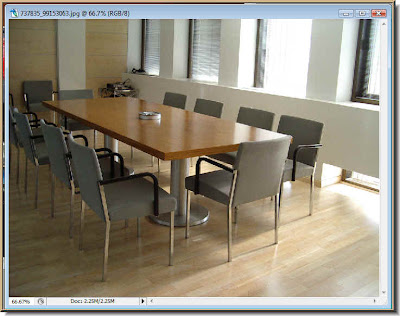 Step 56 : I have now opened this free stock photo.
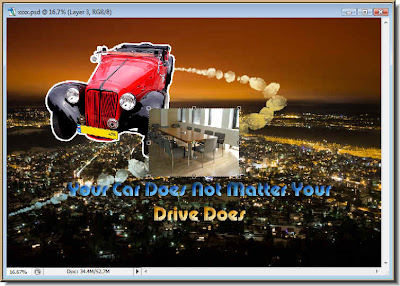 Step 57 : I hav dragged it onto the composition. The photo is smaller than the composition. Press Shift+Alt and drag a corner handle till the photo of the office interior covers the entire image.
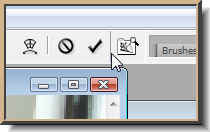 Step 58 : Click the Tick mark to apply the transformation.
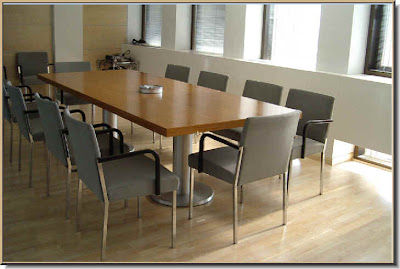 Step 59 : Now the office interior photo covers the composition.
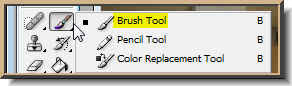 Step 60 : Make sure that the Background color is set to white and Foreground to Black and click the Brush Tool.
 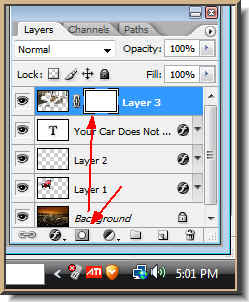 Step 61 : Click on the Add Layer Mask button and a Layer Mask forms next to the Layer thumbnail on Layer 3.
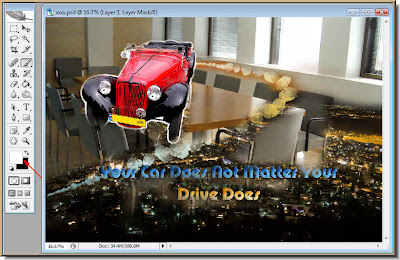 Step 62 : With the Brush Tool paint away to reveal as much of background as you want. Should you uncover a part which you did not wish to change the Foreground color to White and paint it back in. Carry on painting with the Foreground set to Black again.
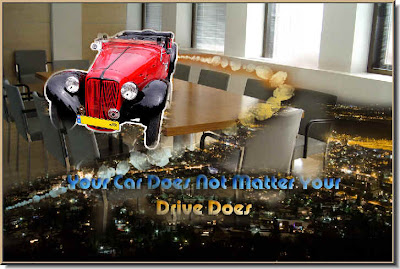
The completed composition. try it out. You will find it easy.
Other photoshop tutorials are here.


