


Sometimes you wrack your brains for a suitable background. I will show how you can create an abstract background from scratch with the Lens Flare using any version of Photoshop. It can be done in a jiffy.
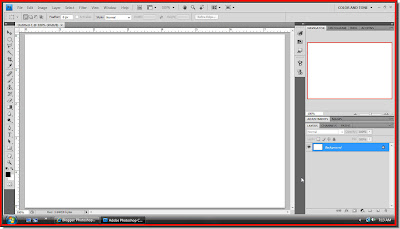
Step 1 : Open a new White Layer.

Step 2 : Make sure that your Foreground Color is set to Black. Press ALT+BACK SPACE. The layer fills with Black.

Step 3 : Now press CTRL+J. The Background layer duplicates into Layer 1.

Step 4 : Go to Filter>Render>Lens Flare

Step 5 : I have chosen the first flare. Just make sure that it is in the middle. You can move the flare by clicking anywhere in the box.
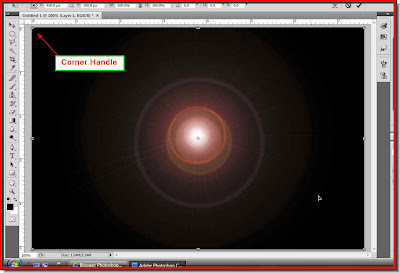 Step 6 : The Lens flare has been added. Press CTRL+T. Corner handles will apear around the edges.
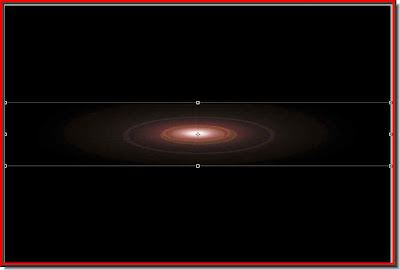 Step 7 : Press SHIFT+ALT and drag down the Black Layer (Layer1). Press Enter to apply the transformation.
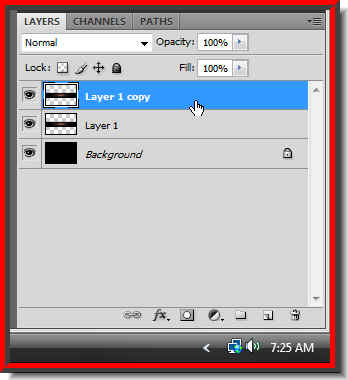 Step 8 : Press CTRL+J. Layer 1 duplicates into Layer 1 copy.
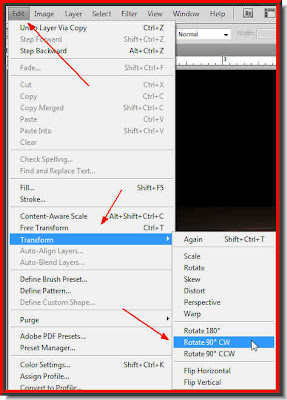 Step 9 : Go to Edit>Transform>Rotate 90 degree CW
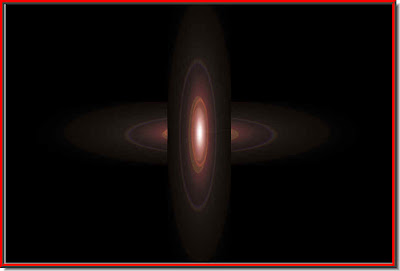 This is how the image looks.
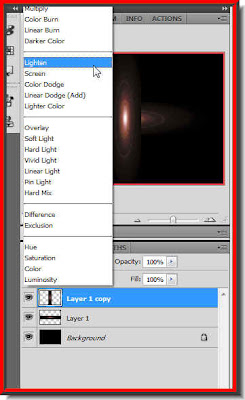 Step 10 : In the Layer pallette, change the Blend Mode to Lighten.
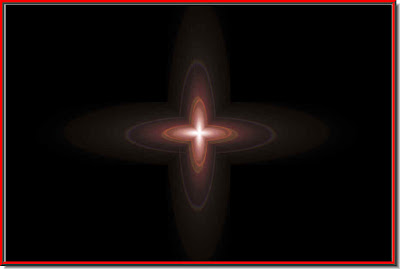 Step 11 : This is how the image looks.
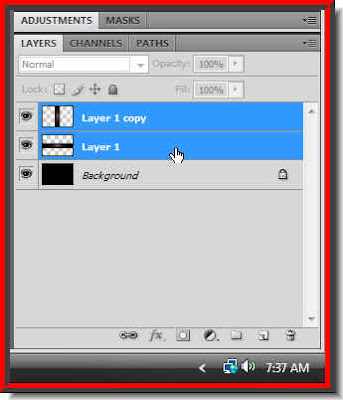 Step 12 : Press SHIFT and click on Layer1. Both Layer1 and Layer1 copy are highlighted.
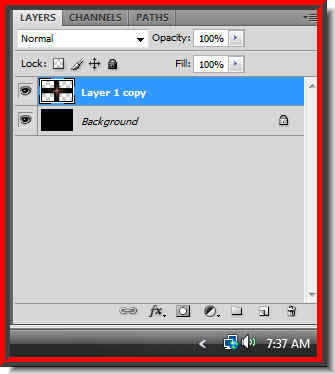 Step 13 : Press CTRL+E. Both the layers merge into one -- Layer 1 copy.
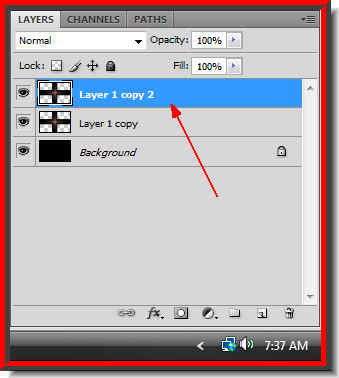 Step 14 : Press CTRL+J. The layer1 copy duplicates into layer 1 copy2.
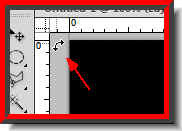 Step 15 : Press CTRL+T. Now hover your cursor on a corner handle. A small bent two-headed arrow will appear.
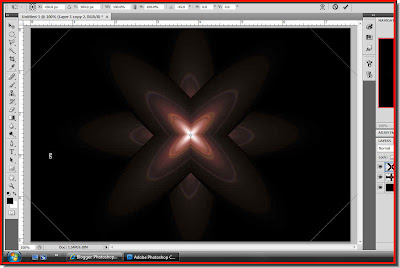 Step 16 : WIth the bent arrow you will be able to rotate the image. Rotate it 45 degrees as shown.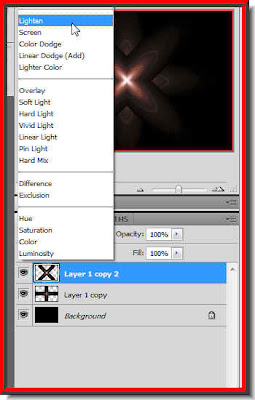
Step 17 : Change the Blend Mode to Lighten.
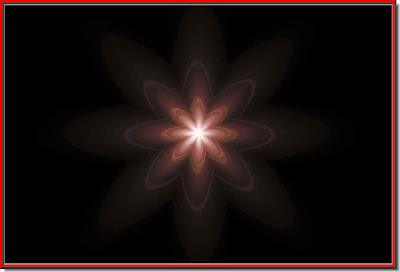
This is how the image looks.
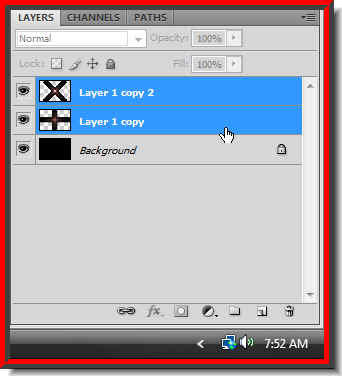 Step 18 : Press SHIFT and click on Layer 1 copy. Layer 1 copy and Layer1 copy two are both highlighted.
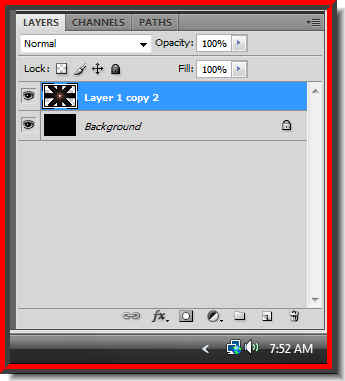 Step 19 : Press CTRL+E. Both layers merge into Layer 1 copy 2.
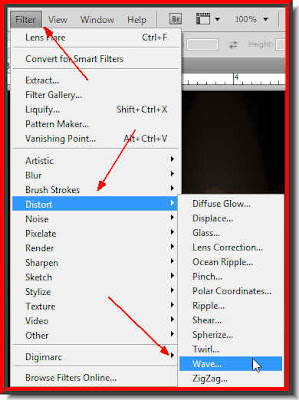 Step 20 : Go to Filter>Distort>Wave
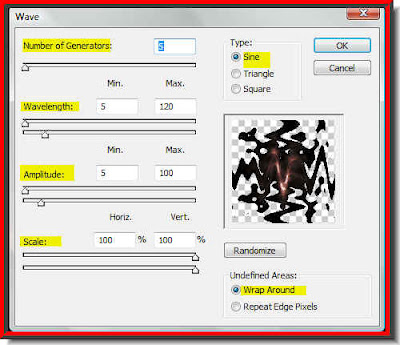 Step 21 : I have used these settings. You can experiment with them too.
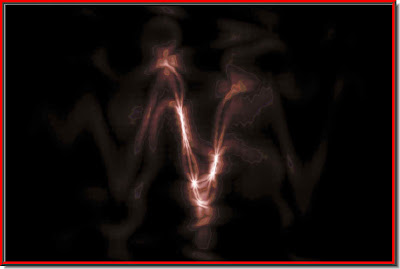 And, here is the effect I have got.
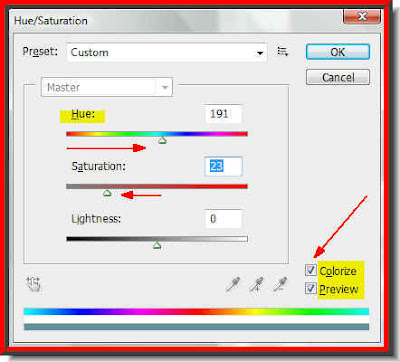 Step 22 : Press CTRL+U. It will bring up the Hue/Saturation dialogue box. Check Colorize. Now drag the Hue slider to the right change the color. I have chosen a shade of Blue. I have dragged the Saturation slider slightly to the left.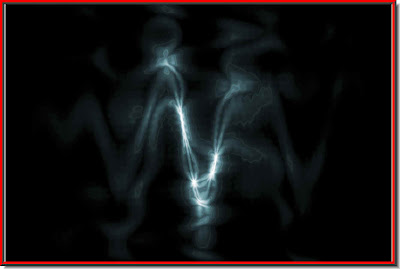
And this is my final effect.
 In Step 21 : If you set the Type to Square. You will get another effect.
 This is the effect I have got.
Other Photoshop tutorials are here


