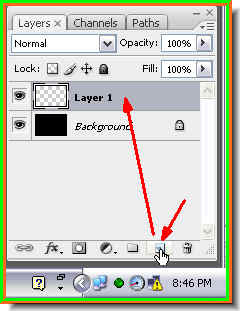
Step 4 : Click the New Layer button shown by the small white hand and a new layer i.e. Layer 1 will form. Step 5 : Click the Marquee Tool and select the Elliptical Marquee Tool by clicking it. Set the Feather at 35 pixel in the top panel by typing in 35 in the box.
 Step 6 : Drag out with Elliptical Marquee Tool.
 Step 7 : Press CTRL+BACKSPACE. This will fill the selection with the Background color which is White. Your image should look as above. Press CTRL+D to deselect.
 This is how the image looks after pressing CTRL+D.
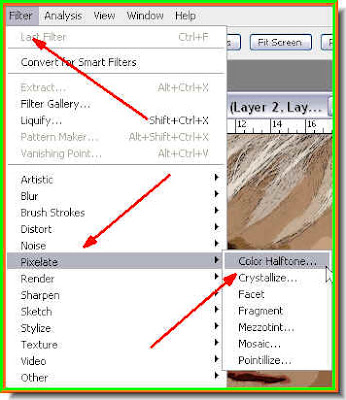
 Step 8 : Go to Filter>Distort>Twirl.
 Step 9 : The Twirl dialogue box opens. I have set the Angle at -75. Click ok.
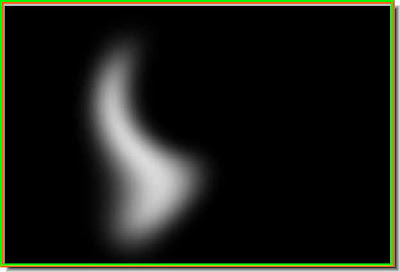
This is how the image looks. Step 10 : Press CTRL+F and the image will look like this.
 Step 11 : Click the Move Tool.
 Step 12 : As soon as you click the Move Tool you will find a selection appear around the 'smoke'.

Step 13 : Push the selection from the left with the cursor.
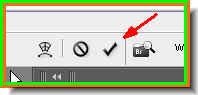
Step 14 : Click the Tick mark in the top panel to apply the transformation. Step 15 : Drag Layer 1 to the New Layer button and Layer 1 copy forms.
 Step 16 : With Layer 1 copy selected drag right with the cursor.
Step 17 : Push with the cursor from the left which will elongate the 'smoke'.
Step 18 : Click the Tick mark in the top panel to apply the transformation. Step 19 : Again go to Filter>Distort>Twirl.
 Step 20 : In the Twirl dialogue box I have set the Angle at -176. Click ok.
 This is how the image looks.
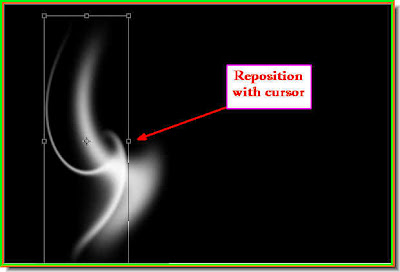
Step 21 : Use the cursor to reposition the 'smoke' . Push to elongate it as shown. Step 22 : Click the Tick mark in the top panel to apply the transformation.
 Step 23 : Press CTRL+J to duplicate Layer 1 copy and Layer 1 copy 2 forms.
 Step 24 : Drag with the cursor to the right.
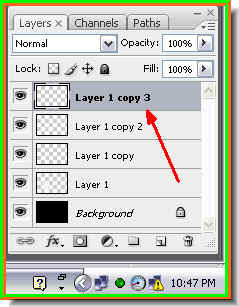
Step 25 : Press CTRL+J and Layer 1 Copy 3 forms. Step 26 : Use the cursor to push the new 'smoke' to the left.
Step 27 : Go to Edit>Transform>Flip Horizontal.

This is how the image looks.

Step 28 : Now reposition the smoke.

Step 29 : Now push inwards with the cursor to elongate the smoke.

Step 30 : Hover the cursor over a corner of the smoke and you will find a bent double headed arrow appear. Use it to rotate the smoke.
Step 31 : Click the Tick mark to apply the transformation.
This is how the image looks.
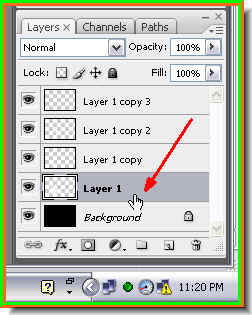
Step 32 : Click back on Layer 1.
Step 33 : Press CTRL+J and a Layer 1 copy 4 forms.

Step 34 : Now push with the cursor to elongate the smoke.

Step 35 : Click the Tick mark to apply the transformation.
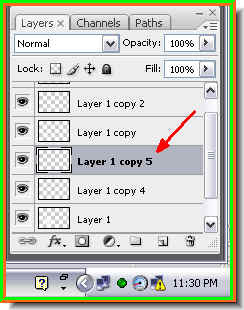
Step 36 : Press CTRL+J. Layer 1 copy 5 forms.
Step 37 : Press CTRL+F.
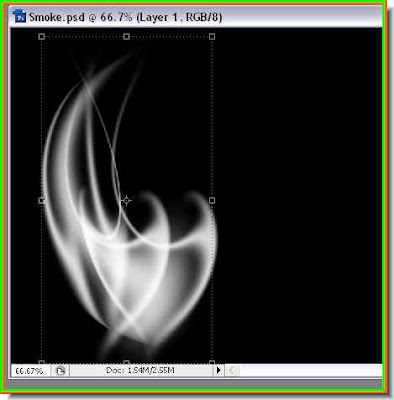
This is how the image looks.
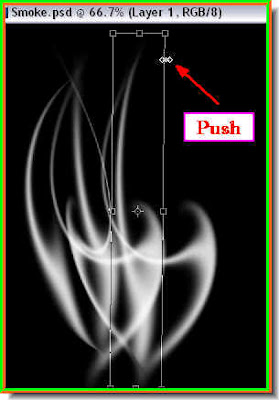
Step 38 : Now push inwards with the cursor to elongate the smoke.

Step 39 : Now rotate the smoke.

Step 40 : Now click the Tick mark to apply the transformation.
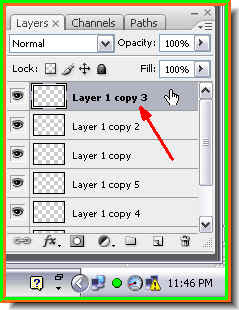
Step 41 : Click on the topmost layer.
Step 42 : Press SHIFT and click on the layer just above the Background. All the Layers will be highlighted.

Step 43 : Press CTRL+E. All the layers above the Background will be compressed into a single layer.

Step 44 : Press CTRL+J and Layer 1 copy 4 forms.

Step 45 : Go to Filter>Distort>Spherize.

Step 46 : The Spherize dialogue box opens. I am leaving it at the default values and clicking ok.

This is how the image looks.

Step 47 : Go to Edit>Transform>Flip Vertical.
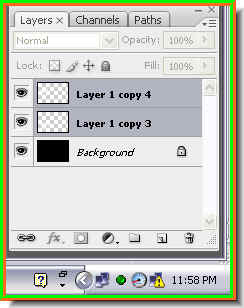
Step 48 : Press SHIFT and click on Layer 1 copy 3.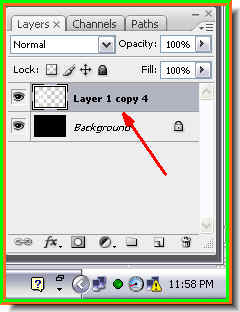
Step 49 : Press CTRL+E. This will compress the two layers into one.

Step 50 : Now press inwards with the cursor to elongate the smoke.

Step 51 : Click the Tick mark to apply the transformation.

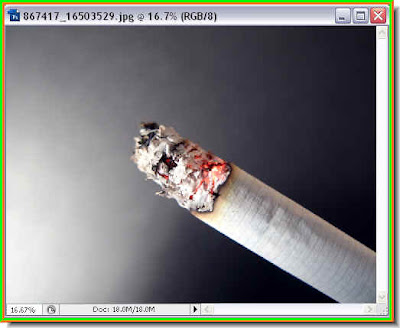
Step 52 : Drag the smoke layer onto the cigarette photo.

Step 53 : Resize the smoke.

Step 54 : Click the Tick mark to apply the transformation.

And there is your cigarette smoke.
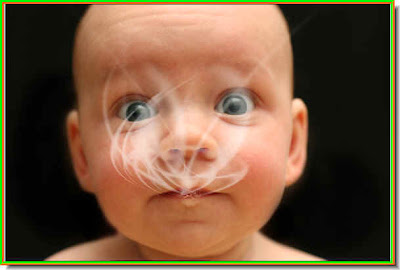
This baby says it's not too young to smoke!
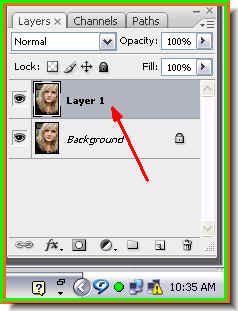


 Step 5 : Press CTRL+J again. Layer 1 will be duplicated into Layer 1 copy.
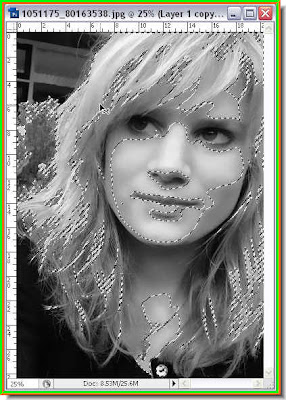



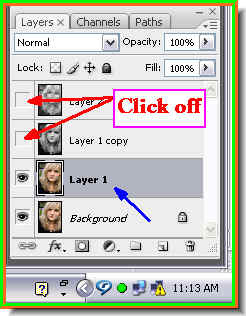
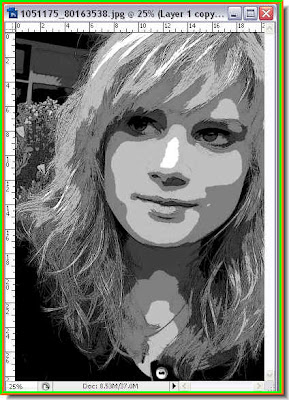
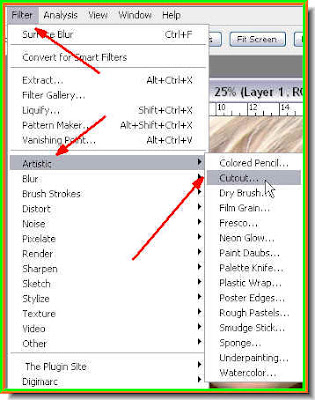 Step 13 : Go to Filter>Artistic>Cutout.
 Step 14 : The Cutout dialogue box opens.
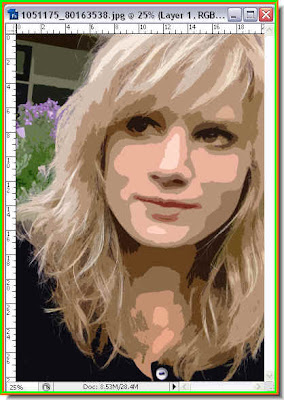
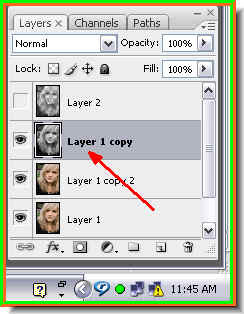
 Step 16 : Now drag Layer 1 to the New Layer button and a Layer 1 copy 2 forms.