This is a special effects tutorial which is very easy to do. I will be using a Gradient. I will also use the Clone Stamp Tool.
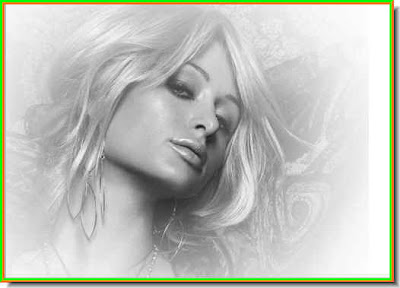 Step 7 : Press CTRL+SHIFT+U. This will desaturate layer1 on which this image is.
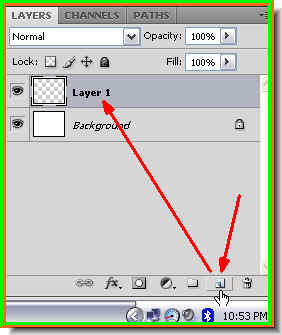
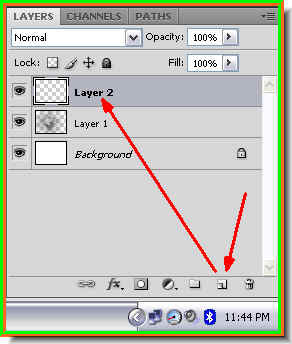 Step 8 : Click the Add New Layer button and Layer 2 forms.
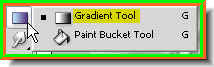 Step 9 : Click the Gradient Tool.
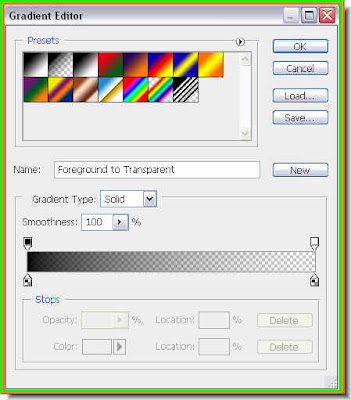
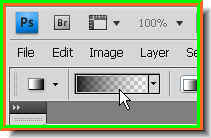 Step 10 : Click where the white arrow points to to bring up the Gradient Editor.
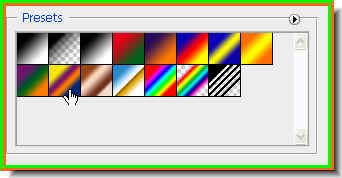 Step 12 : These are the Gradient presets available in PS. You can choose any of them i.e. the ones in color. I have chosen the one the small white hand points to.
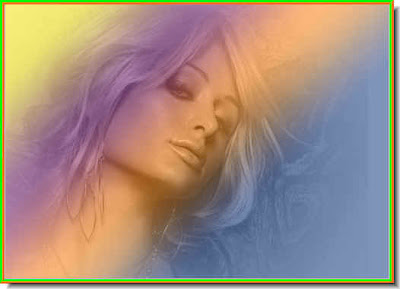 Step 17 : This is how the image looks.
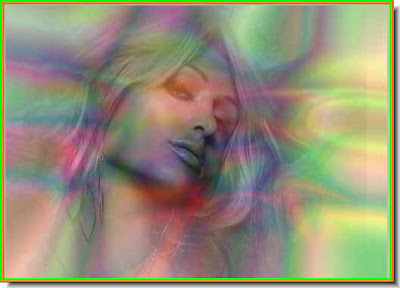 Step 18 : Now continue dragging with the Gradient Tool in all directions and the sides of the image. You will find the gradient will change till you have a very beautiful effect. You will get an effect depending on the Gradient you choose.
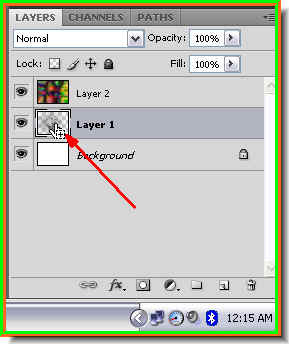 Step 19 : Ctrl+Click the layer thumbnail in Layer 1.
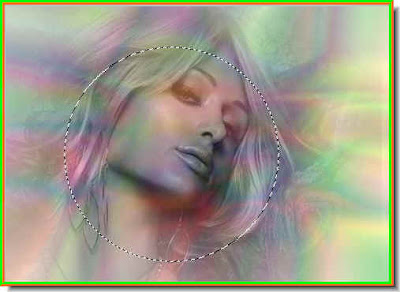 Step 20 : CTRL+clicking will make a selection to appear on your image.
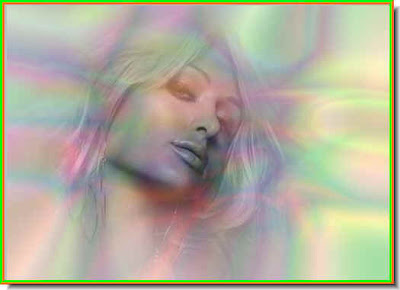
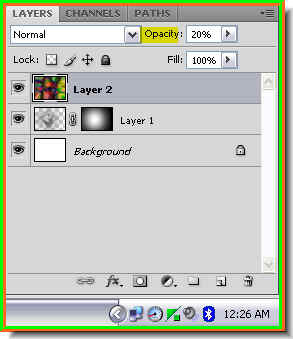 Step 22 : You can lower the opacity of Layer 2 further if you want. I have lowered it to 20%.
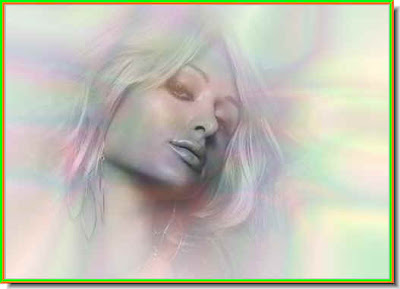 This is how the image looks like.
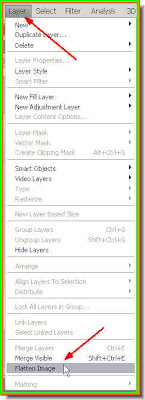 Step 23 : Go to Layer>Flatten Image.
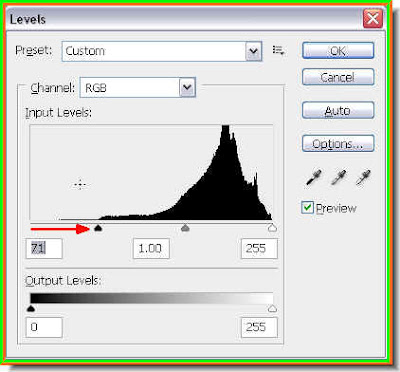 Step 24 : Press CTRL+L.This brings up the Levels dialgoue box. I have dragged the Black slider at the left to the edge of the graph. Click ok.
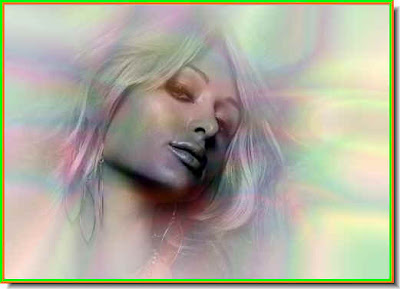 This is how the image looks.
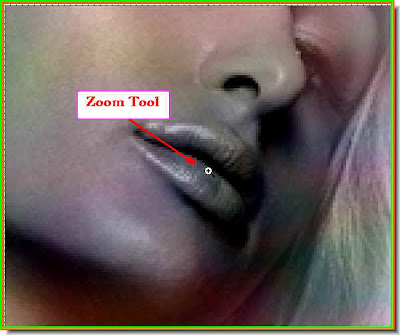 Step 26 : I have zoomed in on the lips.
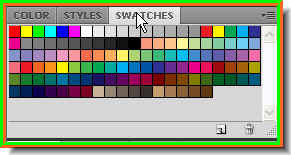 Step 27 : I have clicked on the Swatches.
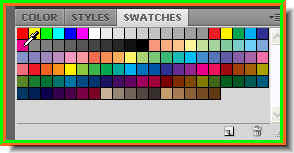 Step 28 : I have clicked on a color. Note that the cursor changes to an eye dropper.
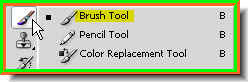 Step 29 : Click on the Brush Tool.
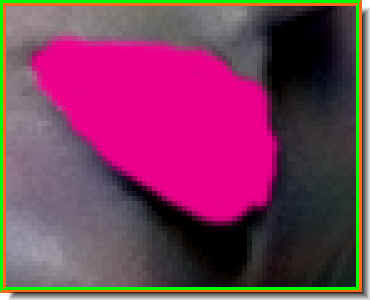
Step 30 : I have painted over the lips with the color I chose. I know it looks horrible.
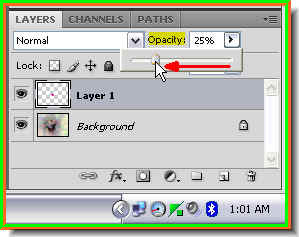 Step 31 : I have reduced the opacity of the layer to 25%.
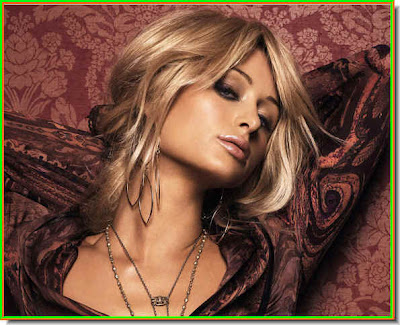
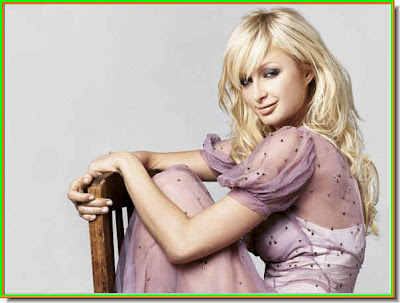
Step 1 : I have opened this photo in photoshop. You can choose the image you want. 
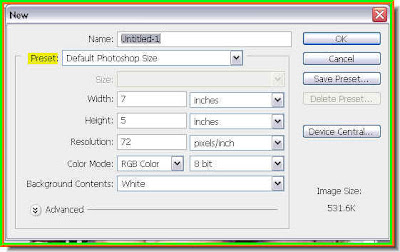
Step 2 : Open a new white layer.
Step 3 : Click on the Add New Layer radio button and a new Layer1 forms.
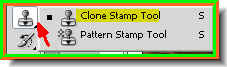
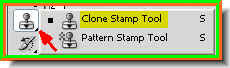
Step 4 : Click the Clone Stamp Tool. To make the brush size large press ] (right bracket key) and to make it small [ (left bracket key). To make the brush soft press SHIFT+[. 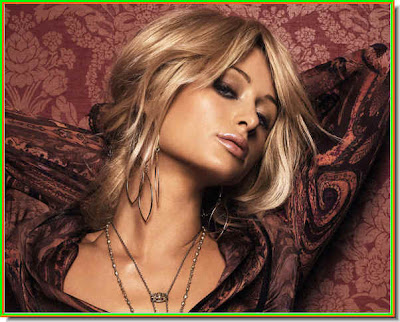
Step 5 : Alt+Click with the Clone Stamp Tool after making the brush size large to include the face. Also make it soft. 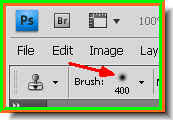 This is a soft brush. Press SHIFT+[ a number of times to soften the tip.

This is a soft brush. Press SHIFT+[ a number of times to soften the tip.Step 6 : Now click with the Clone Stamp on the blank white document. This is the result I got.
Step 7 : Press CTRL+SHIFT+U. This will desaturate layer1 on which this image is. Step 8 : Click the Add New Layer button and Layer 2 forms.Step 9 : Click the Gradient Tool.Step 10 : Click where the white arrow points to to bring up the Gradient Editor.Step 11 : The Gradient Editor opens.
Step 12 : These are the Gradient presets available in PS. You can choose any of them i.e. the ones in color. I have chosen the one the small white hand points to.
Step 13 : In the top panel change the Mode from the dropdown to Difference

Step 14 : Drag with the Gradient in any direction in the image. I have dragged diagonally down.

Step 15 : This is how the image looks.
Step 16 : Lower the opacity of the layer. I have lowered it to 50%.
Step 17 : This is how the image looks. Step 18 : Now continue dragging with the Gradient Tool in all directions and the sides of the image. You will find the gradient will change till you have a very beautiful effect. You will get an effect depending on the Gradient you choose.Step 19 : Ctrl+Click the layer thumbnail in Layer 1.Step 20 : CTRL+clicking will make a selection to appear on your image.
Step 21 : Click the Add Layer Mask radio button and a layer mask form next to the layer thumbnail on Layer 1.
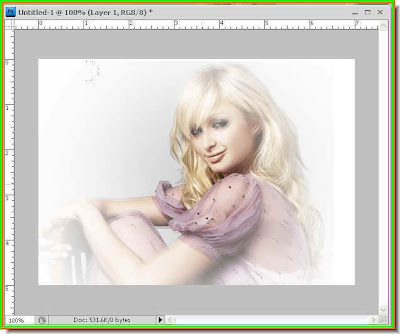
This is the finished image. You can clone any number of images and then follow the same steps.
Step 22 : You can lower the opacity of Layer 2 further if you want. I have lowered it to 20%.This is how the image looks like.Step 23 : Go to Layer>Flatten Image.Step 24 : Press CTRL+L.This brings up the Levels dialgoue box. I have dragged the Black slider at the left to the edge of the graph. Click ok.This is how the image looks.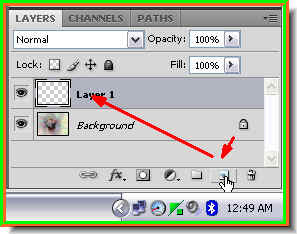
Step 25 : I have clicked on the New Layer icon and a new layer 1 has formed.
Step 26 : I have zoomed in on the lips.Step 27 : I have clicked on the Swatches.Step 28 : I have clicked on a color. Note that the cursor changes to an eye dropper.Step 29 : Click on the Brush Tool.Step 30 : I have painted over the lips with the color I chose. I know it looks horrible.
Step 31 : I have reduced the opacity of the layer to 25%.
And here is the finished image.
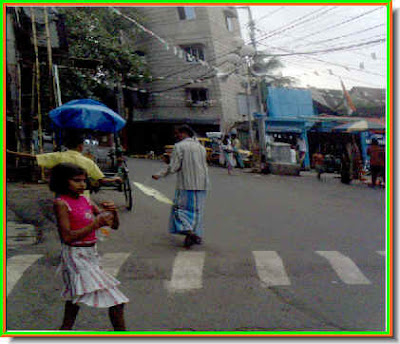
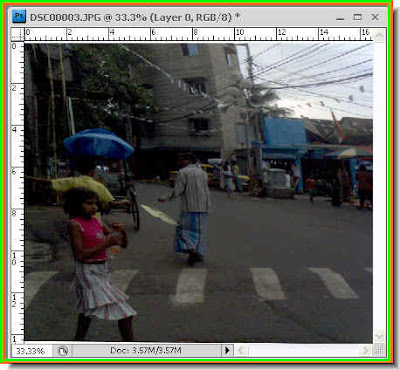 Step 1 : I have opened this photo. I had taken this my mobile phone. You can see the result.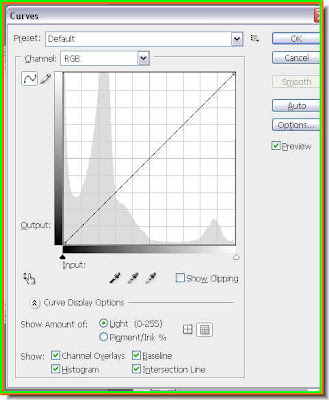
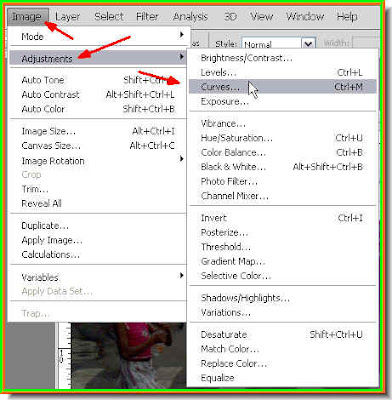

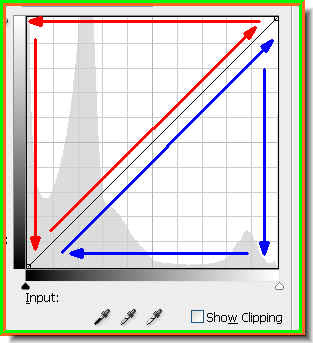
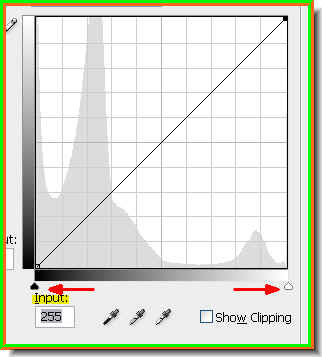
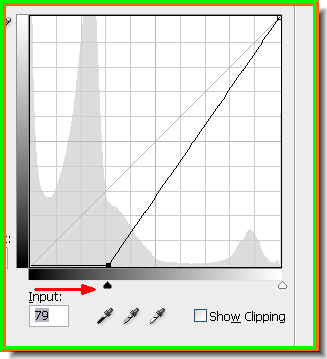


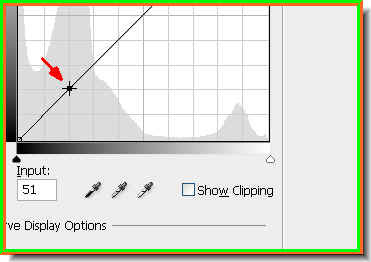

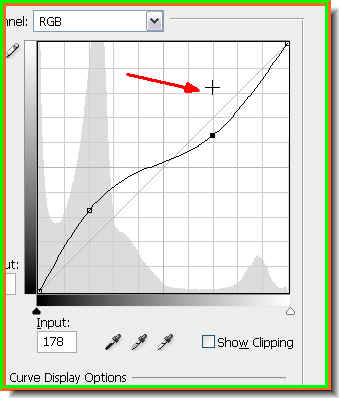

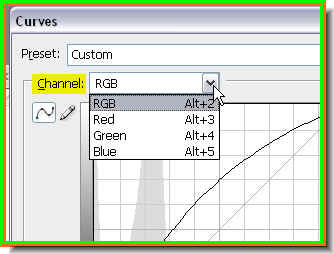 Step 12 : You can also use the Curves to affect the Red, Green and Blue channels. By default it is set at RGB.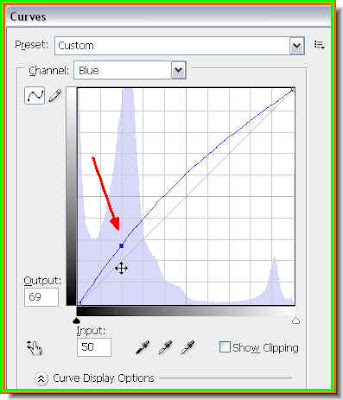


 Step 4 : Go to Windows in the top panel and click on Clone Source.