


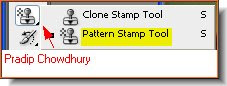
Step 2 : Click on the left panel to access the Pattern Stamp Tool.
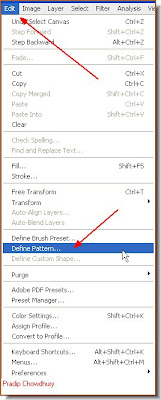
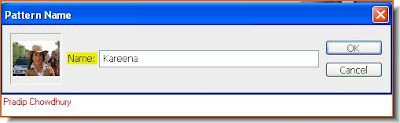
 Step 5 : The Pattern Name dialogue box opens up. Type in a name for the Pattern. I have typed in Kareena. Click ok. Press CTRL+D to deselect. The column of marching ants go away.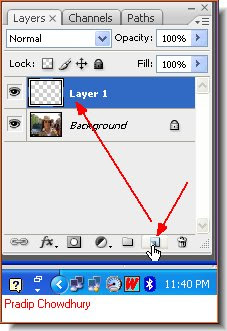
Step 6 : Click the Add New Layer button and Layer 1 forms in the Layers pallette.
Step 7 : Click the Brush Tool.
Step 8 : Click the Icon on the right of the top panel.
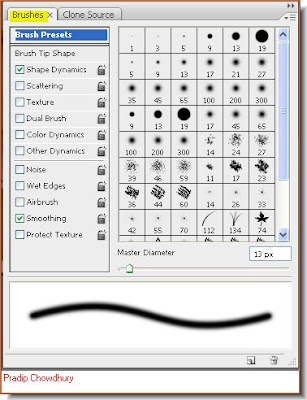
Step 9 : The Brushes dialogue box opens.
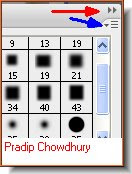
Step 10 : In the brushes pallette click the tiny arrow the blue arrow points to. The double arrow (red arrow) is to make the brushes pallette close.
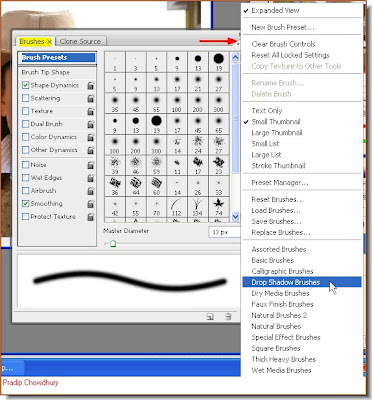
Step 11 : Click where the blue arrow points to in Step 11 to reveal the brushes available. I have clicked on Drop shadow brushes.
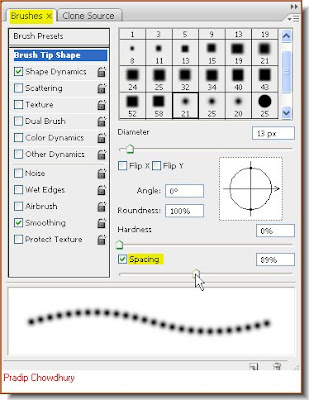
Step 12 : Click the Brush Tip shape. Then drag the Spacing slider. I have moved it to 89%. There is nothing hard and fast about it. You can set your own value for spacing. Click where the red arrow points to in Step11 and the brushes pallette disappears.
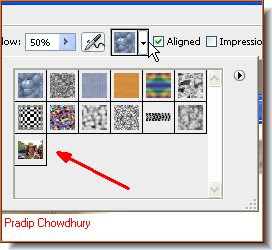
Step 13 : In the top panel click where the arrow points to to reveal the Patterns. From the dropdown menu you will that the pattern saved is the last one. Click to select it.
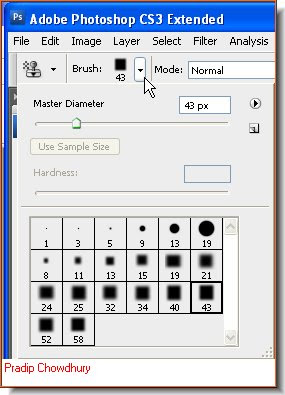
Step 14 : In the top panel at left click where the arow points to, to open the brushes dialogue box.
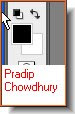
Step 15 : Make sure that the Foreground Color is set to Black and Backround to White. If not, press 'x' and then 'd' on your keyboard.
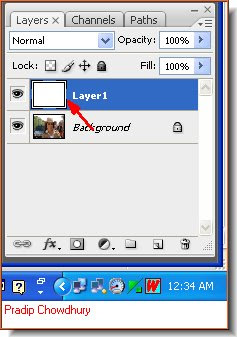
Step 16 : Now remember that we added a new Layer 1. Press CRL+Back Space. This will with the Background color which is White.

Step 17 : Now select the Pattern Stamp Tool and click on the Pattern created.
 Step 19 : Click on the Brushes icon on the right top panel to reveal the brushes available and from the pallete choose Square Brushes. Now set the Spacing slider.
Step 20 : You can make the brush tip smaller by pressing the [ (left bracket) and bigger by pressing the ] (right bracket key). Now just gently move the brush on Layer 2 which is selected. You will get this effect.
Step 21 : Click the add new layer button and Layer 3 forms.

Step 22 : Bring up the brushes pallete and click on Reset Brushes. You must always remember to do this after using different brushes. I have added this step to underline it.

Step 23 : I have clicked on Brush 74.

Step 24 : I have used the bush on Layer 3. This is how the effect looks like. The trick is to make a new layer and choose a new brush. You can have as many layers as you want and as many brushes as you want. Now let your imagination take over.
 Step 25 : Make another new layer - Layer 4.
 Step 26 : Check Impressionist in the top panel.
Step 27 : Click on Brush 29 (or any other brush for that matter).

Step 28 : You can see the brush (red arrow). You can increase or decrease the size of the brush with the [ ] (bracket) keys if you want. I have not changed the size.

And there you are. But, as I said, you can choose any number of layers and any number of brushes (all the brushes shown are available in photoshop) and create your own unique poster. That is all.
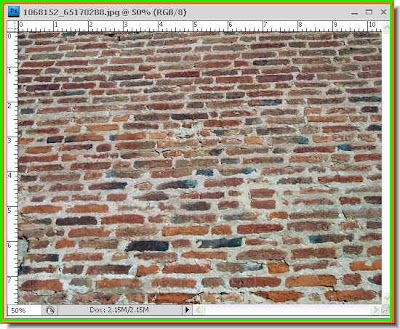 Step 1 : I have opened the photo of the brickwall.
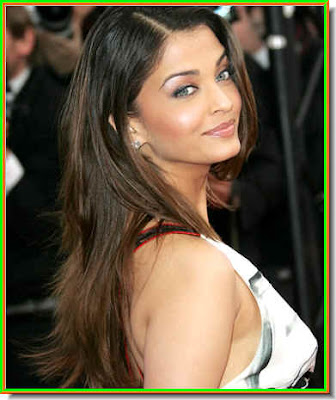 Step 2 : Now choose a set of photos for the collage. I have opened one of
  Step 3 : Click the Move Tool.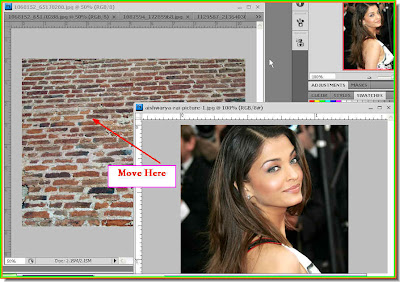
 Step 5 : In the top panel make sure that Show Transform Controls (Bounding Box in PS7) is checked).
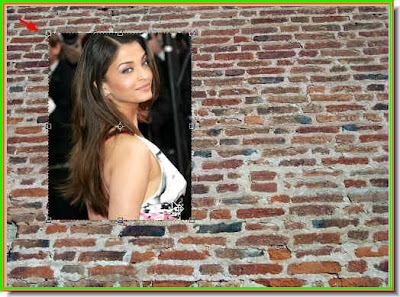 Step 6 : The photo has been moved to the brick wall. Note you can see the corner handles because the Show Transform Controls are checked.
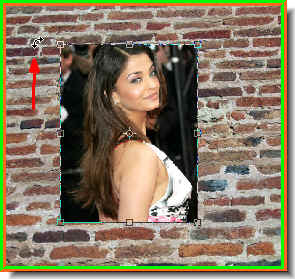 Step 7 : Press SHIFT and ALT and drag inwards. This will resize the photo proportionately and make it smaller. (You can make it bigger proportionately in the same way). Note that a small bent arrow appears when you hover the cursor on a corner.
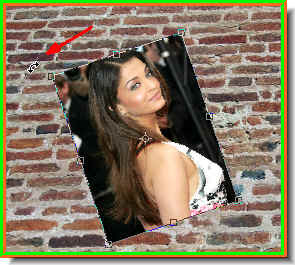 Step 8 : Use the bent arrow to rotate the photo in any direction you please. I have rotated it to the left. Then press Enter to apply the transformation.
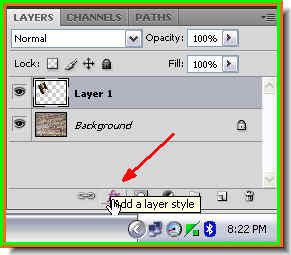 Step 9 : Click the Add Layer Style Button.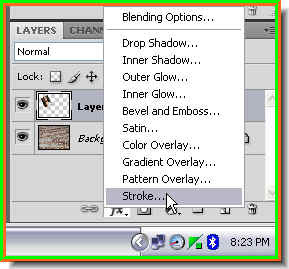
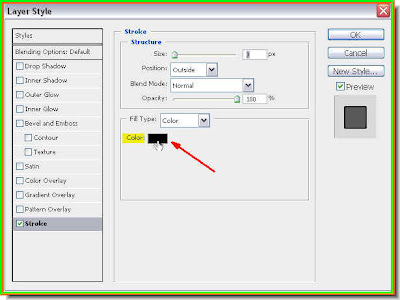 Step 11 : When the Stroke dialogue box opens click on the Color.
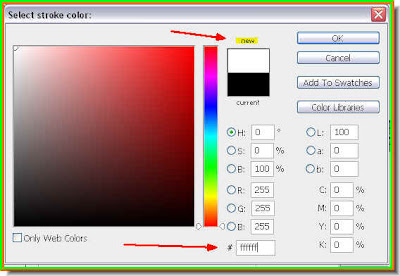 Step 12 : In the Select Stroke Color dialogue box type 'ffffff' (five 'f's) into the box shown by the red arrow. The 5 'f's denote White. Look at 'New' at the top. You will see that the top half has changed to White. Click Ok.
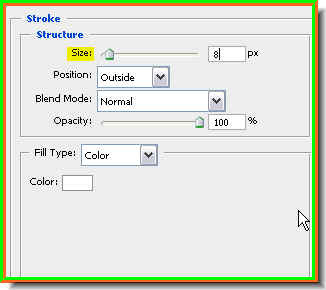 Step 13 : Increase the size of the Stroke. It is set at 3 pixels as default. How much will depend on your image and what you find satisfying. I have set it at 8 pixels. Click ok.
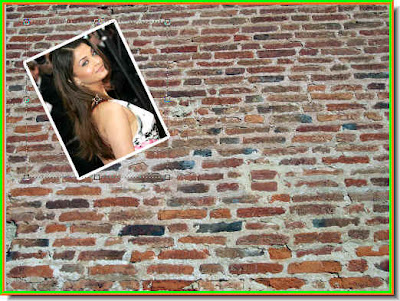 There that is how it looks. Now following exactly the same steps add the other photos, resize them rotate them and add a White Stroke. You can add any number of images. Make sure that they are of the roughly the same size and resolution. A high resolution image on a low resolution background can cause problems and vice versa.
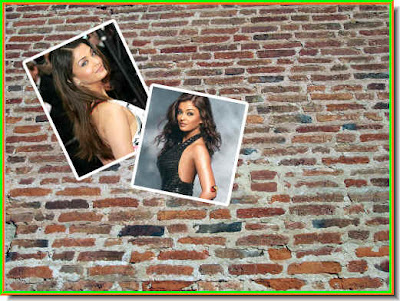 Following exactly the same steps I have added another photo.
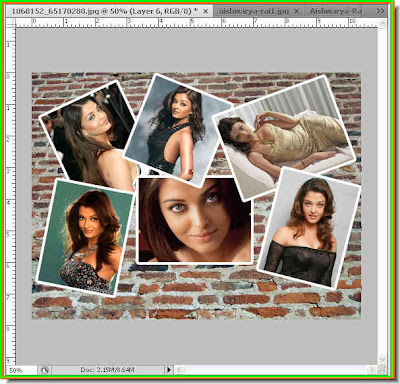 I have added six photos.
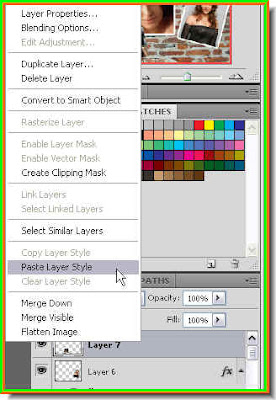
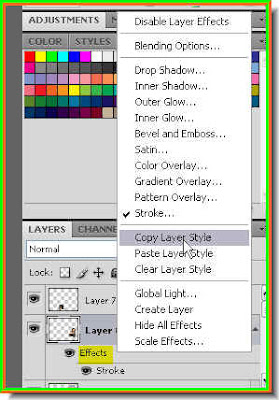 Step 14 : I will teach you a trick which will help when you add a number of layer styles quickly. Go the layer below the one you are working on after adding a new photo. I have added a new photo. It is on Layer 7. I am now clicking on Layer 6. Right click the Effects. From the popup
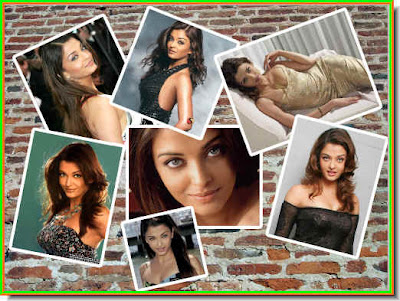
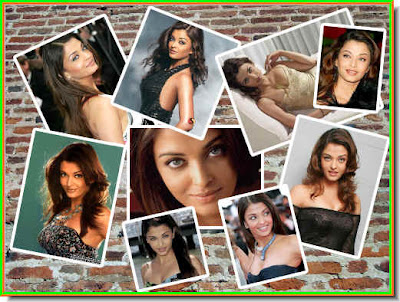 I have finished adding all the photos.
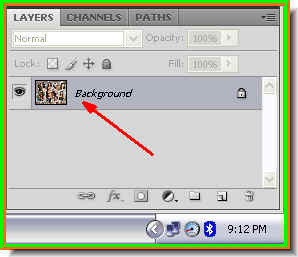 Step 17 : Now press CTRL+SHIFT+E. This is the Merge Layer command. All the layers have been merged into a single layer i.e. the background.
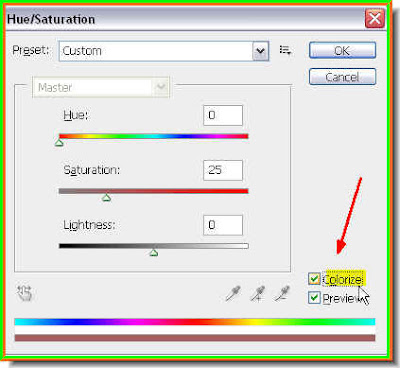 Step 18 : Press CTRL+U. This will bring up the Hue/Saturation dialogue box.
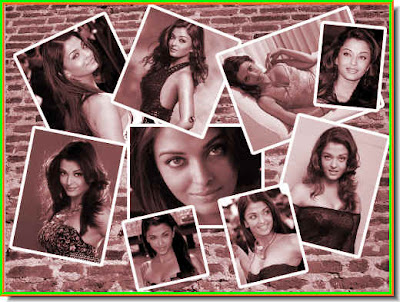 The image looks like this with the default Hue/Saturation settings.


