I had posted a tutorial on Vanishing Point Tool in Photoshop CS. The tutorial is here. This is to show you something further with the Vanishing Point Tool. You can make a photo fit onto a plane with the proper perspective.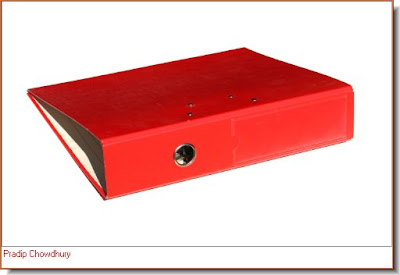
 Step 1 I have opened these two photos -- one of a folder file and another of a girl.
 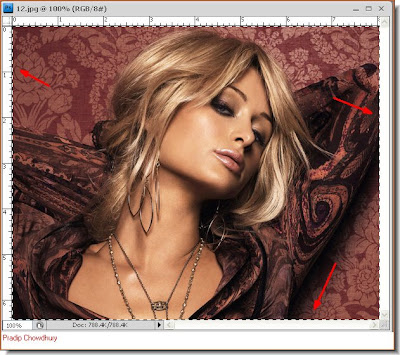 Step 2 : Press CTRL A (shortcut for Select All), then CTRL+C (shortcut for Copy). Minimise the image.
 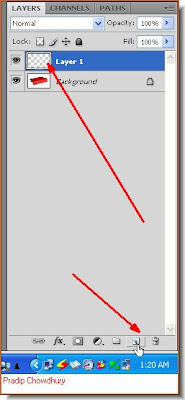 Step 3 : Now I have click on the photo of the folder. In the Layers pallette clicked on the Add New layer icon or press CTRL+SHIFT+N. A new layer is created over the Folder layer.
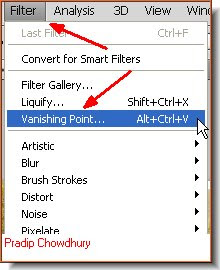
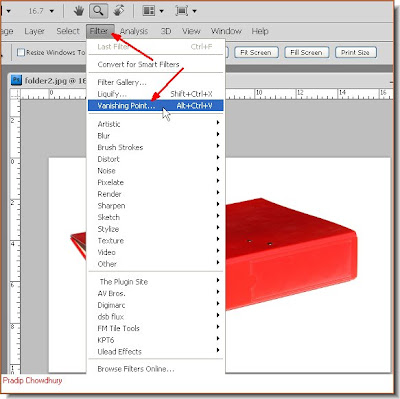 Step 4 : Go to Filter>Vanishing Point.
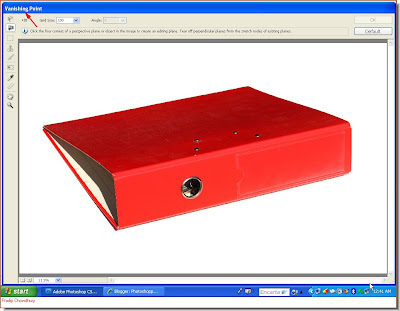 Step 5 : The Vanishing Point Tool box dialogue opens.
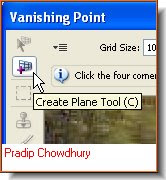
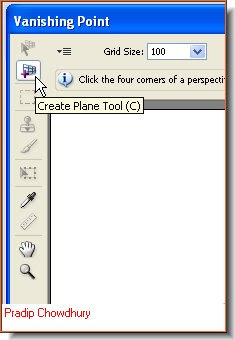 Step 6 : In tools panel on the left of Vanishing Tool, the Create Plane Tool is selected by default.
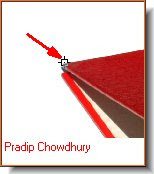 Step 7 : With the Create Plane Tool click on a corner.
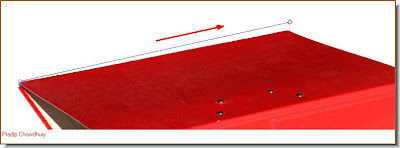 Step 8 : When you drag with the Create Plane Tool you will find it acts like a rubber band following the cursor.
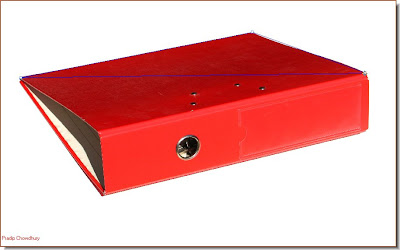 Step 9 : I have clicked on the second and third corner on the right side. When I click the third point a diagonal line appears connecting the first and third points.
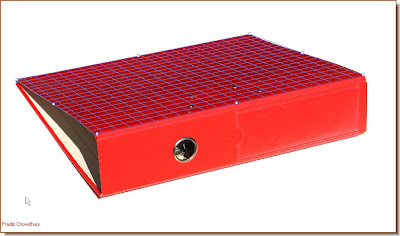 Step 10 : Drag the fourth point to the fourth corner and a grid forms immediately. Note that the color of the grid is Blue. If the color of the grid happens to be Red, then Photoshop is telling you that the plane you have drawn is impossible. In case it is Yellow then it means that the plane that you have drawn is difficult, but Photoshop will try to draw it. So remember that the grid has to be Blue. In case it is Red or Yellow a minor adjustment will fix it. Just drag the middle corner handle till the grid turns Blue.
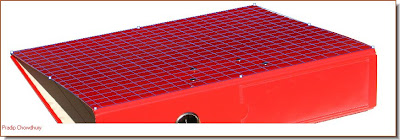 A closer view of the grid.
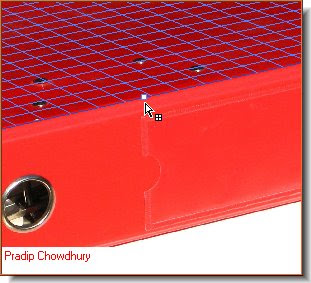 Step 11 : Now press CTRL and bring you cursor to the the midpoint of the grid and an arrow symbol with a tiny grid icon will appear.
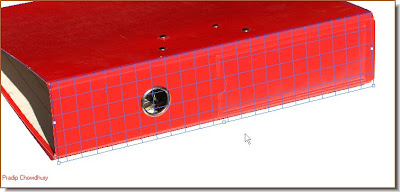 Step 12 : Keeping CTRL pressed drag with the arrow and a grid appears on the side of the file.
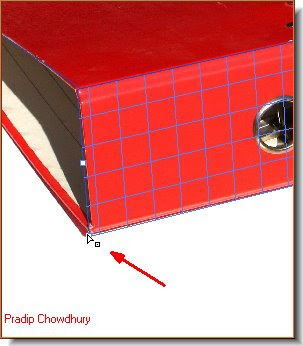 Step 13 : I have positioned the grid, then keeping ALT pressed I have drag the corner handles to fit the edges of the grid to the file.
 Step 14 : Now press CTRL+V (Paste). This will paste the photo chosen earlier.
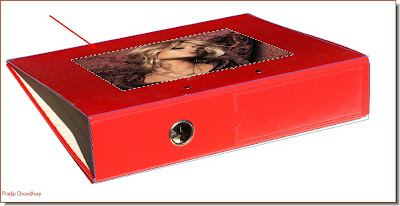 Step 15 : Now I have dragged the photo onto the grid on the folder. Note that the photo fits into the perspective of the folder.
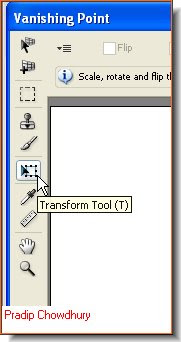 Step 16 : I have clicked on the Transform Tool.
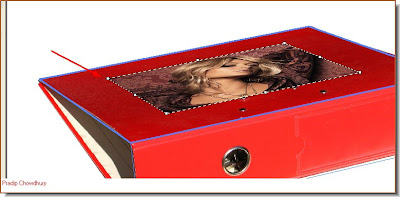 You will find corner handles appear as soon as you click the Transform Tool.
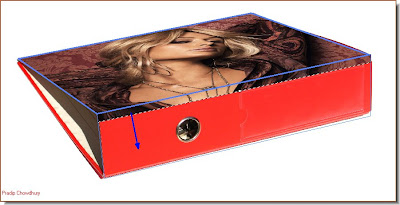 Step 17 : Now press SHIFT+ALT and drag on the photo. It will drag out the photo proportionately to fit the grid. I have now begun dragging down the side of the folder.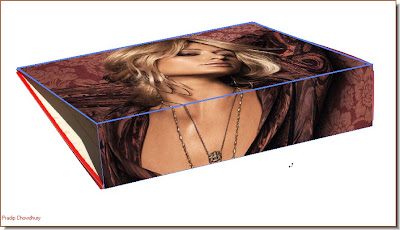
Step 18 : I have dragged the photo to cover the side of the file. Click ok in the Vanishing Tool dialogue box.
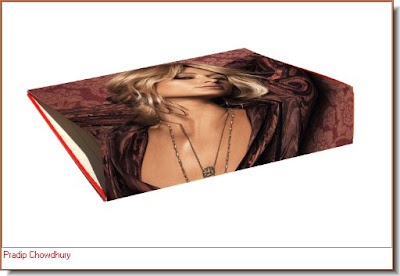
The finished image. The photo has fitted snugly with the plane of the file. That is all.
The third part of the tutorial is here.
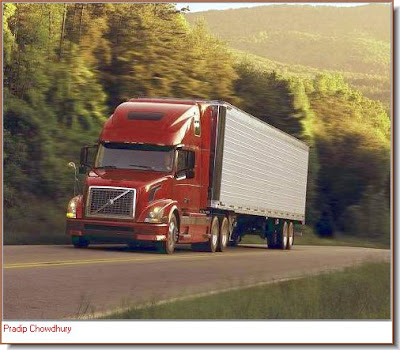



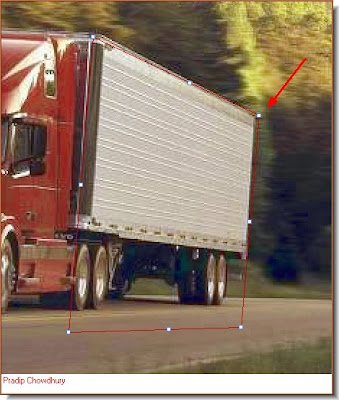
 Step 7 : Now with the cursor I have dragged the grid at the back of the truck,
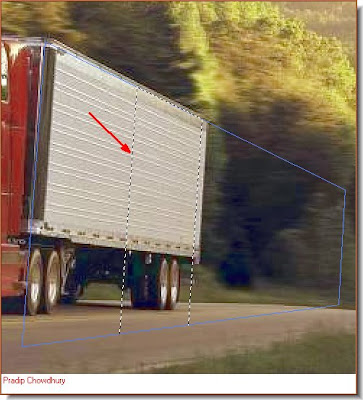
 Step 10 : I have set the Feather at 3.
 Step 11 : Press ALT and drag the selection with the cursor. The truck body has been extended and has more wheels.
 Step 12 : I have again pressed ALT and dragged the selection which has further elongated the body and added more wheels.
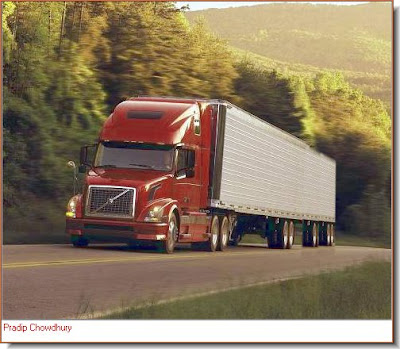 Click ok and the truck has a longer body and many more wheels. Try it out. There are more things that can be done with this tool. The second part of the tutorial is

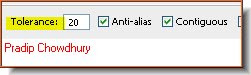
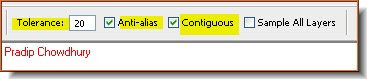 Step 2 : In the top panel set the Tolerance at 20. Also check the Anti-alias and Contiguous. The default Tolerance is set at 50. You can even begin by setting a Tolerance of 10.
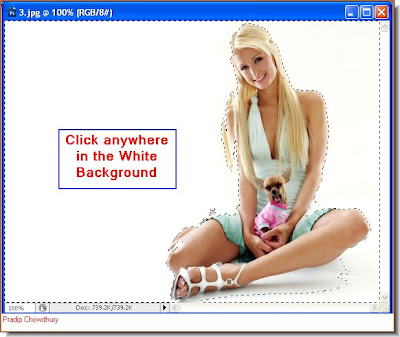 Step 3 : Click anywhere in the white background with the Magic Wand. You will immediately get a selection of 'marching ants.
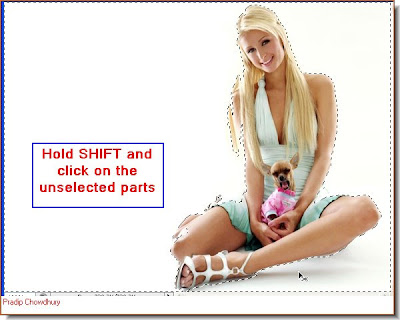 Step 4 : Hold SHIFT and click on the unselected parts. When you hold down shift you will find a tiny plus sign appear beside the Magic wand. Select the unselected areas.
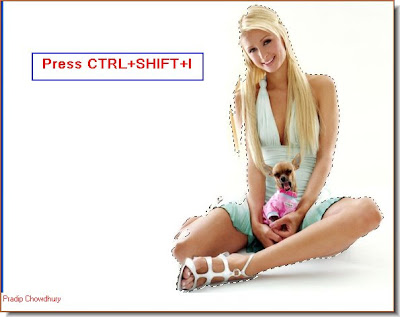 Step 5 : Press CTRL+SHIFT+I to inverse the selection. Now only the figure is selected by the 'marching ants'.
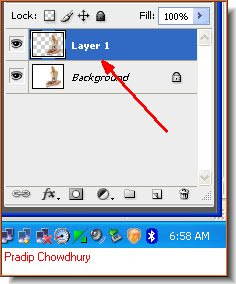 Step 6 : Press CTRL+J. The selection will be copied and pasted on a new Layer 1. Look at the Layers pallette
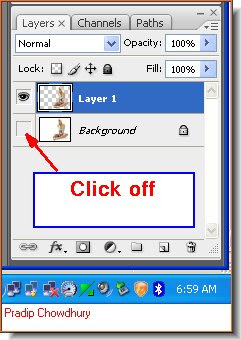 Step 7 : Click off the eye icon in the Background layer.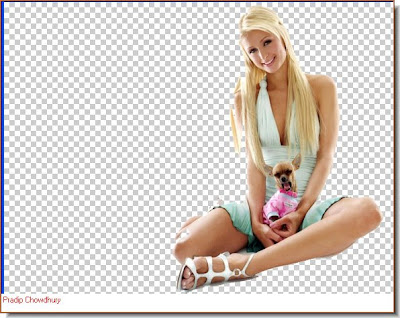
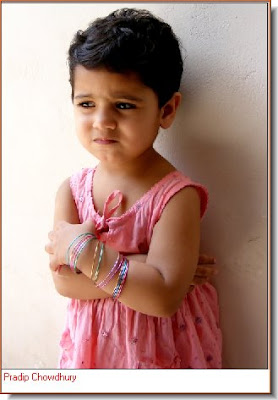

 Step 10 : I have clicked once on the left of the image and a large portion is selected.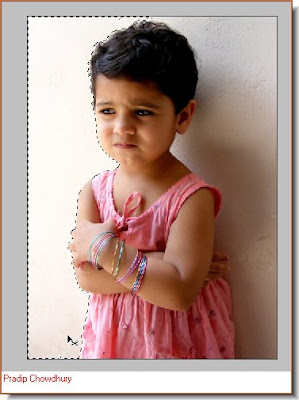



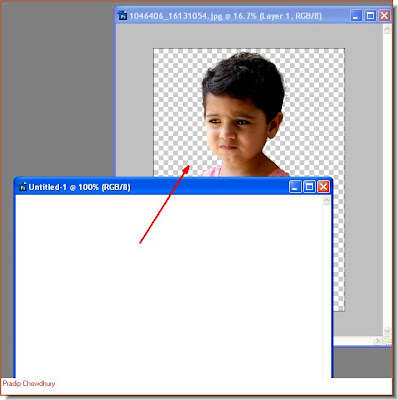


 Step 20 : You are on the white layer (Layer 2). Therefore click back to Layer 1.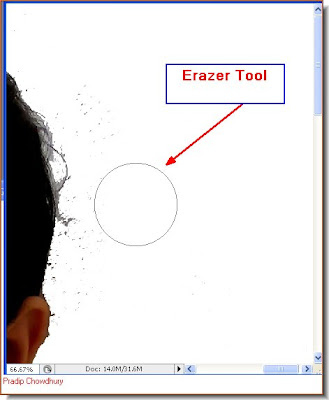

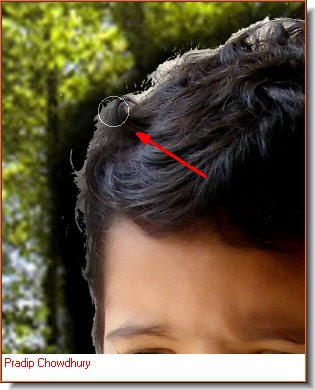
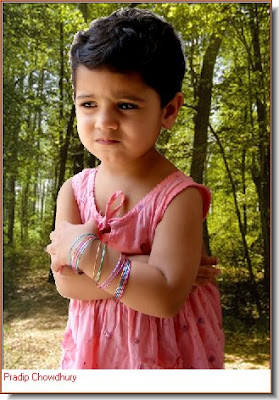 Step 23 : You can even put a new background to the image. Note that when you do so, the edges especially near the hair appear light. That has to be fixed.
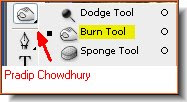 Step 24 : Click on the Burn Tool.
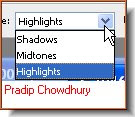 Step 25 : in the top panel click on Highlights from the dropdown.