You can create Text with flames. It is quite easy to do. You can do it in any version of photoshop.

Step 1 : Open a new white layer.

Step 2 : Create a new layer by clicking the add new layer button in the Layers pallete.
 Step 3 : Make sure the Foreground is set to Black and Background to White. If not press 'x' then 'd' on your keyboard.
Step 4 : Press ALT+BACKSPACE. This will fill the layer with the Foreground color, which is Black in this case.
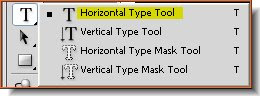 Step 5 : Click the Horizontal Type Tool from the flyout.
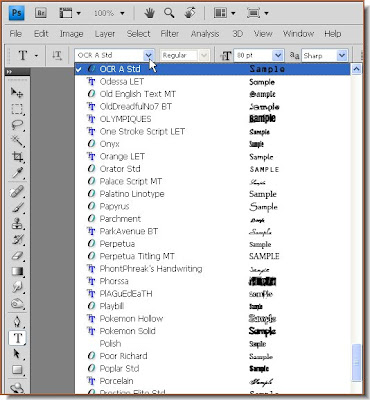 Step 6 : Click a font from the dropdown in the top panel. PS7 users will not be able to see the example of what the font looks like. Only CS users will be avilable to view the fonts. Not much of a problem there of course.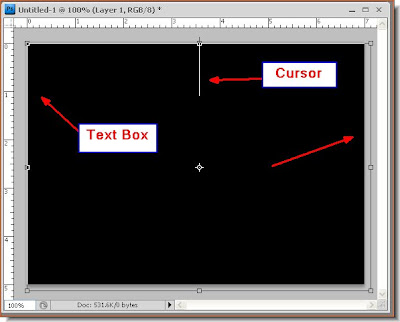
Step 7 : Draw out the Text Box with the cursor to cover the entire document.

Step 8 : In the top panel set the size of the font. I have set it at 80 px and set the aligment to Centre align.
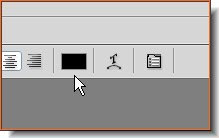 Step 9 : You have to set the color of the Text next. Click where the arrow points to in the top panel.
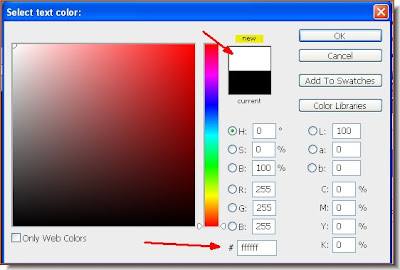 Step 10 : The Select Text Color dialogue box opens. Type 'fffffff' (6 'f's) at the bottom where the red arrow points to. You will find 'New' at the top changing to White. Click ok.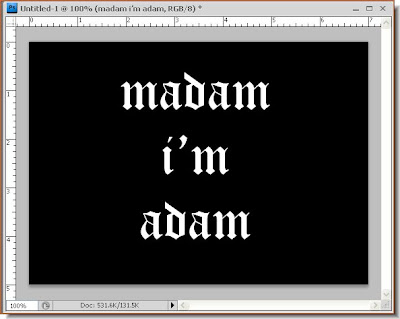

 Step 11 : I have typed out my text. Then clicked on the tick mark in the top panel to apply the text. You can type in anything you want.
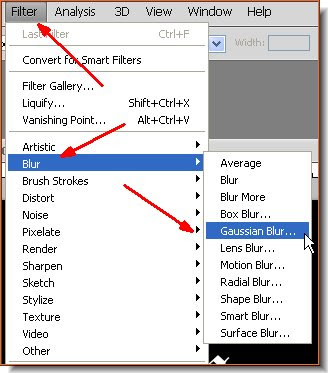 Step 12 : Go to Filter>Blur>Gaussian Blur.
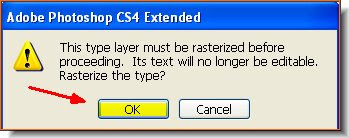 Step 13 : This dialogue box pops up. Click ok.
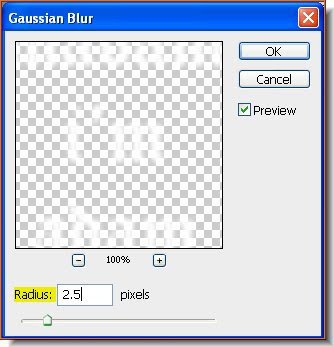 Step 14 : Now click on Gaussian Blur and when the dialogue box opens, set an appropriate Radius. I have set 2.5 pixels. Click ok.
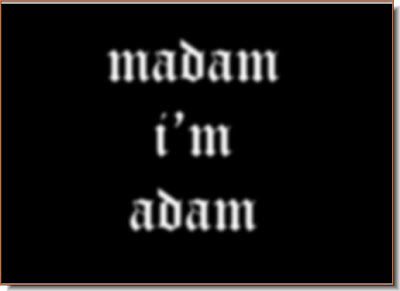 Step 15 : This how the text looks after applying the Gaussian Blur.
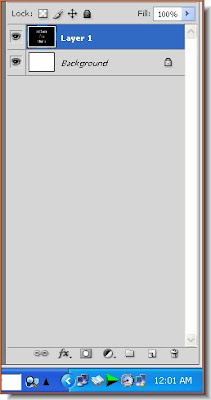 Step 16 : Press CTRL+E. This will merge the rasterised text layer with Layer 1.
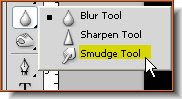 Step 17 : Click on The Smudge Tool from the flyout.
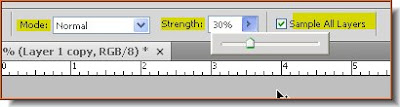 Step 18 : In the top panel set the Strength to 30 %. You need not tick Sample All layers.
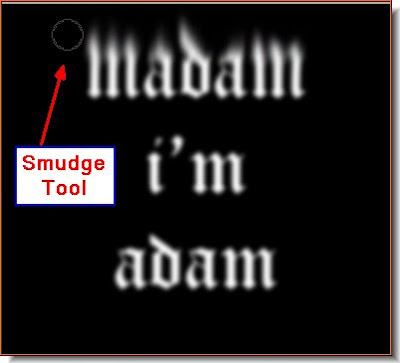 Step 19 : With the Smudge Tool gently brush upwards to make the 'flames' .
 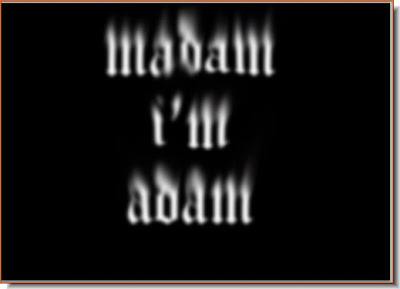 Step 20 : The entire text has been smudged.
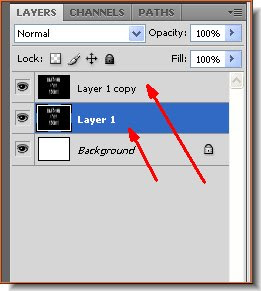 Step 21 : Now pres Ctrl+ J. This will duplicate Layer 1 as Layer 1 copy. Click back on Layer 1.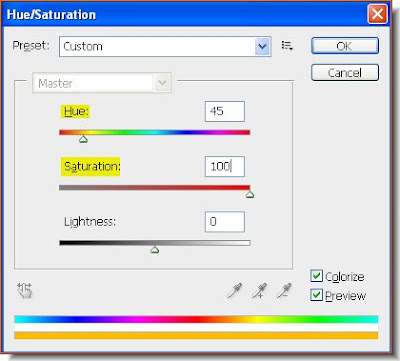
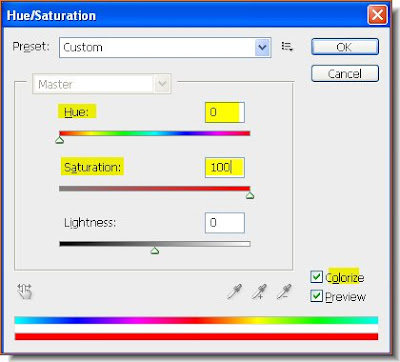 Step 22 : Press Ctrl+U. This will Bring up the Hue/Saturation dialogue box. Check Colorize. Then set the Hue to 45 and Saturation to 100. Then click on Layer 1 copy. Again press CTRL+U to bring up the Hue/Saturation dialogue box. Check Colorise. Then set the value of Hue to 0 and Saturation to 100. click ok.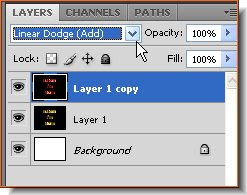
Step 23 : Now change the Blend Mode from the popup menu (white arrow) to Linear Dodge.
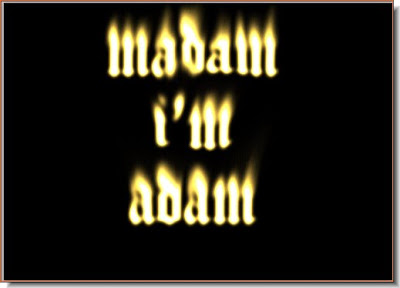 Step 24 : This is how the image looks.
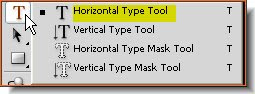 Step 25 : Click on the Text Tool
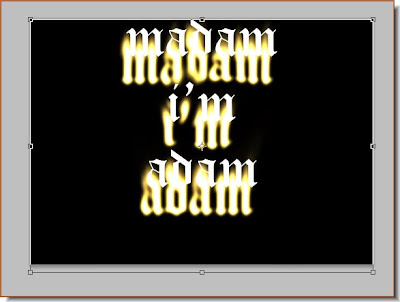 Step 26 : Type out the same text again.
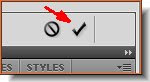 Step 27 : Click the tick mark in the left of the top panel to apply the text.
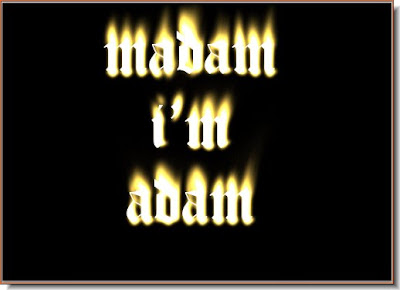 Step 28 : Move the text over the 'fire'text till it is exactly over it as above.
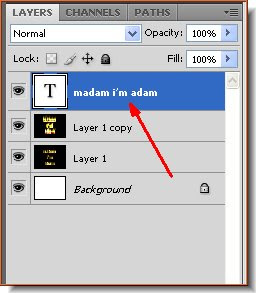 In the Layers pallete the text is on the top layer.
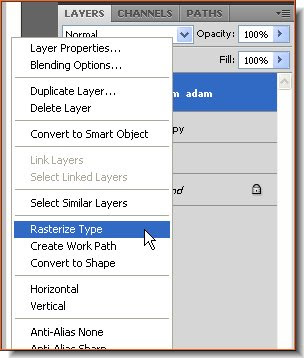 Step 29 : Right click the Text layer and select Rasterise Type.
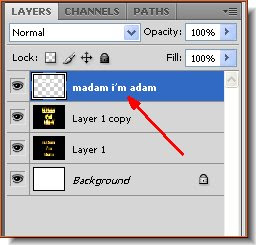 The text has been rasterised.
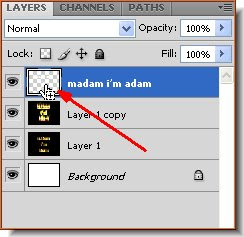 Step 30 : Now press CTRL+click on the thumbnail on the text layer.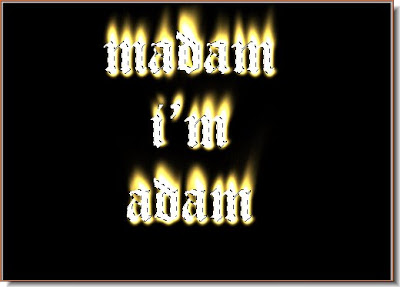
Step 31 : As soon as you CTRL+Click a column of marching ants appears around the text.

Step 32 : Click on the Gradient tool and click on top to bring up the Gradient editor.
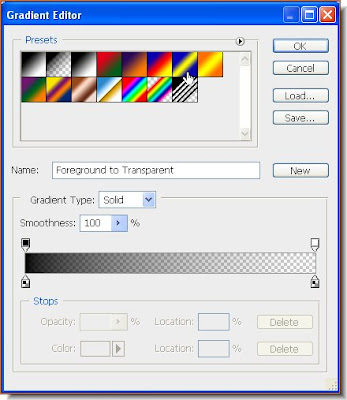
Step 33 : You can select any gradient you like. I have clicked on the one shown by the small white hand.

Step 34 : Now drag in any direction with the Gradient tool. I have dragged down. If you drag in another direction you will get a different effect.

Step 35 : This is the effect I have got. Press CTRL+D to deselect and the marching ants will go away.
 Step 36 : Click on the Add Layer Style button. It looks different in PS7, but is found in the same place.
 Step 37 : From the popup click on Blending Options. When you want to apply a number of layer styles it is easier to do so by clicking on Blending Options.
 Step 38 : In Blending optiosn you will find the styles on the left panel. Click on Outer Glow. as soon as you click it is applied. I will leave it at the default settings. Do not click ok.
Step 39 : In the left panel now click on Bevel and Emboss. Also check the Contour. Now click ok.

And there is the flaming text.
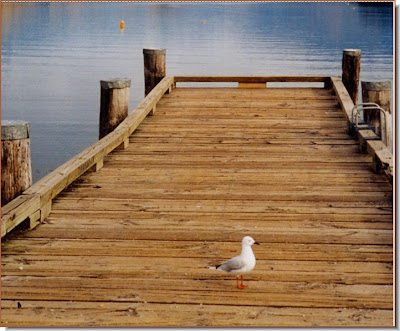
 Step 2 : Go to Filter>Vanishing Point.
 Step 3 : The Vanishing Point dialogue box opens.
 Step 4 : On the panel at the left the Create Plane Tool is selected by default. We
 Step 5 : With the Create Plane Tool I have clicked first in the foreground then at the top. The lines act like a rubber band when you move it. I have clicked a third point at the right. Immediately a diagonal connects the third and first points.
 Step 6 : I have clicked on the fourth point to crfeate a grid. Note that the grid is red, which means that Photoshop will not be able to work with it. If it had been yellow, it means it is still wrong, but Photoshop will try to make it work. What we need is a blue grid.
 Step 7 : By tugging slightly at the right bottom corner, the grid turns blue, which is perfect.
 Step 8 : Now click on the Stamp Tool. It is a bit different which you use in ordinary photoshop.
 Step 9 : ALT+Click with the Stamp Tool as you would do in PS. The result is not a regular brush but a clone of what you clicked on. If you move the tool after clicking you will see that the tip grows bigger as it approqaches the bottom and smaller as you go towards the top. This is because it is following the plane.
 Step 10 : In the top panel turn on Heal from the drop down menu and you may also check Aligned.

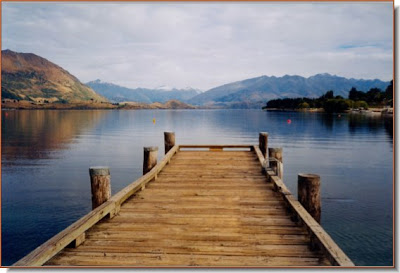
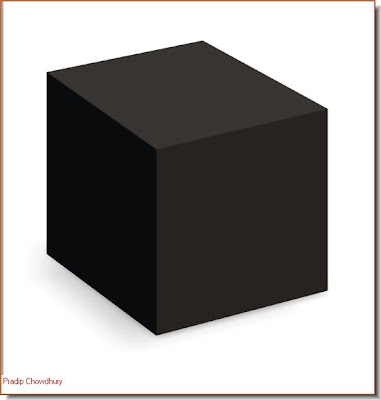
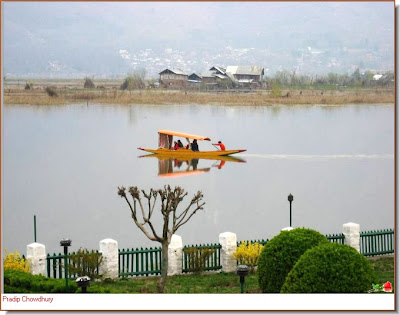
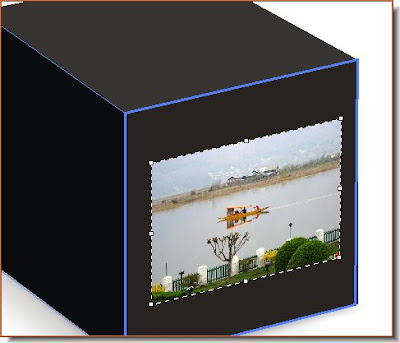
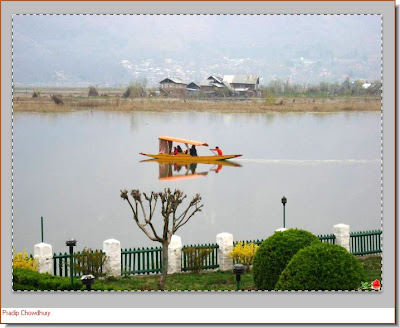 Step 2 : Click the photo you want to paste on the cube. Press CTRL+A (Select All), the CTRL+C (Copy). You will find a column of marching ants all around the edge of the photo. Minimise it.
 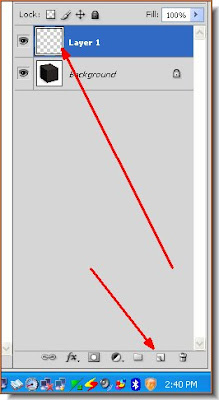 Step 3 : Click the photo of the cube. Click the Add New Layer icon in the Layers pallette and a new layer forms above the background Cube layer.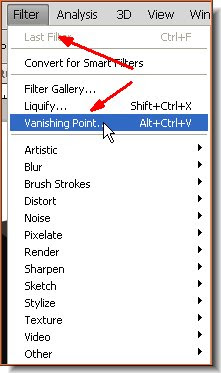
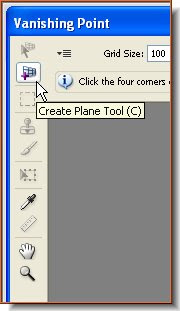 Step 5 : When the Vanishing Tool dialogue box opens, look at the controls on the top left panel. The Create Plane Tool is selected by default. It is the first tool we will use.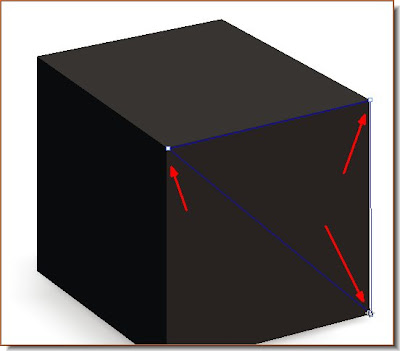
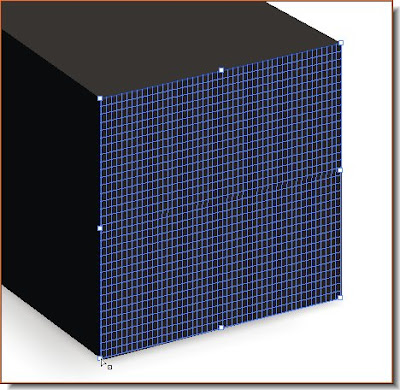
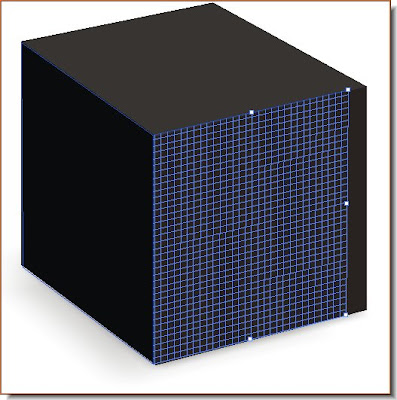
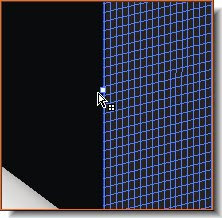 Step 8 : Now press CTRL and hover your cursor near the midpoint handle. You will find the cursor changes and has a tiny grid icon below it.
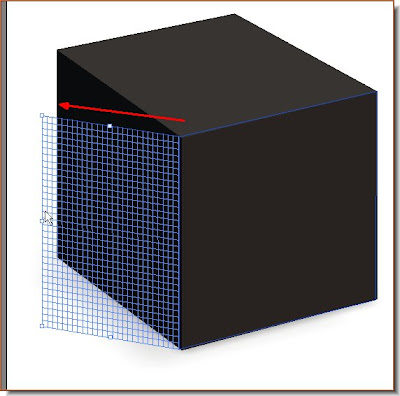 Step 9 : Now drag out the grid. You will find that it does not follow the angle of the cube. That is no problem.
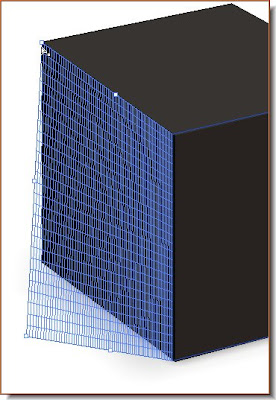 Step 10 : Now press ALT and drag a corner and align with the cube. I have aligned the top left of the grid to the cube. You not keep the ALT pressed after aligning once.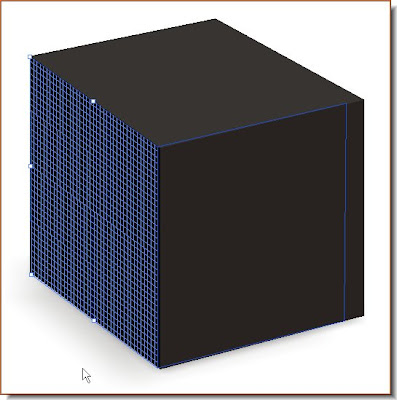
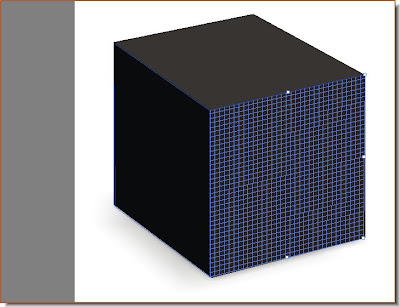
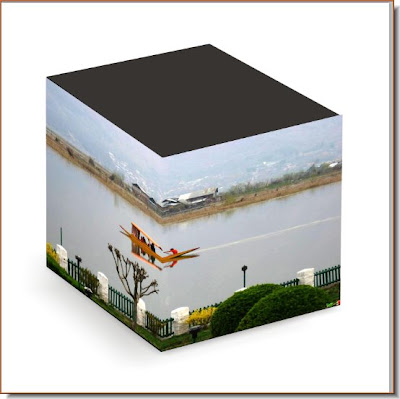
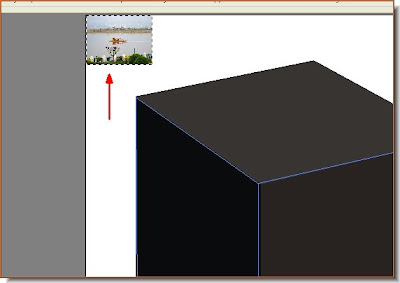 Step 14 : Now press CTRL+V to paste the other image which has been selected. The image appears. (The photo of the cube is a high resolution image, while the other image is of low resolution).
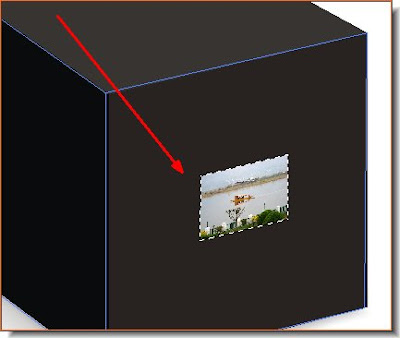 Step 15 : Use the cursor to drag the other photo. You will find that it adjusts to the plane of the cube.
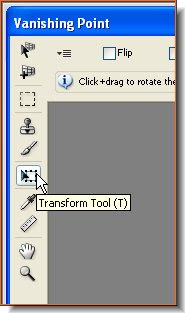 Step 16 : Click the Transform Tool on the left panel.