 Step 1 : Open up a photo in Photoshop. I have opened a free stock image.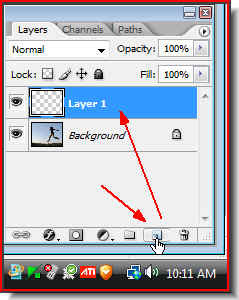
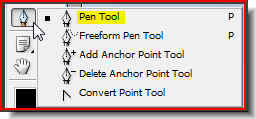 Step 3 : Click the Pen Tool from the flyout.
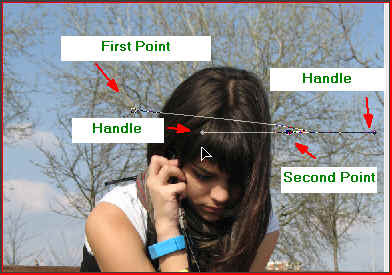
In the top panel click this icon. It is very important to do so otherwise you will find a black layer forming as you click. Step 4 : Click a point with the Pen Tool. Then click a second point. Keep the left mouse button pressed and begin dragging. You will find two handles emerge. Drag down with the left mouse button pressed till you get a curved line.
 Step 5 : Click a third point as shown above.
 Step 6 : Click the Direct selection Tool. It is found just above the Pen Tool.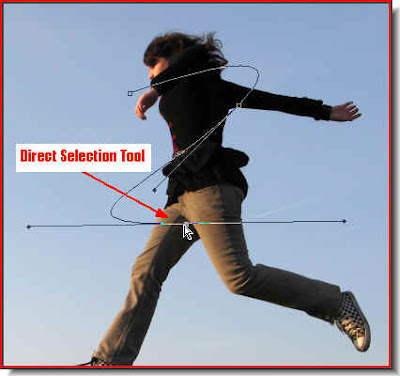
Step 7 : With the Direct Selection Tool you can move or alter the shape of the curve. See the snap above and compare it to Step 5. Easy is it not?
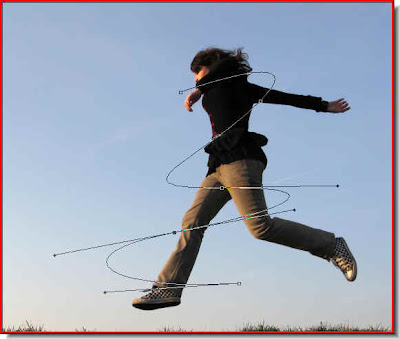 Step 8 : Click another point with the Pen Tool, use the Direct Selection Tool to correct the curve. Again go back to the pen Tool and then the Direct selection Tool. That is how you go about it. quite easy you see.
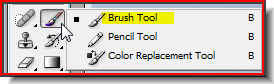 Step 9 : Click the Brush Tool.
 Step 10 : You will find this icon on the top panel as soon as you click the Brush Tool.
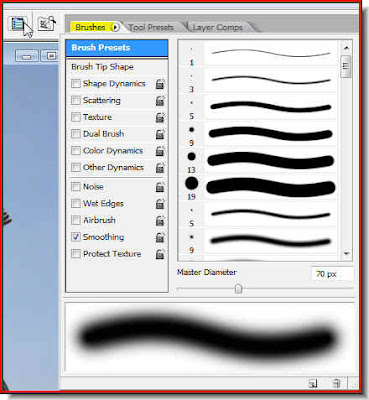 Step 11 : Click the icon and the Brush presets dialogue box opens.
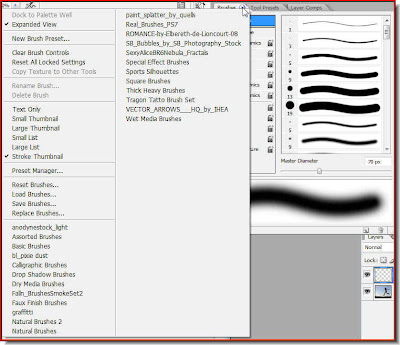 Step 12 : Click the tiny black arrow next to the Brushes and you will find all brushes that you have. There are different sets that you can use.
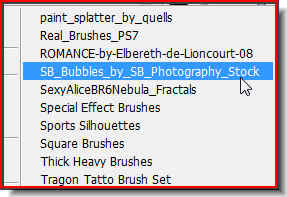 Step 13 : This is the Brush I asked you to download.
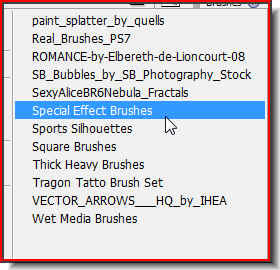 Step 14 Alternately you can use the Special Effect Brushes that come with Photoshop.
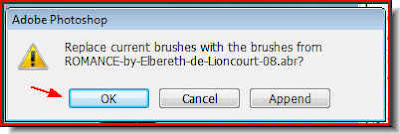 Step 15 : As soon as you click a Brush set, this dialogue box opens. Click ok.
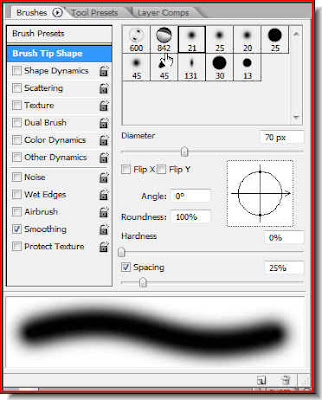 Step 16 : Now this dialogue box opens.
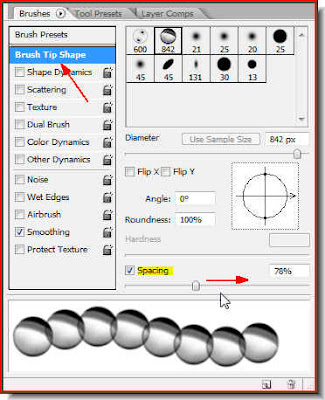 Step 17 : Click on the Brush Tip Shape and then drag the Spacing slider to the right. How much you want will depend on you.
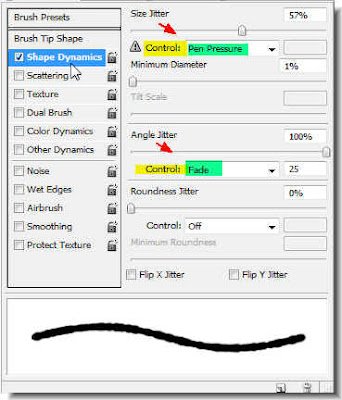
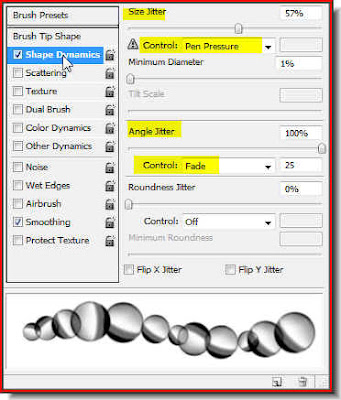 Step 18 : Now click on Shape Dynamics. At the right, set the size Jitter control to pen Pressure and Angle Jitter Control to fade.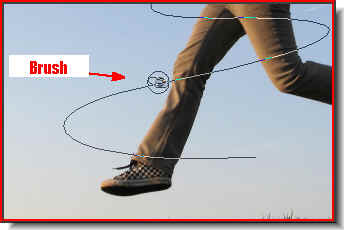
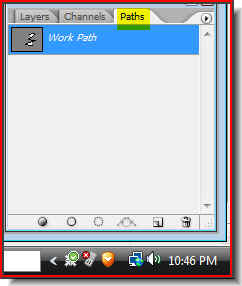 Step 20 : Click on the Paths pallete.
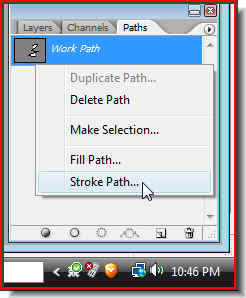 Step 21 : In the Paths pallette right click the Workpath icon. A drop down menu appears. Click on Stroke Path.
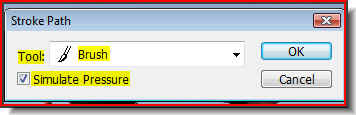 Step 22 : As soon as you click Stroke Path, this dialogue open. In the dropdown from the Tools select Brush. Also check the Simulate Pressure. Click ok.
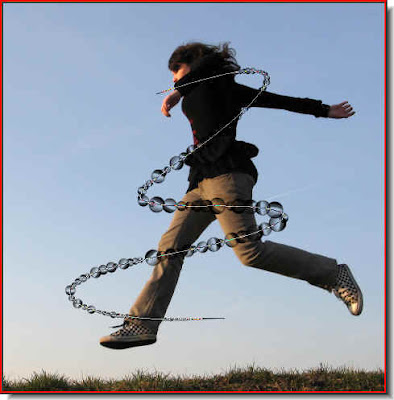 Step 23 : This is how my image looks.
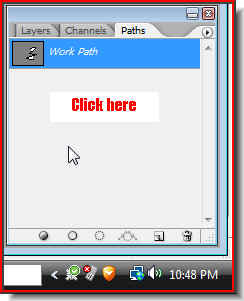 Step 24 : No click anywhere below the layer thumbnail. The path will disappear.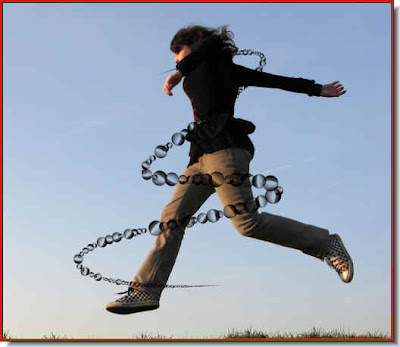
Step 25 : This is how my image looks now without the path. No go back to the Layer pallete.
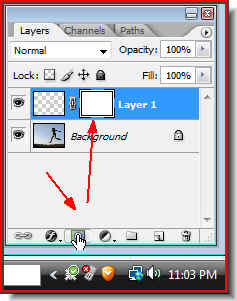 Step 26 : Click the Add Layer Mask button. A Layer Mask forms next to layer thumbnail on Layer 1.
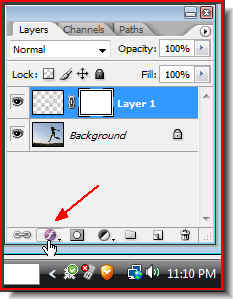 Step 27 : Click the Add Layer Style button.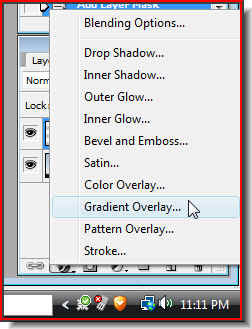
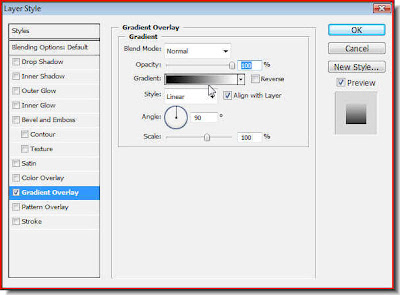
Step 29 : This dialogue box opens. Note that Gradient Overlay at left is highlighted. It means it is selected. Click where the small white arrow points to.
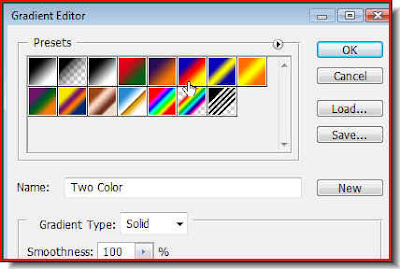
Step 30 : From the Presets click on ony one. I have clicked on one. The small white hand shows it. Do not click ok.
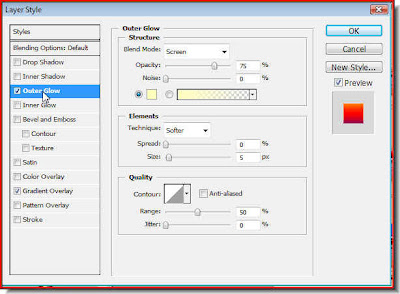
Step 31 : Now click on the Outer Glow in the left panel. I will leave it at the default settings. Now click ok.
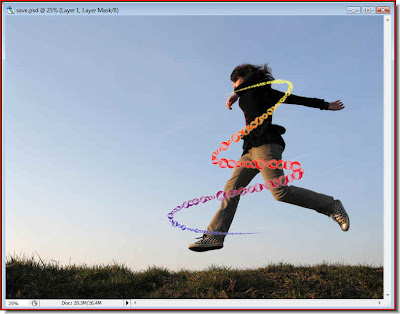
This is how the image looks like.
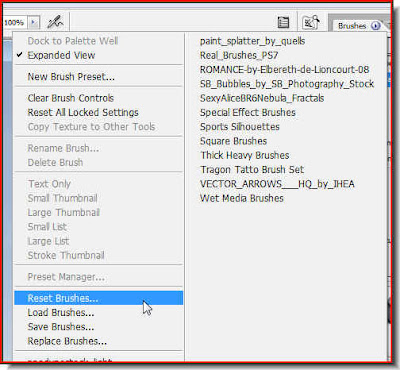 Step 32 : Click the Brush icon in the top panel and click on Reset Brushes. You must always remember to this when you are using different brush sets.
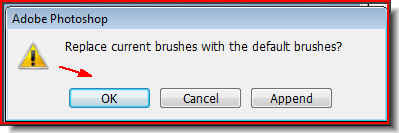 Step 33 : As soon as you click, this dialogue box pops up. Click ok.
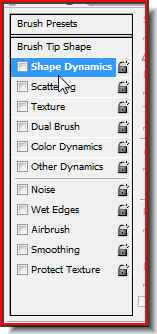 Step 34 : Also uncheck Shape Dynamics.
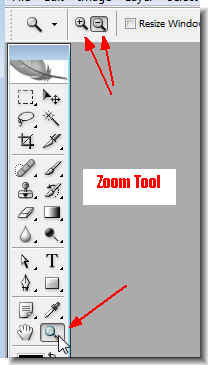
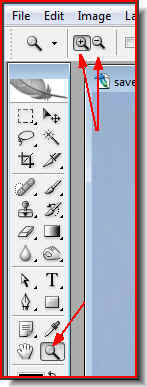 Step 35 : Click on the Zoom Tool. At the top panel the icon with a plus sign is for zooming in and with the minus sign for zooming out.
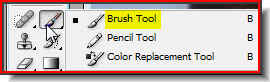 Step 36 : Click on the Brush Tool. You have to use a soft brush. To make the brush tip soft press Shift+[ a number of time. Conversely to make the tip hard press Shift+].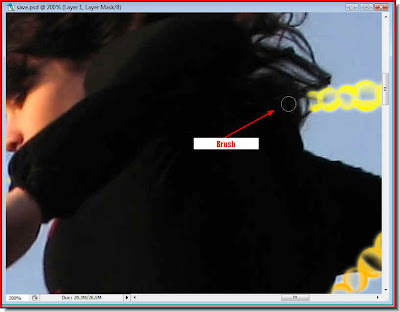
Step 37 : I have zoomed into the image to be ably to see clearly as I work. You can also see the Brush tip. I have wiped away the bubbles from over the clothes with the Brush Tool.
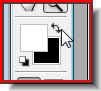
One word though. when you begin painting make sure that the Foreground is set to Black and Background to White. Should you accidentally paint out a portion just switch the Foreground to White and Backround to Black. The resume painting with the Foreground set to Black. Use the small bent arrow to sitch between Background and Foreground colors.
 This is how the image looks now. The Pen and Brush part is finished. You can use any Brush that you are happy with.
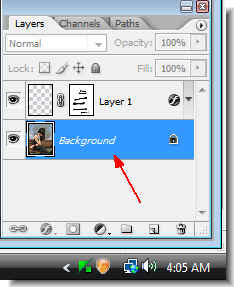
 Step 38 : Now click back on the background Layer.
 Step 39 : Click on Filters> Render>Lighting Effects.
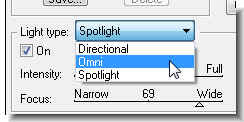
 Step 42 : : When the Lighting Effects dialogue box opens, keep the Style set to Default. Change the Light Type to Omni.
 Step 43 : Look in the left panel after you change the Light Type to Omni. You can see a circle of light. You can drag it anywhere in the image with the cursor. You can make it smaller or bigger by dragging the handles at the side of the circle. It is up to you. Click ok when you are satisfied.
 And this is how my finished image looks. Try it out. It is easy.
Other Photoshop tutorials are here.
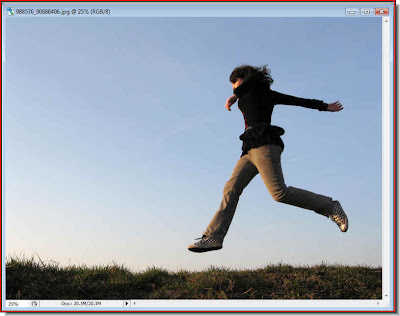
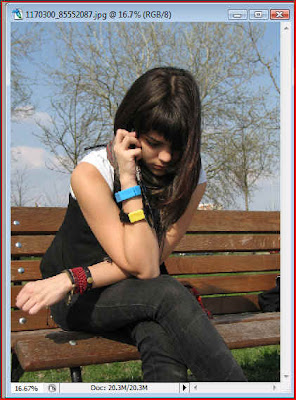 Step 1 : I have opened this free stock photo.
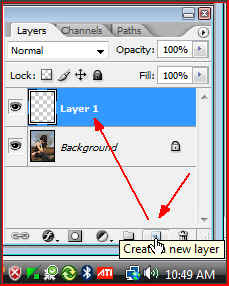 Step 2 : Click the Create New Layer button shown and a new Layer1 forms above the Background Layer.
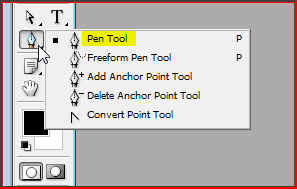 Step 3 : Click the Pen Tool.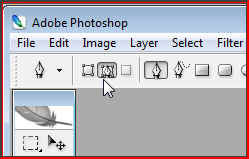
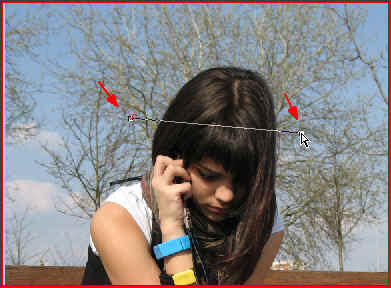
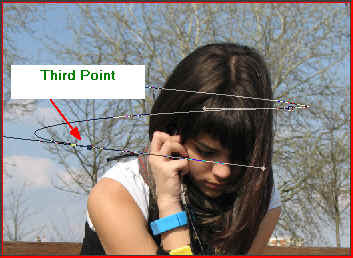 Step 7 : Now click a third point and a line immediately connects the second and third points. Again without letting go of the left mouse button begin to drag. You will find two handles emerge again. Continue dragging and bend the line as shown by a movment of the wrist. This is how you go about it. Just go on adding a point and then dragging with the left mouse button pressed. If at first you find it a bit difficult, don't be worried. It takes just a bit of practice and you will be able to do it effortlessly.
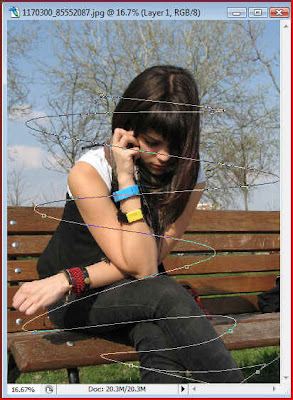 Step 8 : This is how the path looks after working with the Pen Tool. Of course your path will be different from mine as you will be using some other photo.
  Step 9 : Click on the Foreground Color.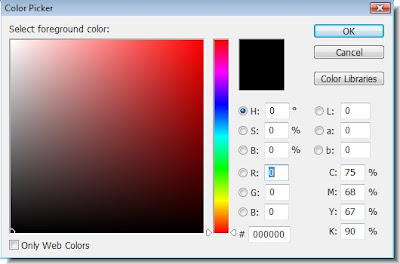
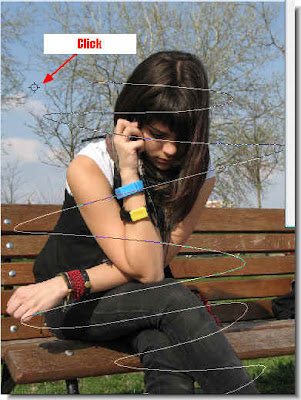
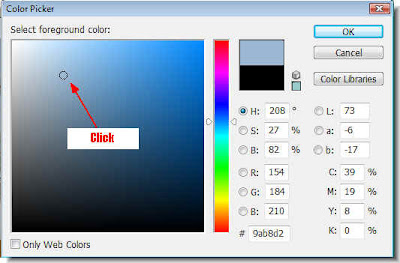
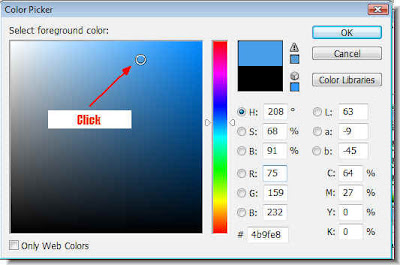
 Step 14 : The Foreground Color changes to the color I picked.
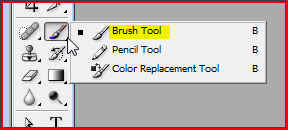 Step 15 : Click on the Brush Tool.
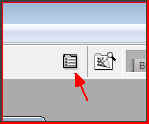 Step 16 : Look at the right of the top panel and you will find this icon. Click it.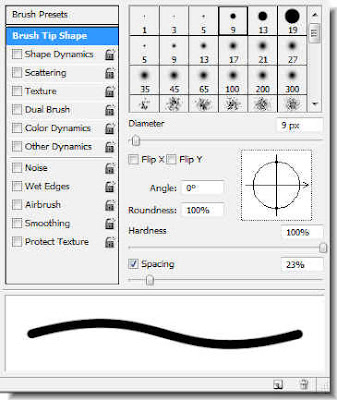
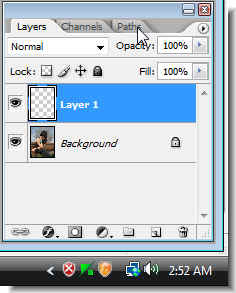 Step 19 Now click on Paths.
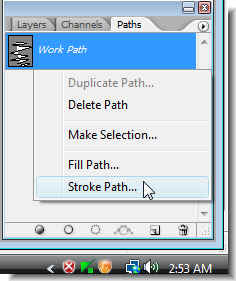 Step 20 : In the Paths pallette you will find the Work Path. Right click the Work Path icon and you will find a dialogue box open. In the dialogue box click on Stroke path.
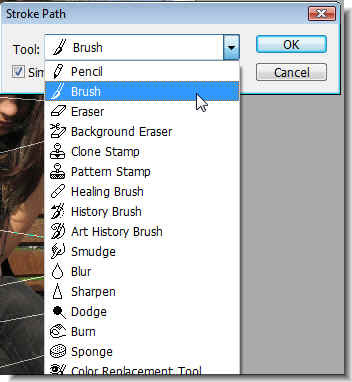 Step 21 : As soon a click on the Stroke Path, the Stroke path dialogue box opens. Click the Tools drop down and select Brush.
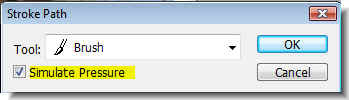 Step 22 : Check the Simulate Pressure.
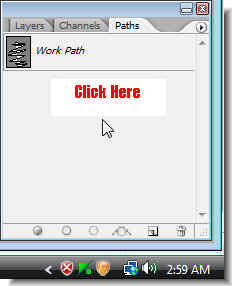 Step 23 : Now click anywhere below the Workpath icon to make the workpath go away from your image.
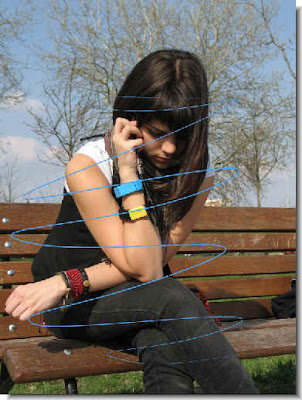 Step 24 : This is how the image looks.
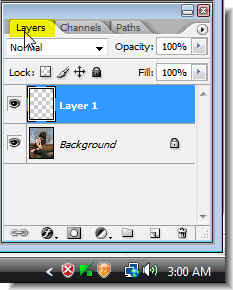 Step 25 : Now click back to the Layers pallette.
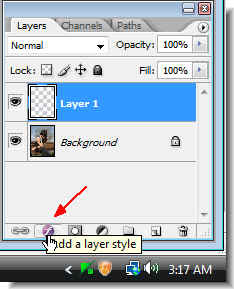 Step 26 : Click the Add a Layer Style button.
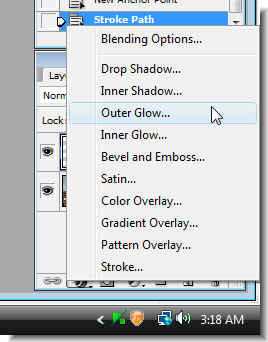 Step 27 : From the popup menu, click on Outer Glow.
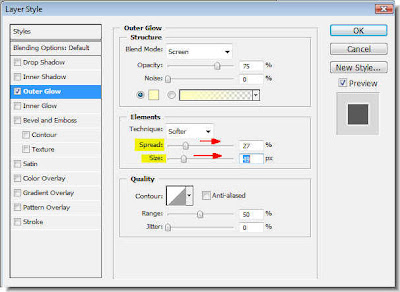 Step 28 : In the Outer low dialogue box, just drag the Spread and Size sliders suitably to the right. It will depend on your image and what seems right to you.
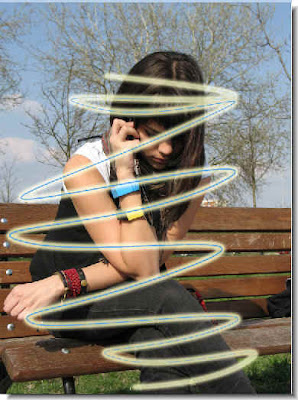 This is how the image looks like.
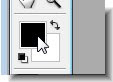
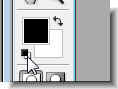 Step 29 : Click the small Black Square, below the Foreground Color to restore Black as the Foreground color. Alternately you can press 'x' and then 'd' on your keyboard.
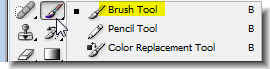 Step 30 : Click on the Brush Tool. Here is a tip. If you wish to make the Brush tip large press ] and if you want to make it small press [. Also if you want to make a Brush tip hard press Shift+[ and to make it soft press Shift+[. These bracket keys are next to the letter P on your keyboard.
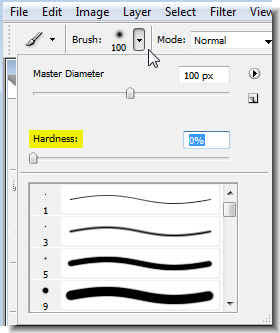 Alternately, you can set the Hardness and Size (Master Diameter) from the drop down on the top panel. But I think the shortcuts are easier.
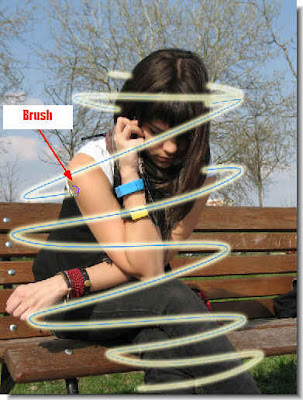
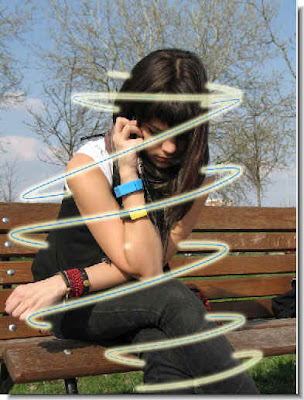
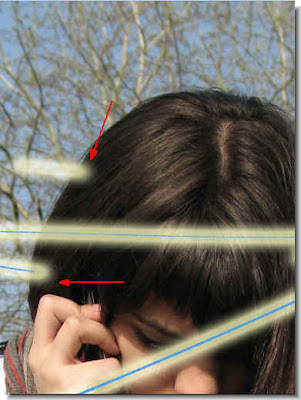 Step 35 : When you zoom into the image you will see that parts of the light streak has not been fully erased or painted out with the Brush Tool.
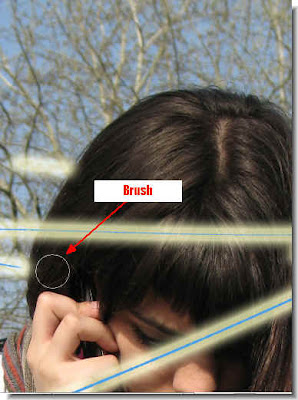 Step 36 : Use the Brush Tool to paint out the portions of the light streak that should not be there.
 Step 37 : In case of a mistake where you paint out a portion which should be there, change the Foreground Color to White by clicking on the small bent arrow. You can switch between Foreground and Background colors by clicking on the bent arrow.
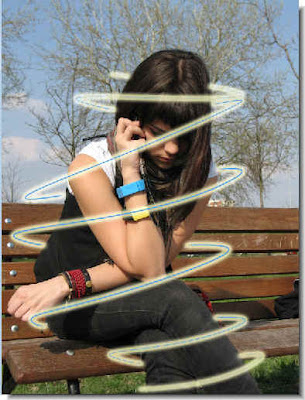 Step 38 : This how my photo looks like after painting out the bits and pieces of the light streak that should not be there. The light streak now seems to surround the girl.