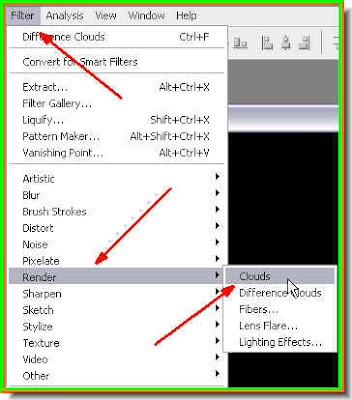
Step 4 : Go to Filter>Render Clouds.
This is how your image will look like.
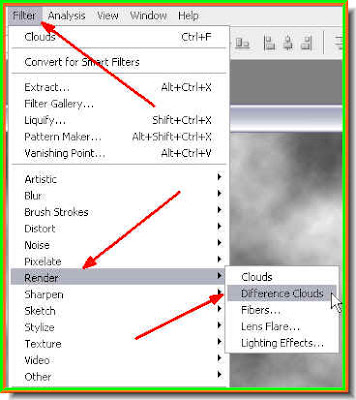
Step 5 : Go to Filter>Render>Difference Clouds
This is how your image will look like.
Step 6 : Now press CTRL+F a number of times. I have pressed it 10 times. This will create the texture of the fire.
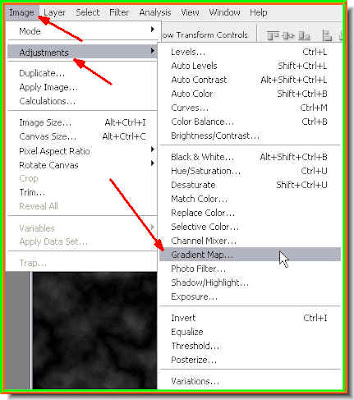
Step 7 : Go to Image>Adjustments>Gradient Map.
Step 8 : Click where shown by the arrow to bring up the Gradient Editor.

Step 9 : The Gradient Editor opens. Now click the Preset shown.

Step 10 : As soon as you click the Preset, the color band in the middle changes as above.
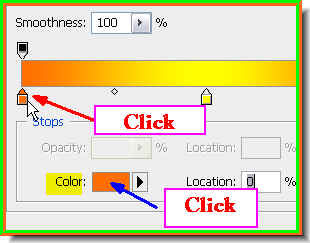
Step 11 : Now click the orange color stop at right. The color in the Color box will immediately change to orange. Click the orange color box. Step 12 : The Select Stop Color dialogue box pops up. Click on the Black at the extreme left bottom to select.
Step 13 : The Color now changes to black. And, the first Color stop has changed to Black.
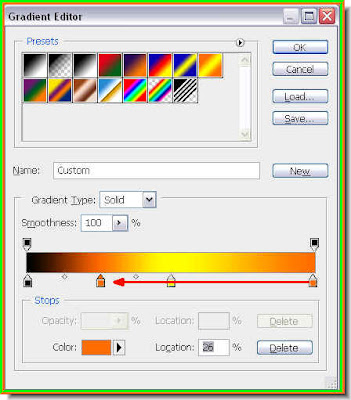
Step 14 : Click on the orange stop at the extreme right, press ALT and drag left. As soon as you click and press ALT and drag the orange stop duplicates. Drag this duplicate stop to the middle of the yellow and black stops. See above. Step 15 : Again click the extreme right orange stop, press ALT and drag. Another orange stop forms. Drag this to the middle of between the yellow and orange stops. See above.
Step 16 : Now press ALt and drag the yellow stop in the middle to between the two orange stops as shown after it duplicates. Click ok in the Gradient Editor.

Step 17 : Click ok in the Gradient Map dialogue box.

And here is the blaze. Let us see what can be done with it.
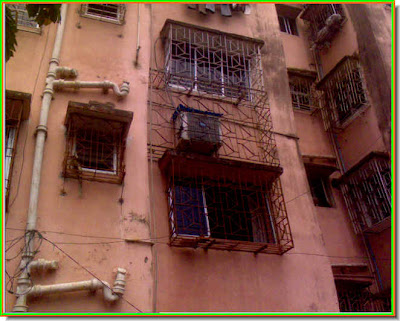
Step 18 : I have opened this photo of a building.
Step 19 : Drag the 'fire' image onto the building keeping SHIFT pressed.

Step 20 : Keeping the SHIFT key pressed makes the fire image land in the middle of the building image.

Step 21 : Make sure that the Show Transform Controls (Bounding Box in PS 7) is checked otherwise the corner handles of the image will not be visible.

Step 22 : Keeping ALT pressed drag a corner of the image till the fire image covers the one of the building.
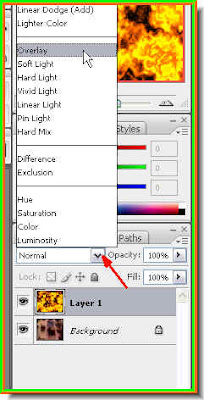
Step 23 : In the Layer pallette, change the Blend Mode to Overlay.

The building is on fire !! Call the Fire Brigade !! That is all.
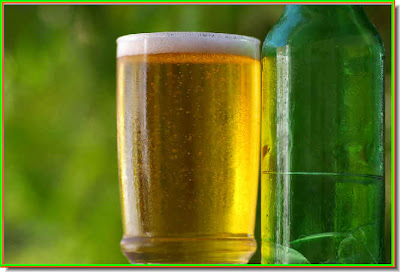
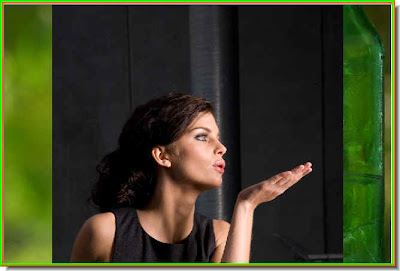
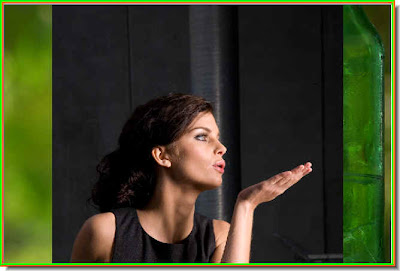 Step 4 : The girl's photo has been pasted on the glass of beer.
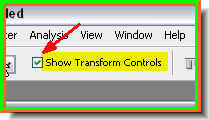 Step 5 : Make sure that Show Transform Controls (Bounding Box in Photoshop 7) is checked in the top panel).

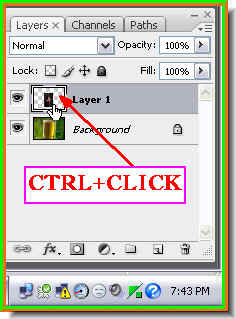 Step 8 : CTRL+CLICK the layer thumbnail on Layer 1.
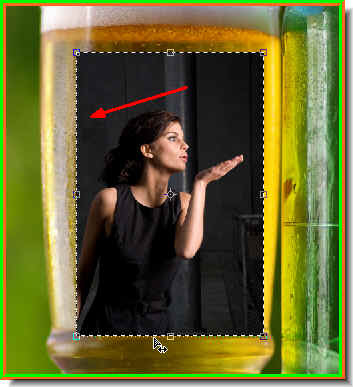 Step 9 : A selection immediately appears around the girl's image.

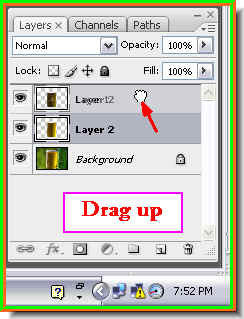 Step 12 : Now drag Layer 2 up with the cursor.
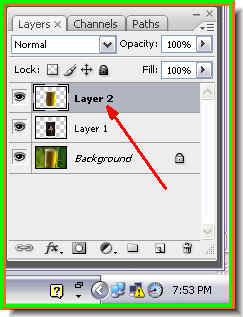 Step 13 : Now Layer 2 is above Layer 1 in the layer's pallette.

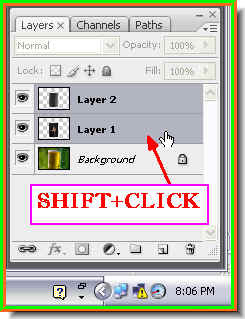 Step 16 : Press SHIFT and click on Layer 1. This will highlight both Layer 1 and Layer 2.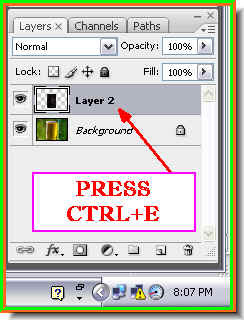
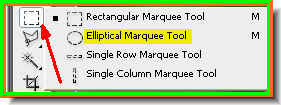 Step 18 : Click the Marquee Tool and select the Elliptical Marquee Tool.
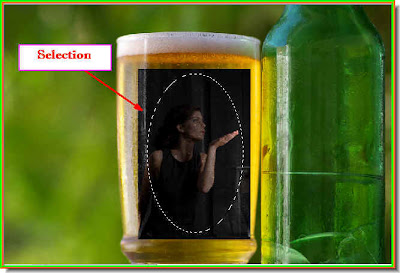 Step 19 : Draw an elliptical marquee with the Marquee Tool.


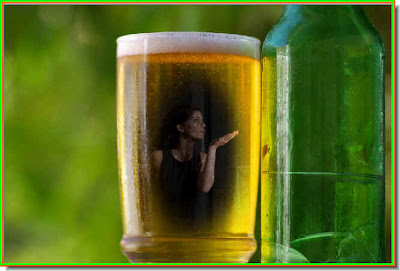 Step 23 : This is how the image looks after clicking ok in the Gaussian Blur dialogue box.
 Step 24 : Notice that the Layer Mask has a border around it which denotes it is selected.


 Step 28 : Click the Move Tool.