I have posted earlier tutorials on the High Pass filter to sharpen photos, especially mobile phone photos. This tutorial is an improvement on the other ones. It will show how to apply the High Pass Filter and to what degree.
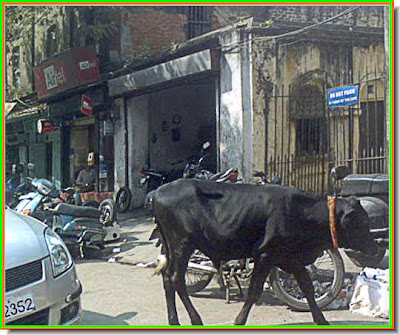
This is a photo of a bull on a Calcutta street which I took with my mobile phone camera. You can make out that the details are not sharp. Let's have a closer look.
 This is a closer look at the bull. You can make out that the details are not clear. The High Pass filter will fix that.
 Step 1 : Look at the Layers pallette. There is only the Background layer. Press CTL+J on the keyboard. This will duplicate the Background Layer. A new layer -- Layer 1 forms over the Background layer when you press CTRL+J.
 Step 2 : Go to Filter>Other>High Pass.
This is a closer look at the bull. You can make out that the details are not clear. The High Pass filter will fix that. Step 1 : Look at the Layers pallette. There is only the Background layer. Press CTL+J on the keyboard. This will duplicate the Background Layer. A new layer -- Layer 1 forms over the Background layer when you press CTRL+J. Step 2 : Go to Filter>Other>High Pass.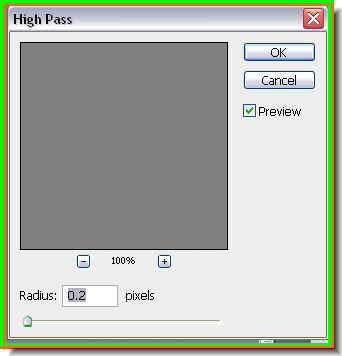 Step 3 : The High Pass filter dialogue box opens.
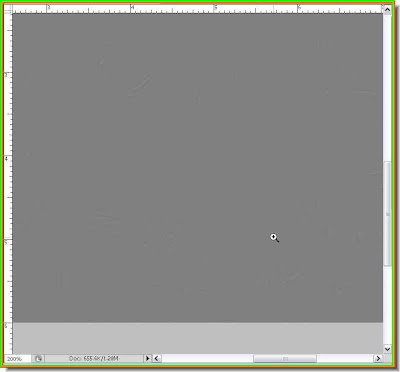 The image is filled with 50% Gray.
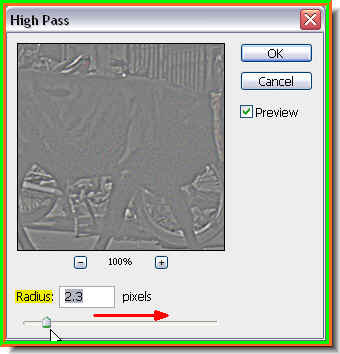 Step 4 : Drag the Radius slider in the High Pass slider to the right till the outlines of the image become visible.
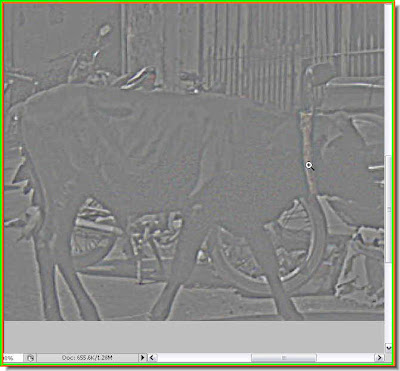 This is how the image looks. The outlines of the image are visible.
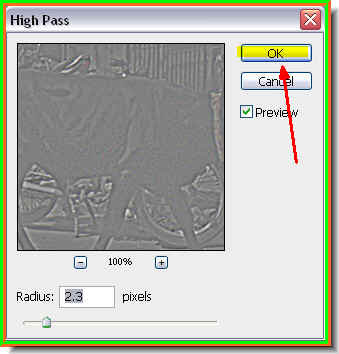 Step 5 : Now click ok in the High Pass dialogue box.
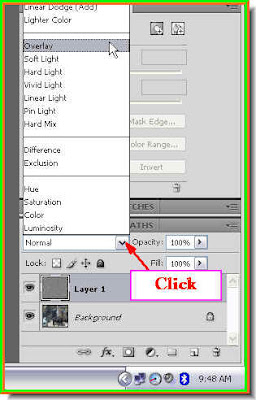 Step 6 : Click where the arrow points to, to change the Blend Mode from the pop up menu. From the popup menu click on Overlay.
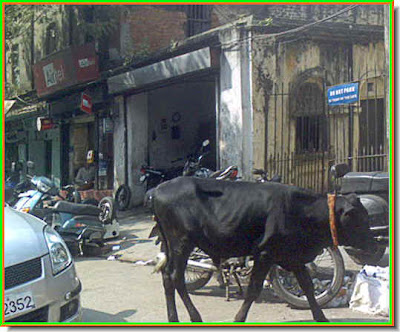 The image looks sharper now.
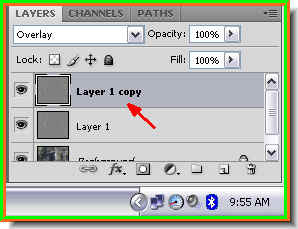 Step 7 : Now press CTRL+J and Layer 1 is duplicated into Layer 1 copy. Let us see the result.
 The image becomes even more sharper.
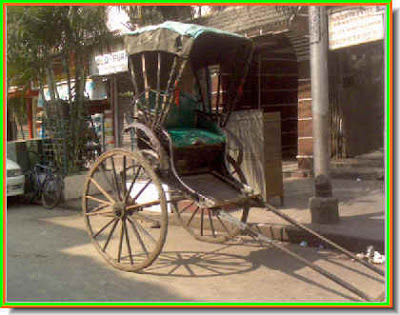 This is another photo I took with my mobile phone camera. It is a hand-pulled rickshaw. They had been banned, but some still run in central Calcutta. Here too the details are not sharp. You cannot expect it with a mobile phone camera.
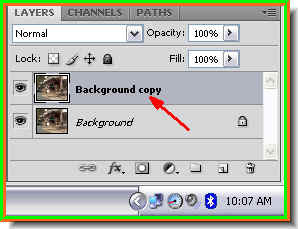 Step 1 : I have duplicated the Background layer by pressing CTRL+J.
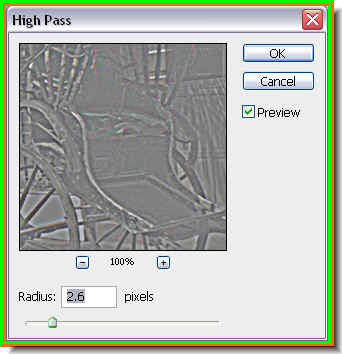 Step 2 : I have applied the High Pass filter. The outlines of the rickshaw are visible. I will click ok to apply the filter.
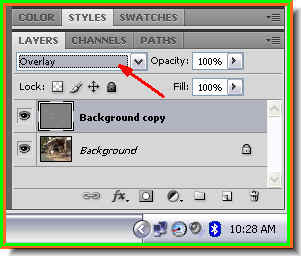 Step 3 : I have changed the Blend Mode to Overlay.
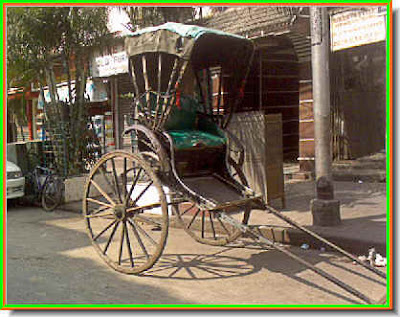 The photo is much more sharper.
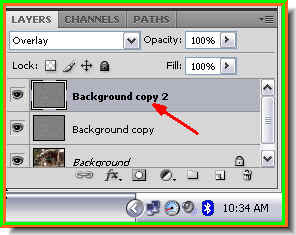 Step 4 : I am now duplicated the Background copy layer by pressing CTRL+J and a Background copy 2 forms.
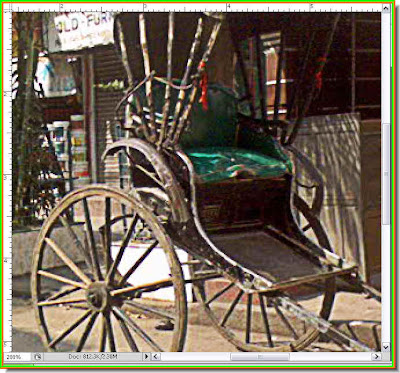 The rickshaw looks even more sharper.
Some details have become two sharp and pixellated. Look at the arrows.
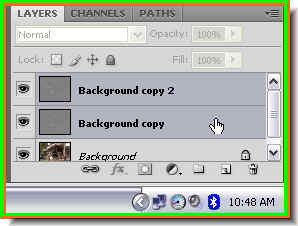 Step 5 : Since I am working on Background copy 2, the layer is highlighted. I am clicking on Background copy layer keeping SHIFT key pressed. This also highlights it. Now press CTRL+E. This will merge the the two layers.
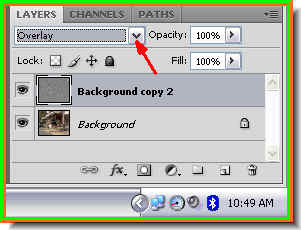 Step 6 : The two layers are merged into Background copy 2. Now I am changing the Blend Mode to Overlay.
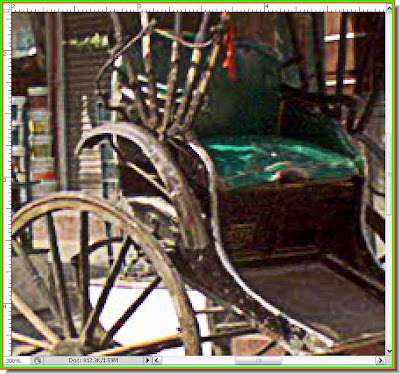 The image is not affected by the steps above.
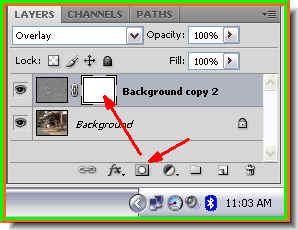 Step 7 : Click the Add Layer Mask radio button and a Layer Mask forms next to layer thumbnail on Background copy 2.
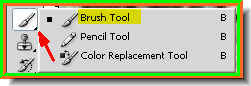 Click on the Brush Tool.
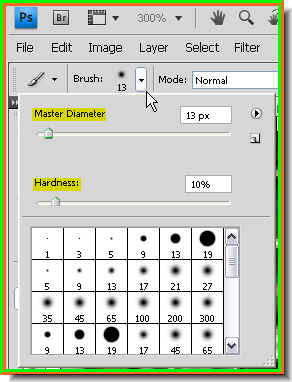 Step 8 : Click where the white arrow points to and the Brush presets will be revealed. I have clicked on Brush 13 therefore the Master diameter shows 13 pixels and I have set the Hardness at 10%
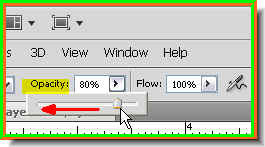 Step 9 : In the top panel lower the Opacity of the Brush to 80%.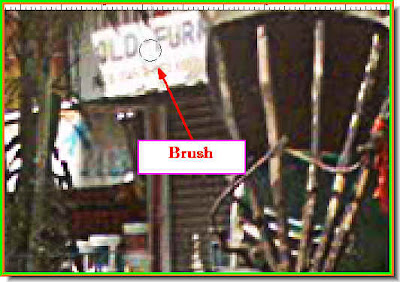
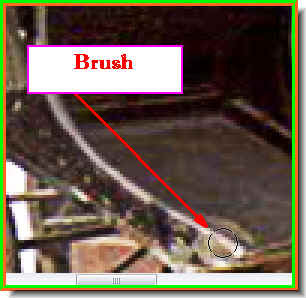
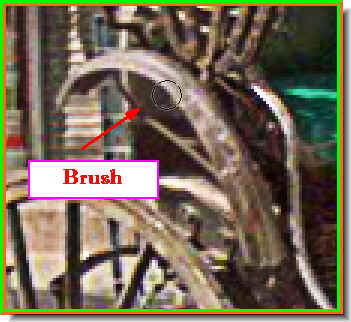
Step 10 : I am using the Brush to erase the pixellated parts.

The sharpened image. That is all.
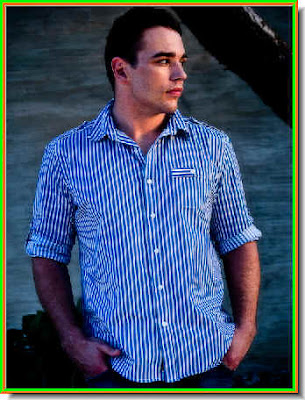
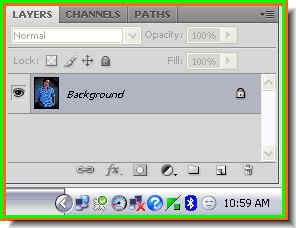
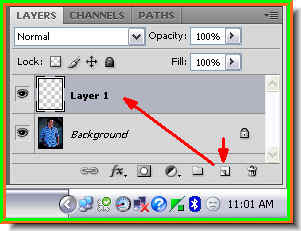 Step 3 : Click the New Layer button and an empty Layer 1 forms. The Layer 1 will be used to create a beard and moustache.
 Step 4 : Click on the Zoom Tool.
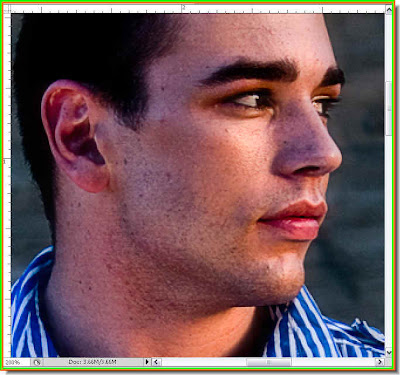 Step 5 : I have zoomed in on the face with the Zoom Tool. Now to select the Brush Tool.
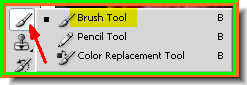 Step 4 : Click on the Brush Tool to select it.
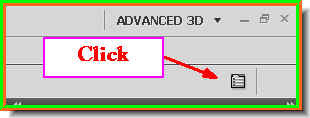 Step 5 : In the top panel look at the right. You will find the icon that the red arrow points to. Click it.
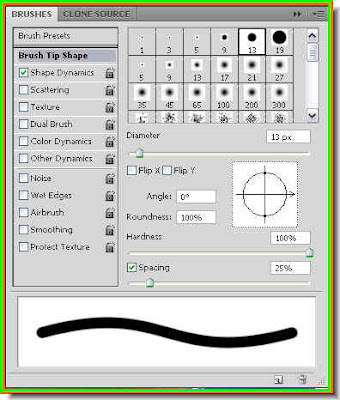 Step 6 : The Brushes pallete opens.
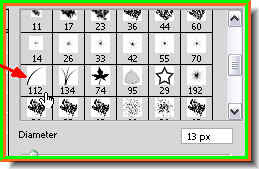 Step 7 : Now click on Brush no 112. See the arrow. This will select the Brush.
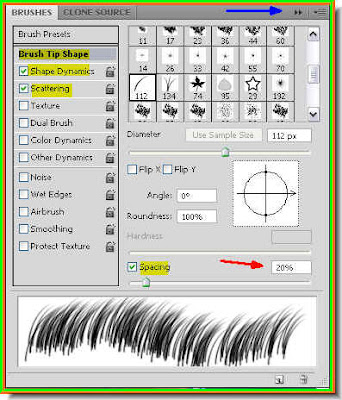 Step 8 : First click on the Brush Tip Shape then check Shape Dynamics and Scattering. Lastly drag the Spacing slider to the left. I have dragged it to 20%. It will depend on your image. This is a high resolution free Stock Photo. I have downloaded it for free from
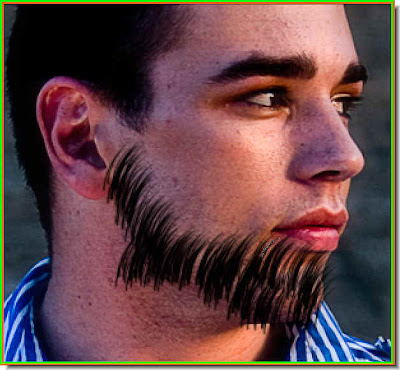 Step 9 : I am using the brush to paint the beard.
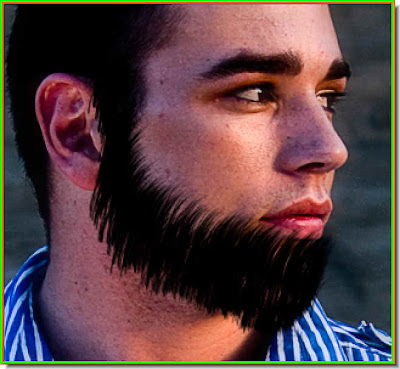 There's the beard.
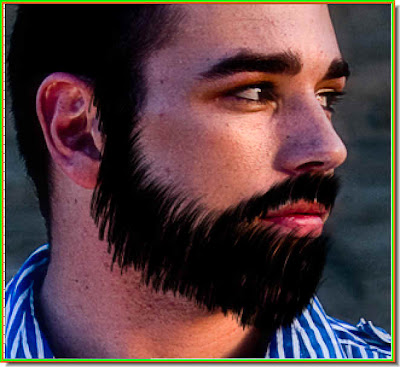 Step 10 : I have made the brush smaller and painted in the moustache.
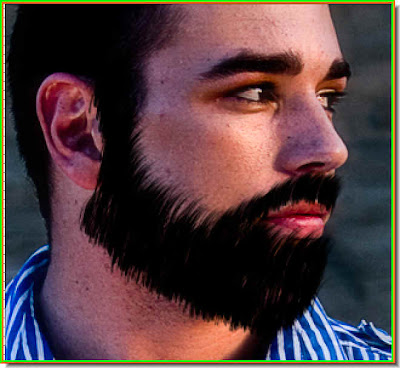 Step 11 : Just brush over the edges to prevent it from looking unkempt.
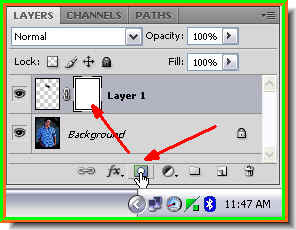 Step 12 : Click the Add Layer Mask button and a layer mask forms next to the layer thumbnail on Layer 1.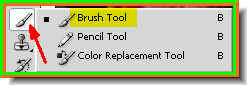
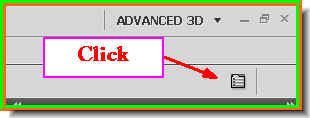 Step 13 : Click the Brush Tool again and then the icon on the top panel at right.
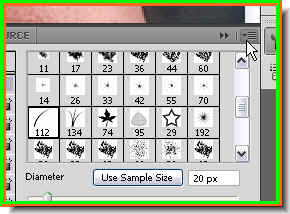 Step 14 : Look where the white arrow points to. Click the tiny black arrow.
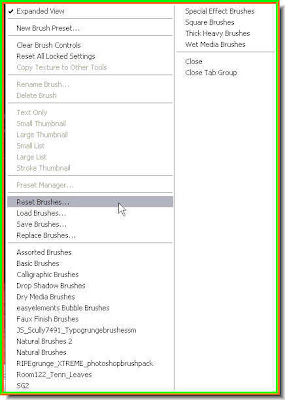 Step 15 : This dialogue opens. Click on Reset Brushes.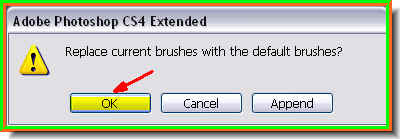
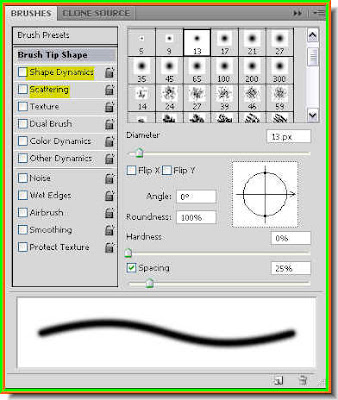
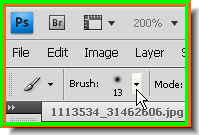 Step 18 : Now click where the arrow points to on the left of the top panel.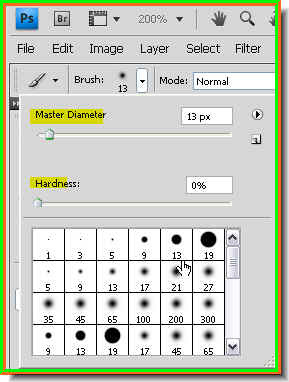


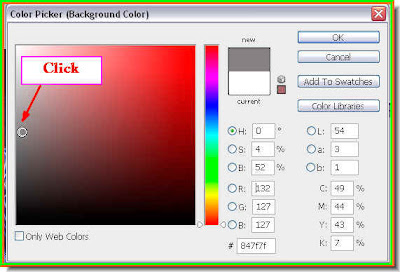

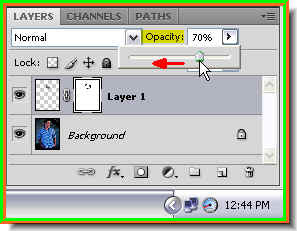 Step 6 : I have lowered the Opacity to 70%.
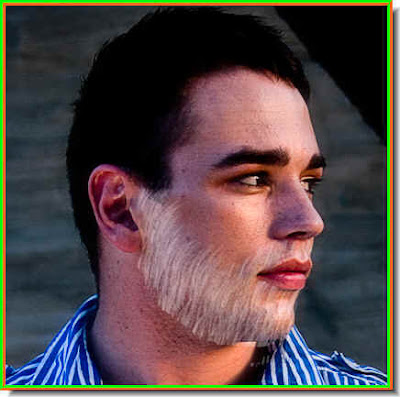
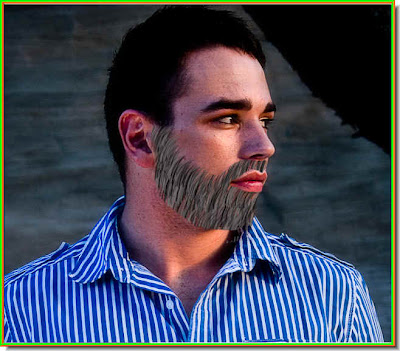
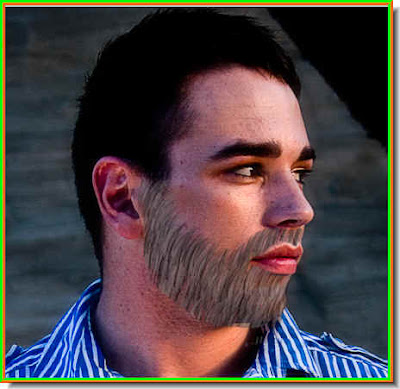 And you have a gray beard.
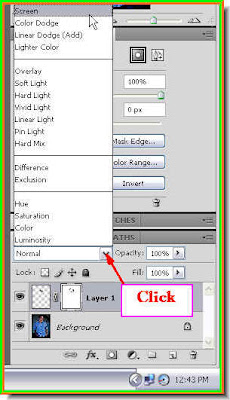 Step 7 : I am changing Blend Mode from the popup menu to Screen.