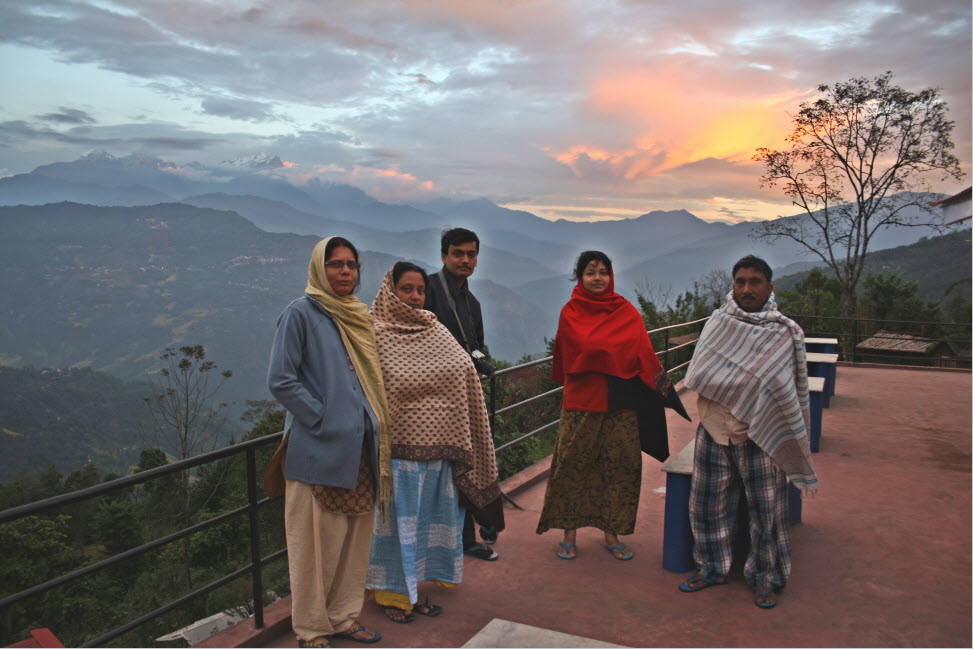
This is a tutorial on changing the tone of an image to something called muted or where the colors are no longer brilliant, yet still quite pleasing. You can go a step further and cross process the image. It is quite easy to do. Just follow the steps.

This is the effect I intend to create.

Step 1 : I will be using this free stock image. You will find it here
It belongs to night-fate-stock

Step 2 : Duplicate the Background Layer by pressing CTRL+J. Layer 1 forms.

Step 3 : Click the New Fill or Adjustment Layer Button.

Step 4 : Click on Gradient Map from the pop up.

Step 5 : The Gradient Map dialogue box appears.

The image becomes desaturated.

Step 6 : Drag Layer 1 over the Gradient Map 1 layer. Change the Blend Mode to Color. Reduce the Opacity
to 40%.

Step 7 : Click the Add New Fill or Adjustment Layer button.

Step 8 : Click on Curves from the pop up.

Step 9 : Click on the Red Channel from the drop down.

Step 10 : Click two points on the diagonal as shown.

Step 11 : Drag the upper point clicked on the diagonal up gently as shown.

Step 12 : The image acquires a reddish tinge.

Step 13 : Drag the lower point down slightly.

Step 14 : The image loses some of the reddish tinge, while the greens appear.

Step 15 : Drag the upper point a mite upward.

The reds become a bit more pronounced, while the greens remain.

Step 16 : Make another Adjustment Layer as in Step 7 & 8. Click on Curves again.

Step 17 : Now click on the Blue Channel.

Step 18 : Click a point at the top, middle and bottom as shown. Drag the midpoint (1) down slightly first. Next drag the upper point (2) slightly upwards and lastly drag the bottom point (3) slightly downwards.

The image looks like this after applying he 2nd Curves Adjustment.

You can see the Curves 2 layer in the Layers palette.

Step 19 : Add another Curves Adjustment layer. It becomes Curves 3 adjustment layer.

Step 20 : Click on the Green Channel.

Step 21 : Click three points on the diagonal. Drag the midpoint (1) upwards slightly. Drag the top point (2) downwards slightly. Drag the bottom point (3) slightly.

The finished image. But remember these are the settings for this image. I have shown how the Curves work. Do not hesitate to experiment if to are using another image. Use the Curves Adjustment Layers one by one to make your own adjustments. That's all. Have a nice day.
Other photoshop tutorials are here