


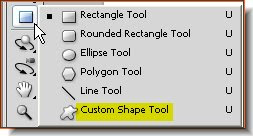
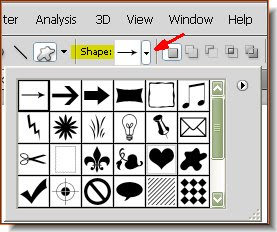
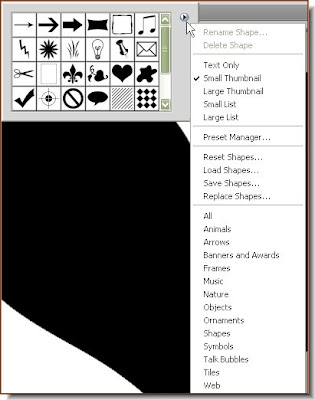
 If you cannot find it, click the small white arrow on the side. It will reveal a dropdown menu where you will find 'Shapes' . You will find the Heart Shape in it.
 Step 5 : Draw out the Heart shape. It will be black.
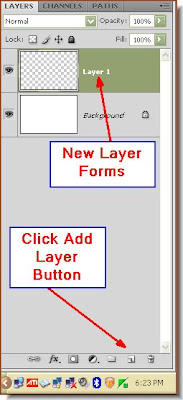
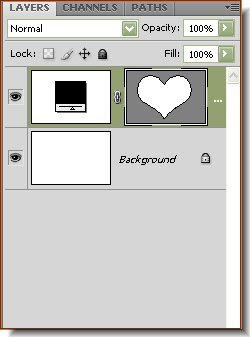 Step 6 : This is how the Layers pallette looks like.
 Step 7 : CTRL+Click the Heart shape.
Step 8 : As soon as CTRL+Click a column of marching ants will surround the heart shape.
 Step 9 : Click on the Foreground color.
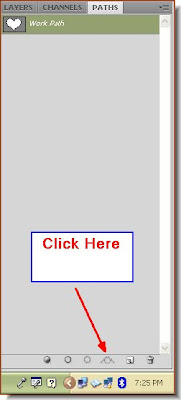
Step 12 : Now click on the Paths pallete and click the icon shown. Hover your cursor over it to read its name. A workpath forms.

Step 13 : Now click back on the Layers pallette.
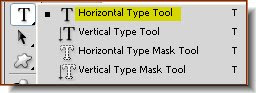 Step 14 : Click the Horizontal Type Tool from the flyout.
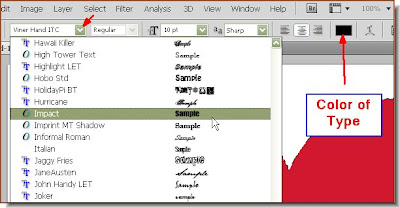
Step 15 : In the top panel click where the arrow points to set the font. I have chosen Impact, which you will find in photoshop. Set the points (size) of the fonts in the next window.

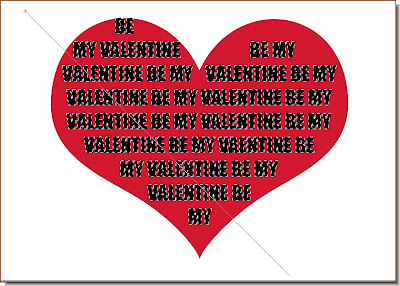
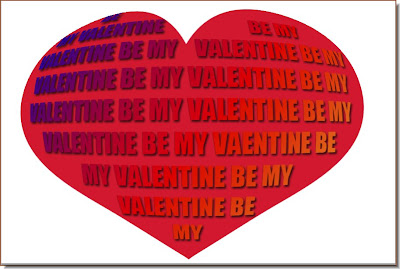
Step 16 : Now I have just gone on typing 'Be My Valentine". You will find that the text is restricted to the heart shape.
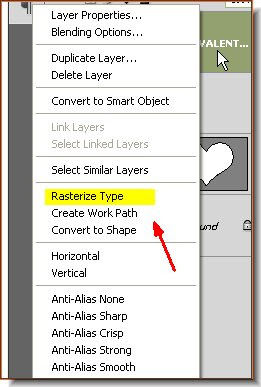
Step 17 : Right click the Text layer and choose Rasterise Text. Click on Rasterise Text to rasterise the text.
Step 18 : Now CTRL+Click the Layer thumbnail of the Rasterised Type.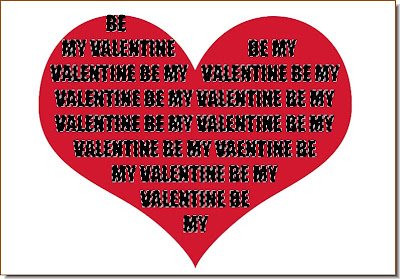
Step 19 : Marching ants appear around the text. 
Step 20 : Now click the Gradient Tool from the flyout. Then click on the top panel as shown to bring up the Gradient Editor.
Step 21 : The Gradient Editor opens. I have clicked on one of the Gradient. The small white hand points to it. You can choose any Gradient.
 Step 22 : Now drag diagonally with the Gradient Tool.
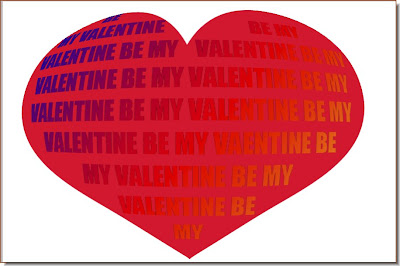
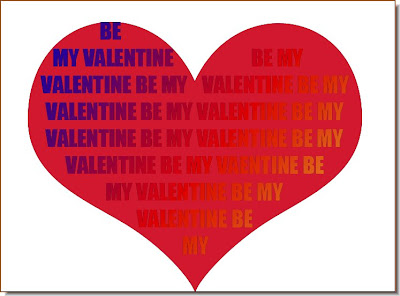 The Gradient has been applied to the rasterised Text.
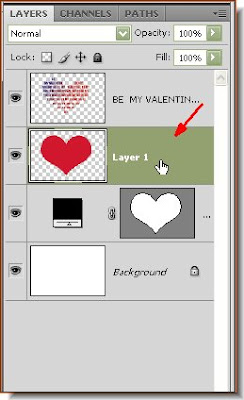 Step 23 : Click Back on Layer 1n which contains the red heart.
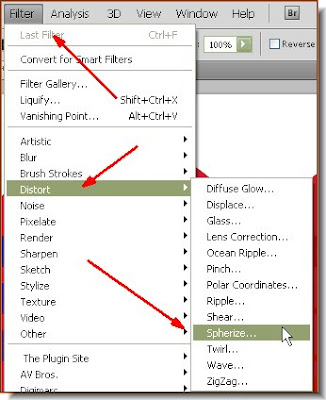 Step 24 : Go to Filter>Distort>Spherize.
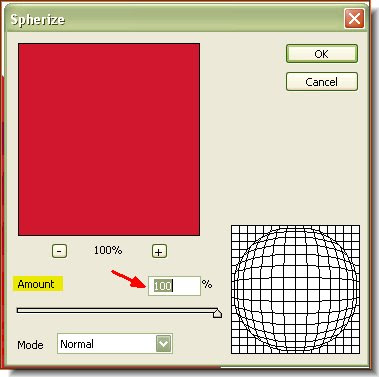 Step 25 : In the Spherize dialogue box drag the 'Amount' to 100%. Click ok.
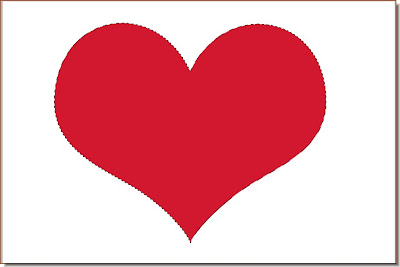
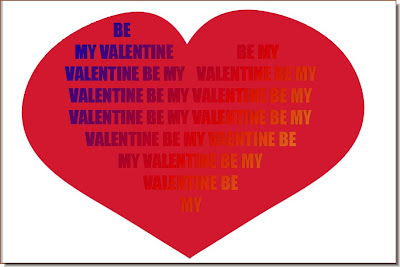 This is how the red Heart looks after being Spherized.
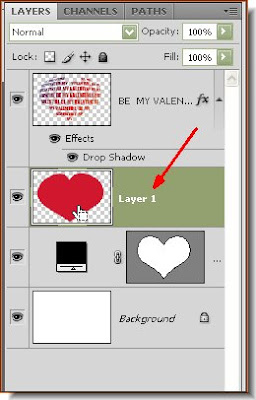
Step 32 : Click back on Layer 1.
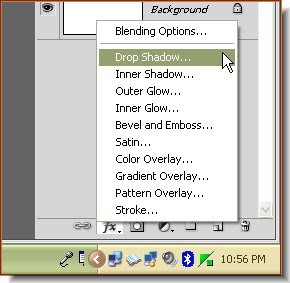
Step 33 : Bring up the Drop Shadow dialogue box as in Step 28 and 29.
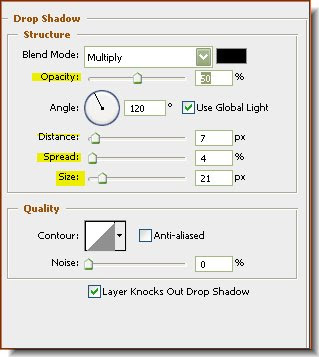
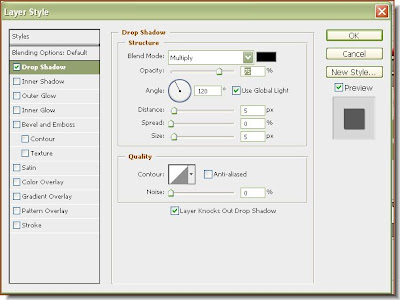
Step 34 : In the controls of the Drop Shadow I have set the Size at 21, Spread at 4 and Distance at 7. There is nothing hard and fast about the settings. You can apply your own. Lastly reduce the Opacity to 50 %.

The Drop Shadow has been applied to the heart. This is the first part.


