


I have posted the first part of of making your very own Valentines Day cards here. This is concluding part of the tutorial.
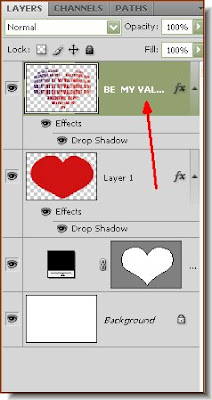
This is how the card looks after the first part of the tutorial.
 Step 35 : Click back on Layer 1.
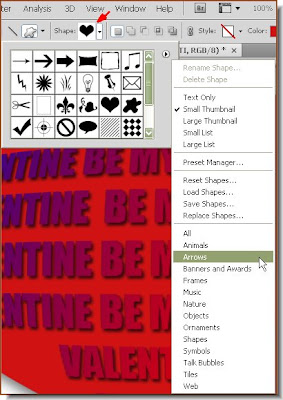 Step 36 : Next bring up the Shapes and after clicking on the small black arrow from the dropdown choose 'Arrows'
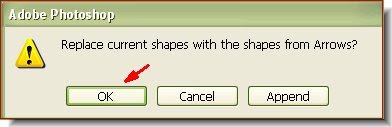 Step 37 : As soon as you click on 'Arrows' this dialogue box pops up. Click ok.
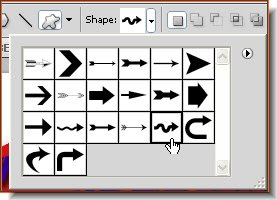
Step 38 : I have clicked on one of the arrows.
 Step 39 : I have drawn out the arrow.
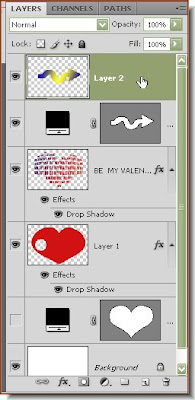
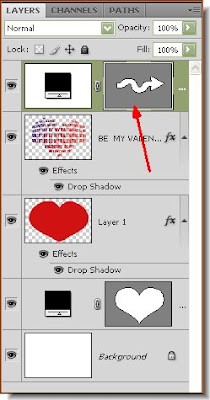 Step 40 : This is how the Layers pallette looks. CTRL+Click the arrow where the red arrow points to. A column of marching ants forms around the arrow at once.
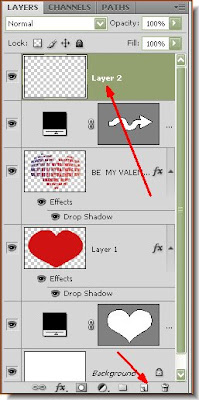 Step 41 : Click on the New Layers icon on the bottom of Layers pallette (red arrow) and a new Layer 2 forms.
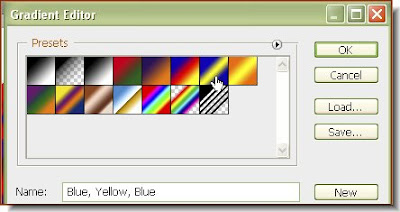 Step 42 : I have chosen anther gradient from the Gradient Editor.
 Step 43 : I have applied the Gradient. Press CTRL+D to deselect. The marching ants go away.
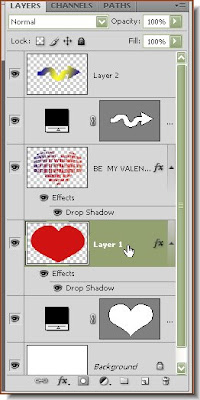 Step 44 : Click on Layer 1 on which the heart is.
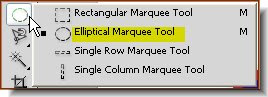 Step 45 : Click on the Elliptical Marquee Tool.
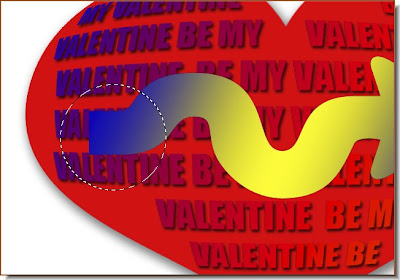 Step 46 : Keeping SHIFT pressed draw out a perfect circle around the tail of the arrow.
Step 47 : Press Delete. The inside of the circle is deleted. Also click off the eye icon where the red arrow points to. Otherwise you will be seeing a black patch behind the arrow.
 Step 48 : Click Back on Layer 2.
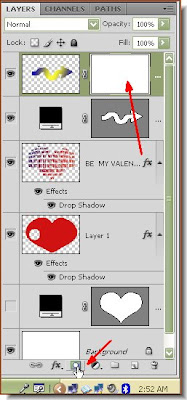 Step 49 : Click the Add Layer Mask button at the bottom of the Layers pallete (red arrow). A Layer Mask forms next to the layer thumbnail on layer 2.
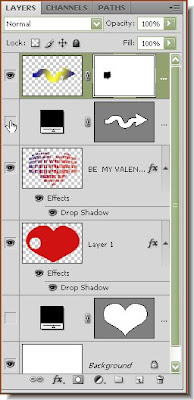 Step 50 : Click off the eye icon on Arrow mask layer as shown.
Step 51 : Choose this Gradient in the Gradient Editor shown aw a gradient towards the tail of the arrow.
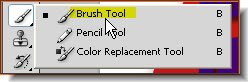
Step 52 : Now click the Brush Tool.
Step 53 : As you brush you will see a black patch forming on the Layer Mask.

Step 54 : This is how the Arrow looks after a part of the has been brushed away.
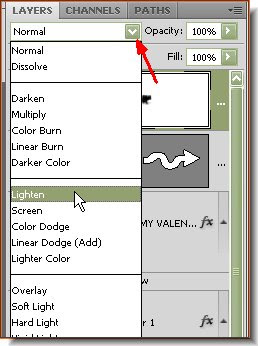
Step 55 : In the Layers pallette change the Blend Mode to Lighten from the dropdown menu. Click where the red arrow points to access the menu.

This is how the card looks.
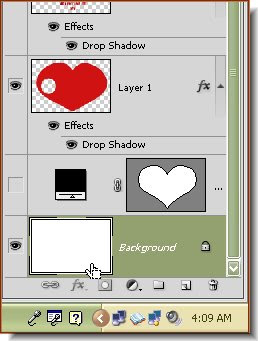
Step 56 : Click on the Bakground Layer. You can leave it white or you can add an image or you can add a Gradient. You can add a gradient background like this. How it can be done is explained here.
You can add some more text if you want and there you are.


