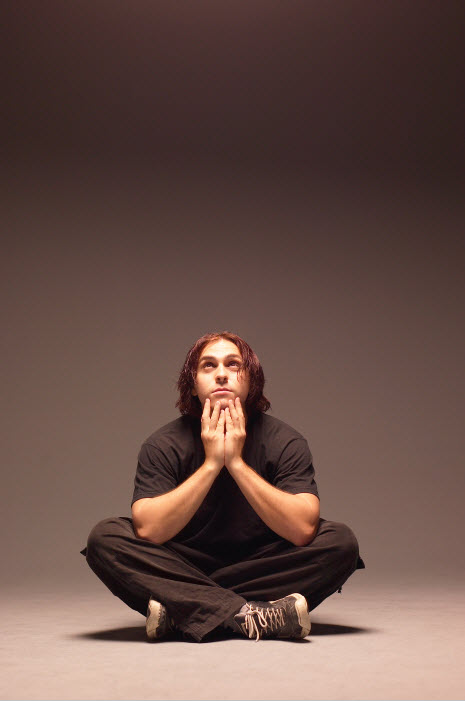
It is said that Indian fakirs could levitate, so can some yogis. You can do it too in Photoshop. You just need an image of yourself sitting with your legs crossed on the floor and the photograph of a room. It's quite easy. You will also learn to manipulate a Drop Shadow.
This is the effect I will create and so can you.
This is the effect I will create and so can you.
I will be using these two images I found on http://www.deviantart.com/
Step 1 : First you need to get rid of the background of the image on the right. You can use the
(You can click the links above for the tutorials on the selection tools).
Step 2 : Press v (shortcut for Move Tool) and move the man's image onto that of the room.
Step 3 : Since the image of the man is larger than that of the room, press CTRL+T (Free Transform). A selection forms. Press SHIFT+ALT and drag the corner handles down diagonally downwards to resize proportionately.
Step 4 : The image has been resized proportionately.
Step 5 : Click the Tick Mark in the top panel to apply the transformation.
Step 6 : Go to Image>Adjustments>Match Color.
Step 7 : The Match Color dialogue box opens.
Step 8 : Change the Source to the other image (i.e. of the room).
Step 9 : Check Neutralize. Drag the Fade slider slowly towards the right to match the color tone of the room. Make further adjustments by lowering the Color Intensity and Luminance in that order. Click OK.
The image looks like this.
Step 10 : Click the Fx button. Click on Drop Shadow.
Step 11 : The Drop Shadow dialogue box opens. Just click OK without any change to the settings.
Step 12 : Right Click the tiny arrow shown.
Step 13 : Click on Create Layer from the pop up menu.
Step 14 : This dialogue box pops up. Just click OK.
Step 15 : Remember you were on Layer1. Click on the Layer 1's Drop Shadow Layer, which is just below it. The Drop Shadow has formed, but you cannot see it yet.
Step 16 : Press CTRL+T (Free Transform). A selection forms. Right click inside the selection. From the pop up click on Flip Vertical.
Step 17 : Drag the selection down. You can see the inverted Drop Shadow now.
Step 18 : Right click again inside the selection. Click on Distort from the pop up.
Step 19 : After clicking on Distort in the previous step, drag out the corner handles so that the shadow seems to fall at an angle in line with the shadows on the floor. Drag the shadow down. Press ENTER.
Step 20 : Note that the Fill of the Layer is already set to 75%. Now lower the Opacity also suitably. I have reduced it to 80%.
This is how the image and the shadow looks. I have dragged the shadow away from the window.
Step 21 : Click on Layer 1.
Step 22 : Zoom into the image. Some of the shadow from the original image has remained behind under the shoes.
Step 23 : Click the Erazer Tool. It works just like a Brush.
Step 24 : Press SHIFT+[ (left square bracket) a number of times to make it soft. Alternatively, you can set the Hardness to 0 in the top panel. I am using a small brush.
Step 25 : Brush away the shadow below the shoes.
Step 26 : You may notice a faint white line on the edges of the trousers in the image above. To remove it go to Layers>Matting>Remove White Matte.
The Matting has been removed.
The completed 'floating' image.
Other photoshop tutorials are here


