I had shown how Adjustment Layers can be used for cross processing. The tutorial is here.
This is another tutorial in using just one Layer and one Curves Adjustment Layer. This time we will use the Shadow/Highlights and a Curves Adjustment Layer. This will make ordinary images look brighter and more attractive.
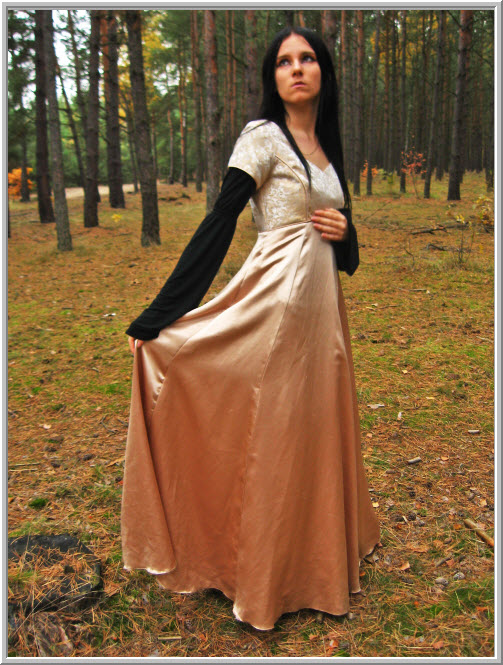
I will be using this free stock image for this tutorial. You will find it here
It belongs to Black-Ofelia-Stock
The image after processing.
Step 1 : Press CTRL+J to duplicate the Background Layer into Layer1.
Step 2 : Go to Image>Adjustments>Shadow/Highlights.
The Shadow/Highlights open. These are the default settings. The default settings will immediately improve the image.
There is a definite improvement in the image.
If you drag the Amount slider of Shadows it will darken the image. The default setting is 35.
Step 3 : I have decreased the Amount in Shadows to 25 and increased the Tonal Width to 60 from 50 and doubled the radius to 60.
The image looks brighter still.
Now look at Highlights. The default setting for the Amount is 0. If you drag up the Amount slider (I have moved it to 15) the Highlight will decrease..
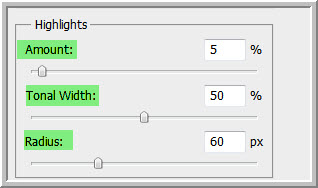
Step 4 : I am therefore sett the Amount to 5 and left the Tonal Width unchanged at 50, but doubled the Radius to 60.
Step 5 : I am not altering Other parameters. I am clicking OK.
The image looks like this.
Step 6 : Click the New Fill or Adjustment Layer button.
Step 7 : Click Curves from the pop up.
The Curves dialogue opens.
Step 8 : Click right in the middle of the diagonal and at the top right as shown.
Step 9 : I have pressed the UP arrow key ten times and the dot on top on the diagonal moves up a step at a time.
The image is complete. To see the difference from the original image ALT+CLICK on the eye icon on the Background Layer.
The finished image.
Other photoshop tutorials are here


