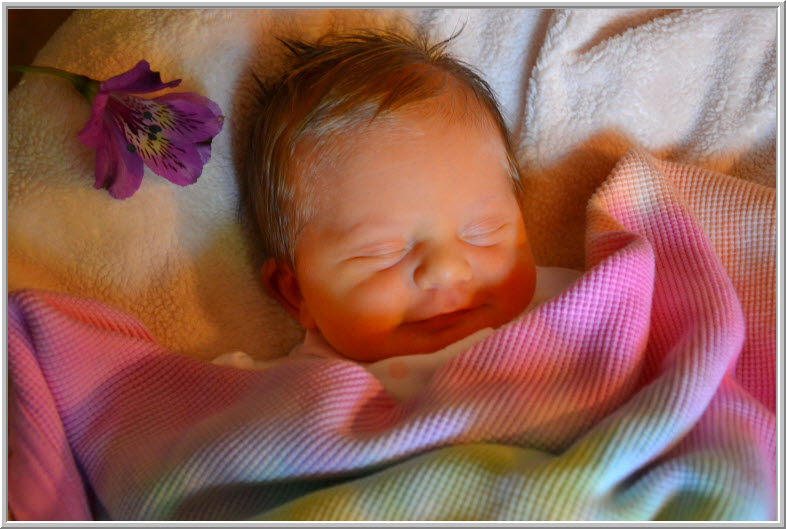
Sometimes shadows can spoil an image and pose a challenge to restore. But with little bit of patience the problems can be tackled in Photoshop. It is not difficult to do.


This is the image with shadows removed from the face. The original image is below.
I have been sent this image of a baby. As you can notice that there are a lot of shadows on the face. This will be removed.
Step 1 : Press CTRL+J to duplicate the Background Layer.
Click the Add Layer Mask button. A Layer Mask is added on Layer 1.
Step 2 : Go to Image>Apply image.
Step 3 : The Apply Image dialogue box opens. These are the default settings. Invert should be checked. Click OK.
Step 4 : Change the Blend Moe to Screen. Note that the Layer mask now has the image of the baby in B&W.
Step 5 : Press CTRL+J to duplicate the layer a number of times till the shadows are gone. I have duplicated it 1 time. For other images it may require a number of more duplication.
The image looks like this.
Step 6 : With Layer 1 copy Layer highlighted press SHIFT and click on Layer 1.
All the Layers are highlighted.
Step 7 : Right click the highlighted layers and click on Link Layers from the pop up menu.
Both the Layers are now linked.
Step 8 : Press CTRL+E to merge the linked layers.
Step 9 : Click the Add Layer Mask button. A layer Mask appears on Layer 1 copy.
Step 10 : Ensure that the Foreground Color is set to Black. Click on Brush Tool.
Step 11 : In the top panel open the Brush controls and set the Hardness to 0%. Increase the size of the Brush by pressing ] (right square bracket) and decrease it by pressing [ (left square bracket).
Step 12 : Paint avoiding the rest of the image besides the baby's face.
The Layer Mask looks like this after painting.
Step 13 : Click the Layer Mask to select it. A tiny border appears around the Layer Mask when it is selected. In fact it was already selected in the earlier step.
Step 14 : Go to Image>Apply Image.
The image looks like this.
Step 15 : Change the Blend Mode to Screen and lower the Opacity to 75%.
The finished image.


