


I have just shown how to make a circular frame in Photoshop. The tutorial is here. You can make a square frame following the steps. But this is another way of making a Square Frame. All you need is a single photo.
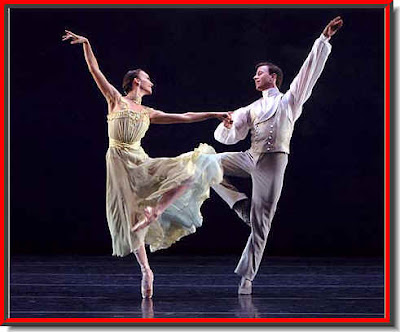 Step 1 : I have opened this photo in Photoshop.
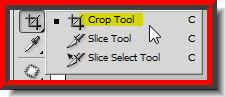 Step 2 : Click the Crop tool.
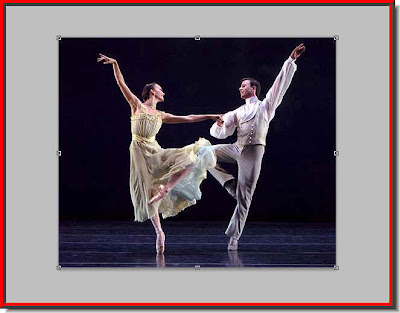 Step 3 : With the Crop Tool drag from the top left corner to the right bottom of the image.
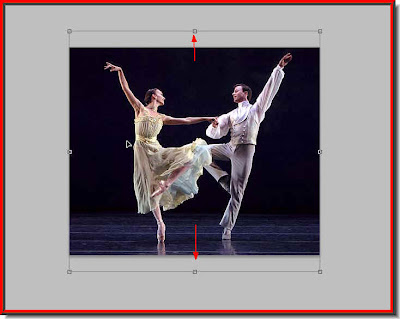 Step 4 : Now press CTRL+SHIFT and drag either the bottom or top central handle outwards.
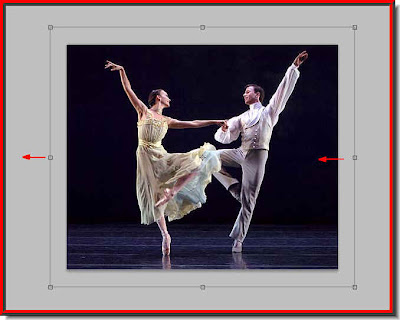 Step 5 : Now still keeping SHIFT+ALT pressed drag the middle corner handle either on the left side or the right side.
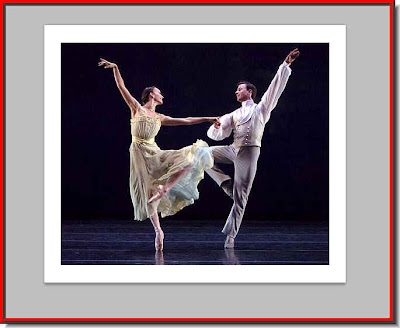 Step 6 : Press Enter. And there is your frame. If you want something more, just keep following.
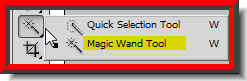 Step 7 : Click the Magic Wand Tool.
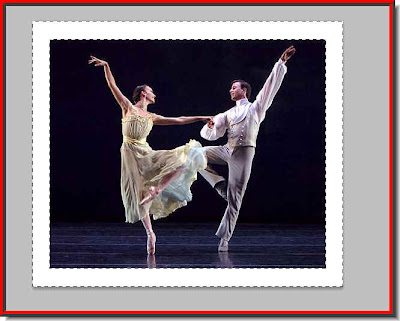 Step 8 : Now click once on the White Frame with the Magic Wand. A selection of marching ants select the White portion.
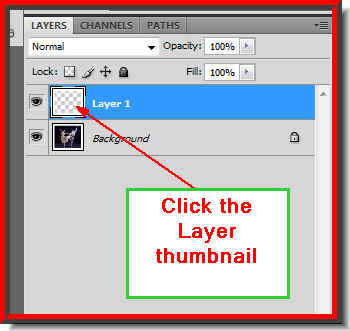 Step 9 : Press CTRL+J. The White Frame will be cut and pasted onto Layer 1. The marching ants will automatically disappear. Now click the layer thumbnail again on Layer 1 and the marching ants will reappear.
Step 1 : I have opened this photo in Photoshop.Step 2 : Click the Crop tool.Step 3 : With the Crop Tool drag from the top left corner to the right bottom of the image.Step 4 : Now press CTRL+SHIFT and drag either the bottom or top central handle outwards.Step 5 : Now still keeping SHIFT+ALT pressed drag the middle corner handle either on the left side or the right side.Step 6 : Press Enter. And there is your frame. If you want something more, just keep following.Step 7 : Click the Magic Wand Tool.Step 8 : Now click once on the White Frame with the Magic Wand. A selection of marching ants select the White portion.Step 9 : Press CTRL+J. The White Frame will be cut and pasted onto Layer 1. The marching ants will automatically disappear. Now click the layer thumbnail again on Layer 1 and the marching ants will reappear.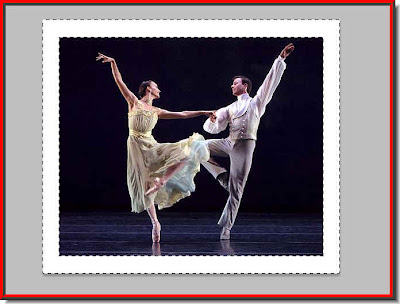 Step 10 : The marching ants reappear on the white frame.
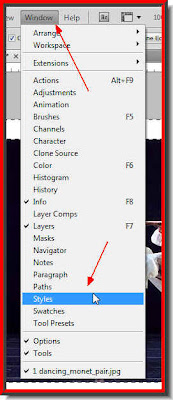 Step 11 : Go to Windows>Styles to reveal the Styles if it is not already visible on a panel in the right.
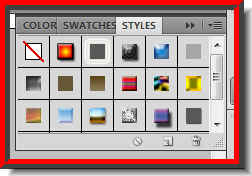 Step 12 : The Styles dialogue box opens. These are the default Styles. There are many more Styles hidden. Click the tiny black arrow on the right top corner to reveal the other Gradients. You will have to click to select them. But here I will make do with the Styles that can be seen here.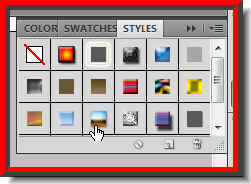
Step 13 : I have clicked on a Gradient, the one the small white hand points to in the bottom row.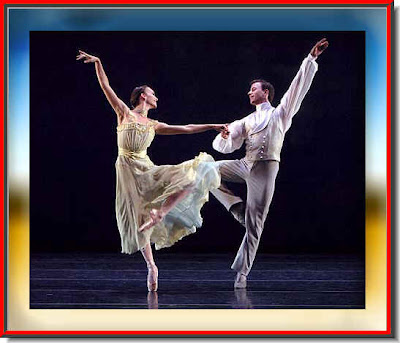
And this the effect I have got. So will you. It is as simple as that. 
Step 14 : To undo a Gradient click at the top left or the first one in the top row. I am now clicking on the second Gradient on the top row. 
This the effect you will get. 
Step 15 : I have clicked on the fourth Style in the middle row. 
And this is the effect I have got and so will you too. How long did it take? You can do it any version of Photoshop including Photoshop 7.
Other Photoshop tutorials are here.
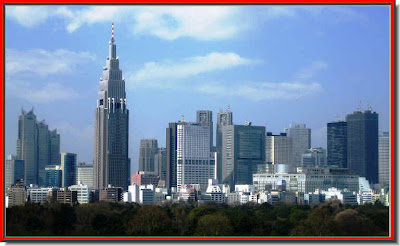 Step 1 : Open any image in Photoshop. I have opened this photo.
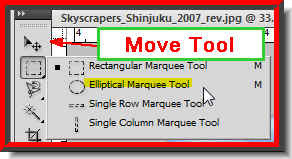 Step 2 : Click the Elliptical Marquee Tool.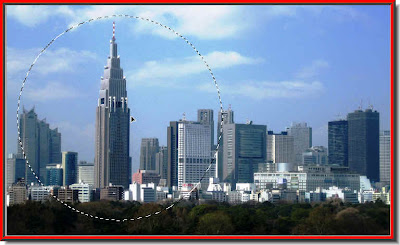

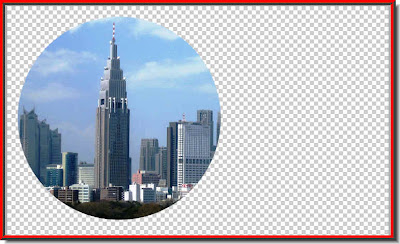 This is how the image looks.
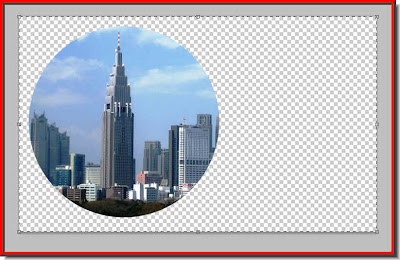 Step 5 : Press CTRL+A and a selection of marching ants forms all around the edge of the image.


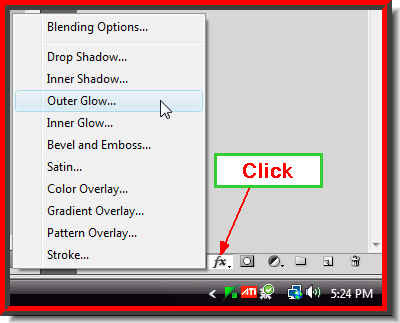 Step 15 : Click the Add Layer Style Button and click on Outer Glow.

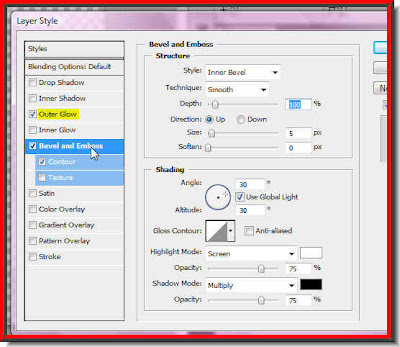 Step 18 : Now click on Bevel and Emboss. The dialogue box will change. Tick Contour also in the left panel as shown.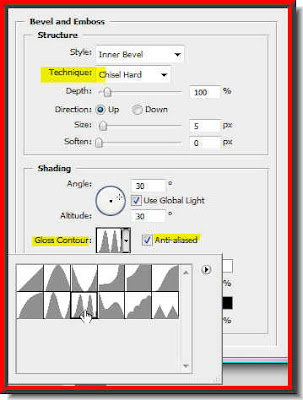


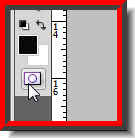 Step 1 : You will find the Quick Mask button on the left panel bottom. This is CS4 and there is only one button that toggles between 'Edit in Quick Mask Mode' and 'Edit in Standard Mode'. In earlier versions you will find two separate buttons, which does the same job.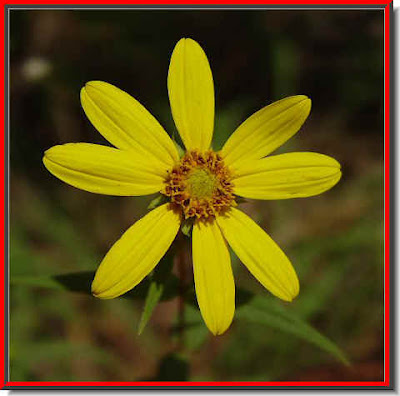
 Step 3 : You can use the Lasso Tool or the Magnetic Lasso Tool for creating a selection. I have chosen the Magnetic Lasso Tool and not the Polygon Lasso Tool even though it is highlighted.
 Step 4 : Now click a point with the Magnetic Lasso Tool. Then click and drag adding points. If you make a mistake, hit DELETE and it will delete the last point, then carry on till the entire portion you want is selected.
 Step 5 : As soon as you return to the last point a selection will form.
 Step 6 : Click the Edit in Select Mode button or press 'Q' on your keyboard.
 Step 7 : As soon as you click the Edit in Quick Mask Mode button, a reddish color will fill the canvas except for the selection.
 Step 8 : Now zoom into the image. You will see that there are imperfections in the Mask. Some portions may have been left out of the Mask or some portions included that you do not want.
 Step 9 : To add to the Mask paint with Black (Foreground Color) to substract from the Mask paint with White (Background Color) with the Brush Tool.
 Step 10 : Click on the Brush Tool. To make the Brush tip large press ] (right bracket key) and to make it small [ left bracket key). You will need to change the brush size from large to small as you paint.
 Step 11 : Paint out the imperfections with Black when you want to add areas and with White when you want to substract from it.


 I have used the Hue/Saturation to change the color of the flower an added a Drop Shadow.


