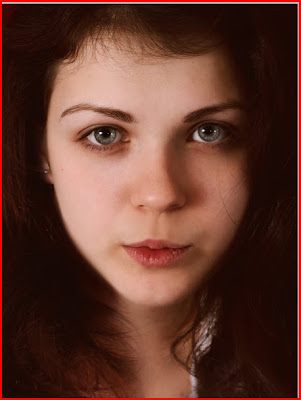
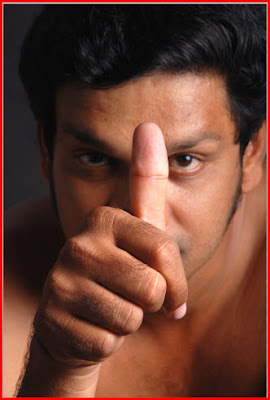
 Download these two images.
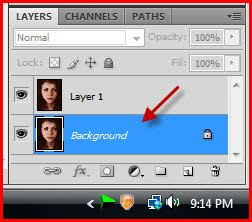 Step 1 : Click on the Background Layer.
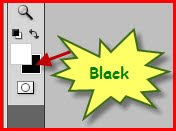 Step 2 : Now switch the Background Color to Black by clicking on the small bent arrow just above it.
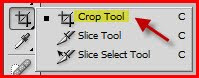 Step 3 : Now click on the Crop Tool.
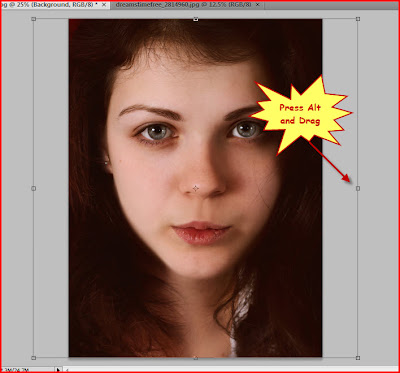 Step 4 : I have selected this photo to 'tear'. Press ALT and drag the middle handle outwards as shown. Press Enter.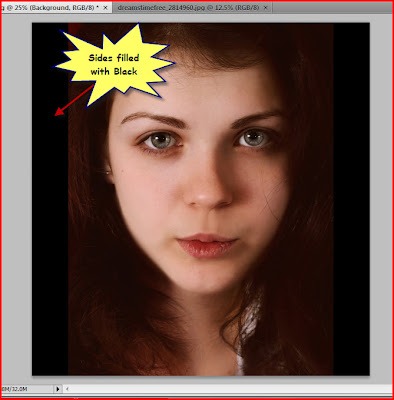
 Step 6 : Change the Foreground Color to Black by clicking on the small bent arrow.
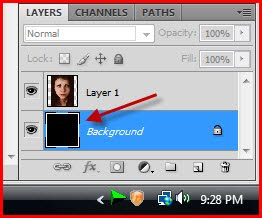 Step 7 : Remember you are on the Background Layer. Press ALT+Backspace. This will fill the entire Background with the Foreground Color which is now Black.
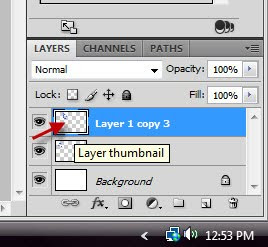
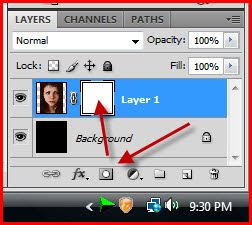 Step 8 : Click on Layer 1 now. Then click on the Add Layer Mask button and a Layer Mask forms next to the layer thumbnail on Layer 1.
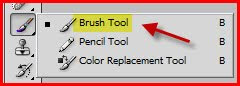 Step 9 : Click on the Brush Tool. To make the tip bigger press ] (right bracket) and to make it smaller [ (left bracket). To make the Brush soft press SHIFT+[. Alternately to make it hard press SHIFT+]. You need to have a soft brush.
 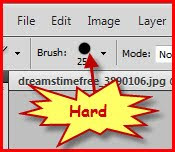 Look at the top panel on the left. This is how a Hard Brush Looks like.
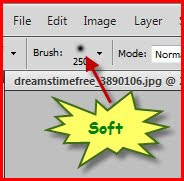 And this is how a Soft Brush looks. You can easily make out if you are using a Hard Brush or a Soft Brush. In this case we will be using a Soft Brush.
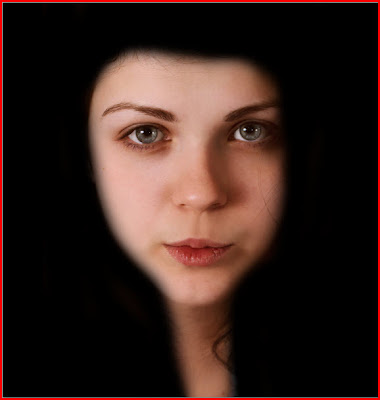 Step 10 : I have painted all around the face with the Brush Tool so that the face only is visible.
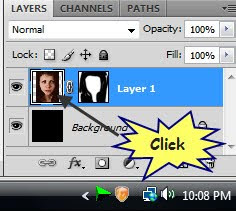 Step 11 : Now click on the Layer thumbnail of Layer 1. A small frame appears around the layer thumbnail indicating that it is now selected.
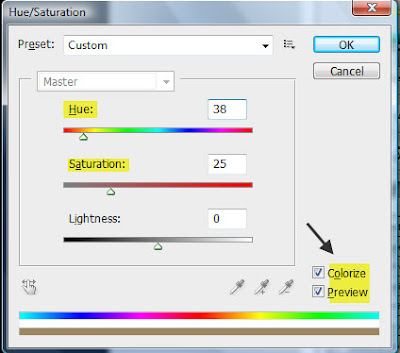 Step 12 : Press+U. This will bring up the Hue/Saturation dialogue box. Preview at the right bottom will be checked. Also check Colorize. Then give the settings for Hue and Saturation shown here. Click OK.
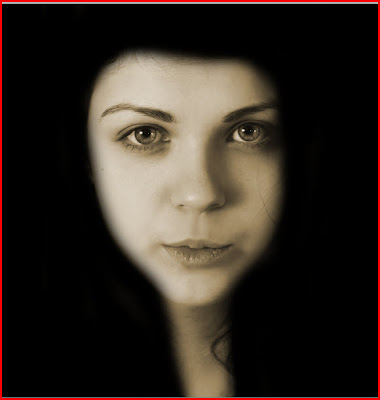 This is how my image appears.
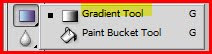 Step 13 : Click on the Gradient Tool.
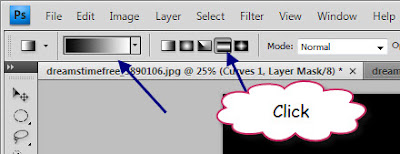 Step 14 : In the top panel make sure that the first Gradient in the Gradient Editor is selected, then click on the third icon. It is the Reflected Gradient.
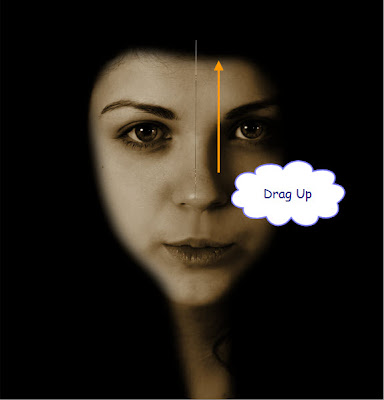 Step 15 : I am dragging the Reflected Gradient from the tip of the nose to the forehead.
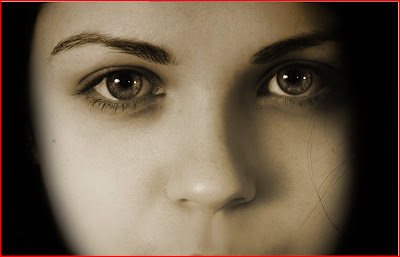 Step 16 : This is effect I have got. Some brightness has been added.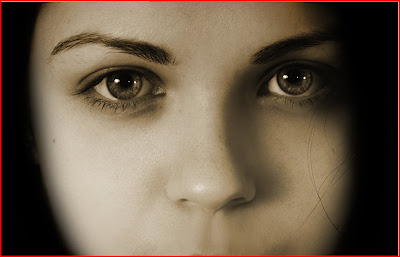
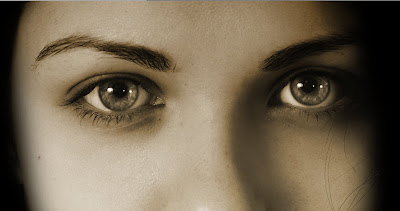
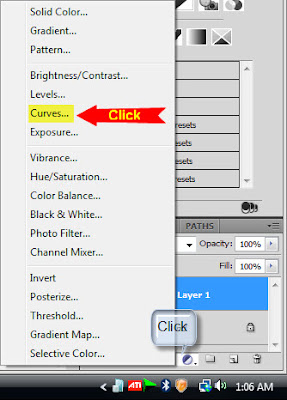 Step 18 : Click the New Adjustment Layer button at the bottom of the Layers palette and a pop up will appear. Click on Curves. This will add a Curves adjustment Layer.
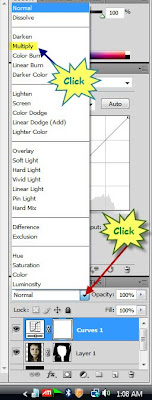 Step 19 : Now change the Blend Mode from the pop up to Multiply.
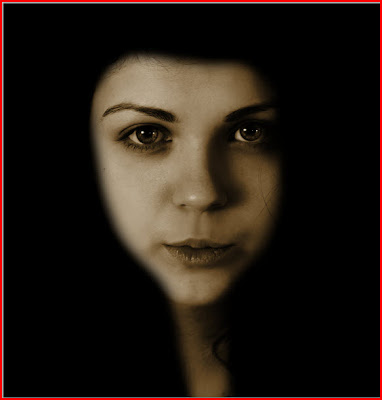 The image darkens immediately.
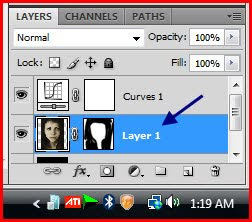 Step 20 : Click on Layer 1.
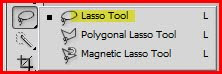 Step 21 : Grab the Lasso Tool.
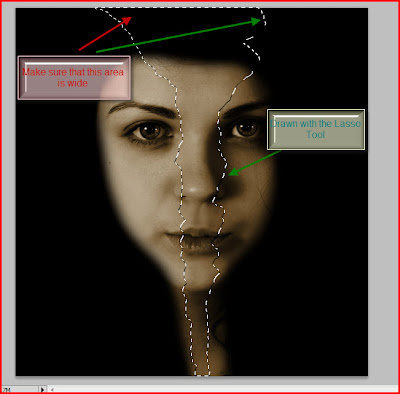 Step 22 : Draw out the portion to be 'torn out'. Make sure you leave enough space at the top for the other face to be seen.
 Step 23 : Make sure that the Foreground Color is Black.
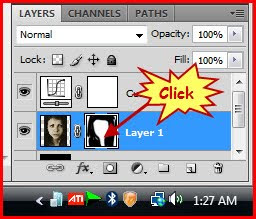 Step 24 : Click on the Layer Mask in Layer 1. A border appears around it indicating that it is selected.
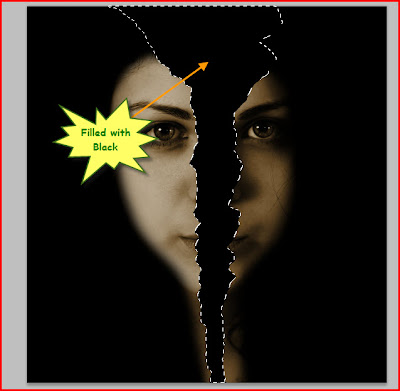 Step 25 : Press ALT+BACKSPACE and the selection will fill with the Foreground Color which is Black. Press CTRL+D to deselect and the 'marching ants' will go away.
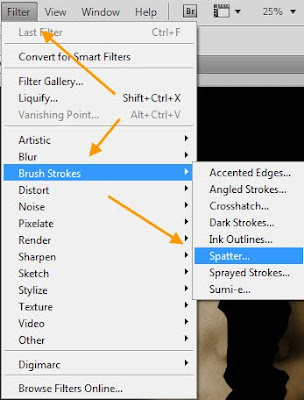 Step 26 : Go to Filter>Brush Strokes>Spatter.
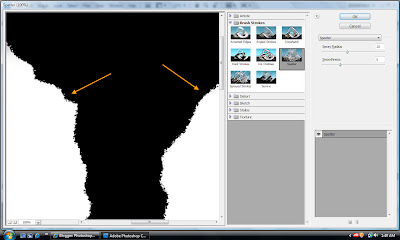 Step 27 : The Spatter dialogue box fills your screen. In the right hand panel note how the edges become more jagged.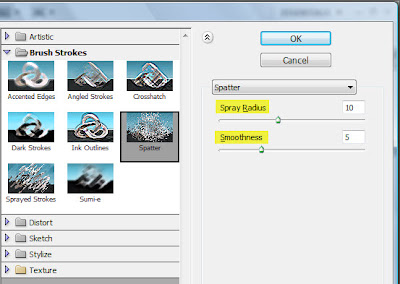
Step 28 : At the controls on the right of the Spatter dialogue box these are the default settings. Leave it at that. Click OK.
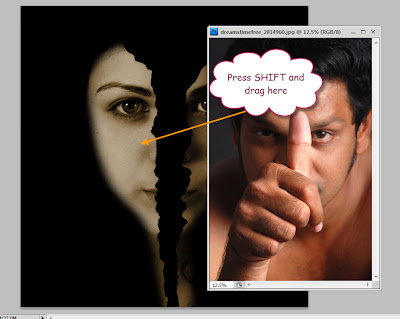 Step 29 : Open the other photo. Keeping SHIFT pressed drag it onto the girl's image.
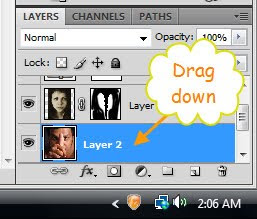 Step 30 : Now drag the man's face (Layer 2) below the girl's image (Layer 1) with the cursor. Or drag the girl's image above the man's image. In either case the man's face will be below the girl's image.
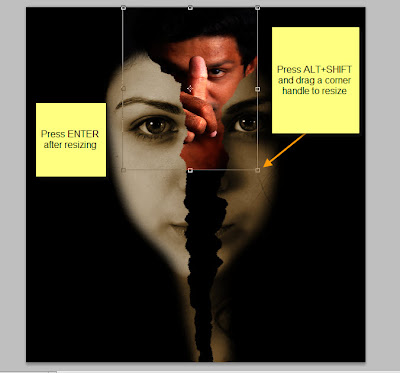 Step 32 : Press CTRL+T. An outline forms around the man's image. Press SHIFT+ALT, grab a corner handle and drag upwards to resize the photo proportionately. When you are finished press ENTER. Press CTRL+SHIFT+U to desaturate the man's photo.
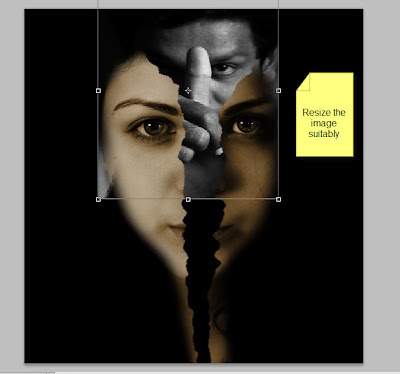 Step 33 : If you are not satisfied with the resizing press CTRL+T again and keeping SHIFT+ALT pressed resize further. Note that in my image a corner of the man's photo is showing beside the girl's image on the left. We will take care of that in a minute.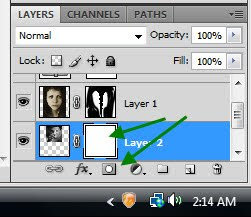
Step 33 : Click the Add Layer Mask button and a Layer Mask forms next to the layer thumbnail on Layer 2 (the man's image).
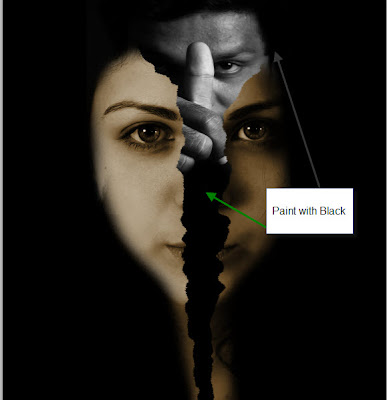
Step 34 : Make sure that the Foreground Color is set to Black. Use the Brush Tool to paint away details of the image you do not want to keep.
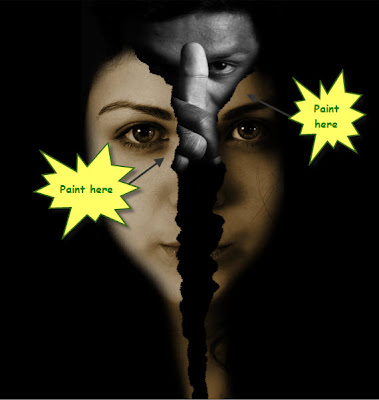
Step 35 : With the Brush set to a soft moderate size paint on the outside of the 'tear' i.e. near the edges keeping the brush on the cheek and not letting it come inside the 'tear'. This will create a shadow on the man's face which give the finished product a 3D look.
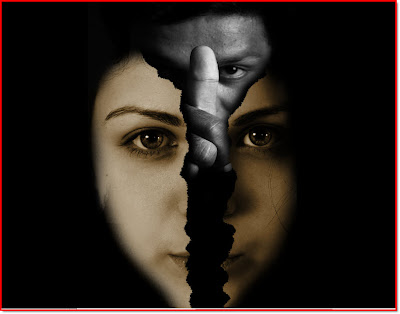
Here is the finished image. Try it out, you will not find it difficult.
Other Photoshop tutorials are here.
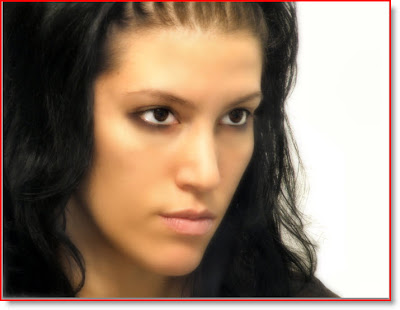 Step 1 : I have opened this free stock photo. You can download it
 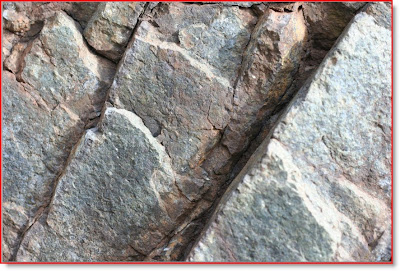 Step 2 : And this texture. You can download it
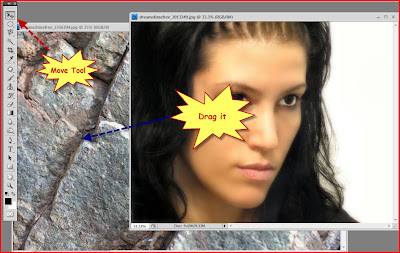 Step 3 : Drag the girl's photo over the texture with the Move Tool.
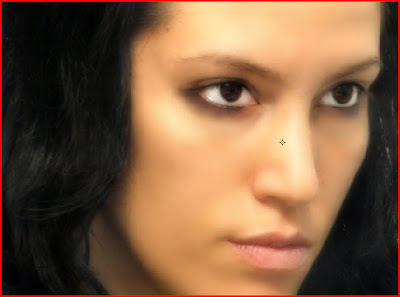 Step 4 : Press SHIFT+ALT and drag a corner handle till the girl's image completely covers the texture.
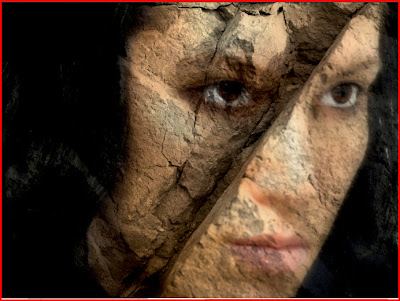
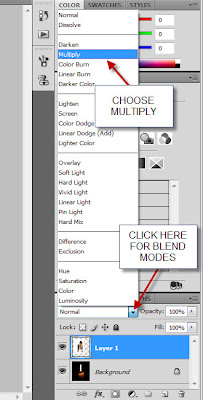
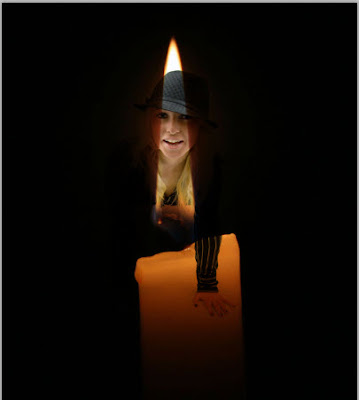
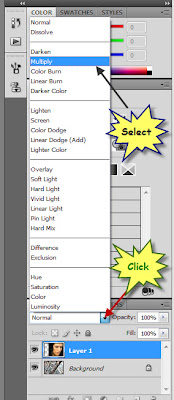 Step 5 : In the Layers pallette click where the arrow points to, to change the Blend Mode. From the popup click on 'Multiply'.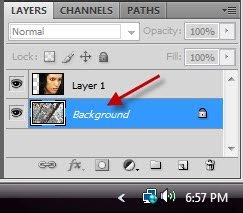


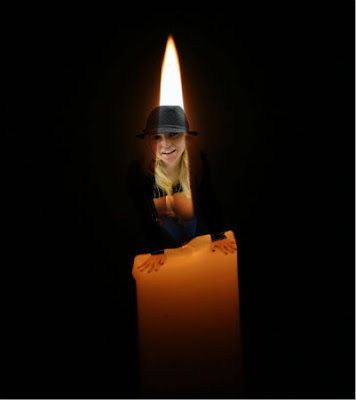
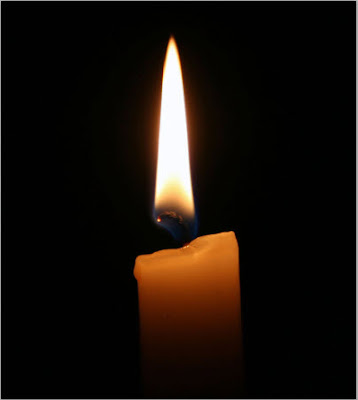 Step 1 : I have chosen this free stock photo of a candle. It has a black background.
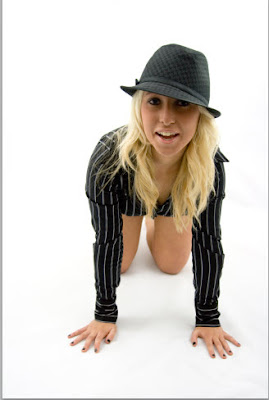 Step 2 : I have also opened this free stock image. Note that it has a completely white background and some faint shadow. Ordinarily this should be difficult to manipulate.
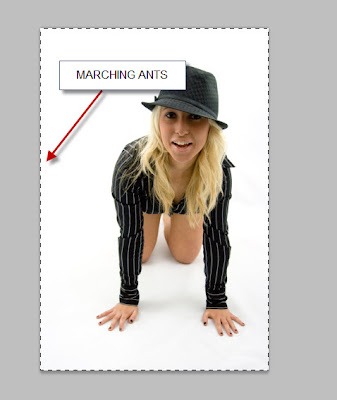 Step 3 : I have chosen this photo first. Click on it. Press CTRL+A (Select All) and then CTRL+C (Copy).
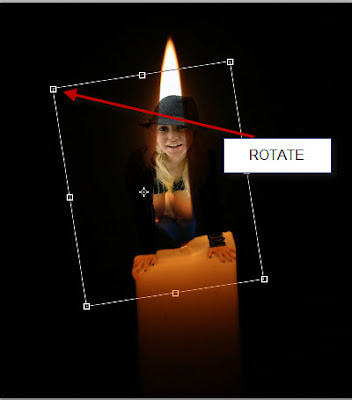
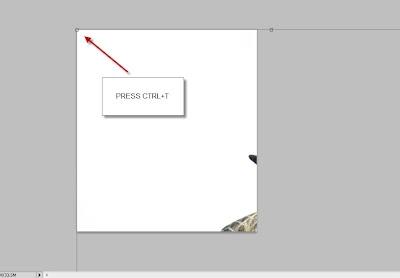 Step 4 : Now go over the photo of the candle. Press CTRL+V (Paste). The photo of the girl will be pasted over the cangle image. Since both are high resolution images and this the bigger one it has completely covered the photo of the candle. Press CTRL+T. A selection appears all around the image.
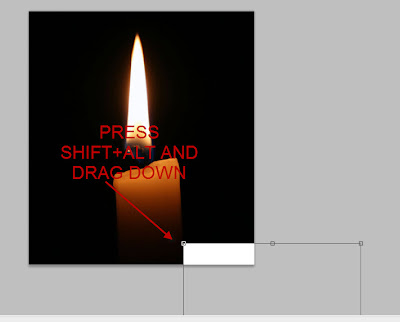 Step 5 : Press SHIFT+ALT and drag down. This will ensure that the image of the girl is resized while keeping proportions intact. You can see here I have dragged the photo of the girl down.
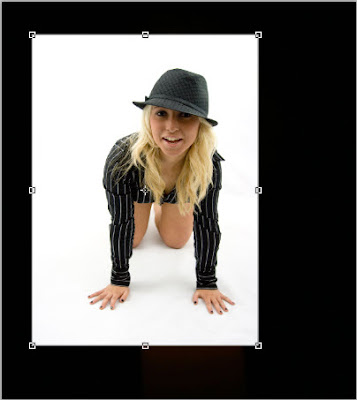 Step 6 : Use the Move Tool to position the image correctly. Press Enter when you are satisfied. The selection will go away.
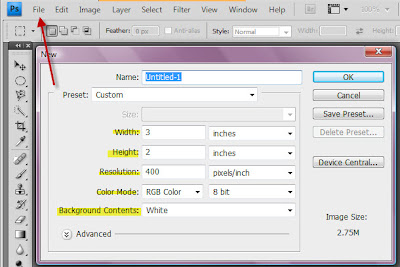 Step 1 : When you open a new document by going to File>New ensure that the resolution is high. I have set it at 400. I have set the size at 3 x 2 inches and the Color Mode to RGB, which should be changed to CMYK before printing.
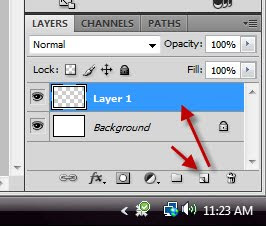 Step 2 : Click the new layer icon and a new blank layer forms above the white background layer. The new layer is Layer 1.
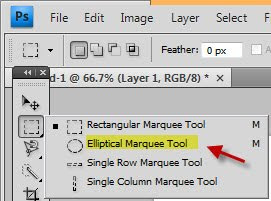 Step 3 : Click the Elliptical Marquee Tool.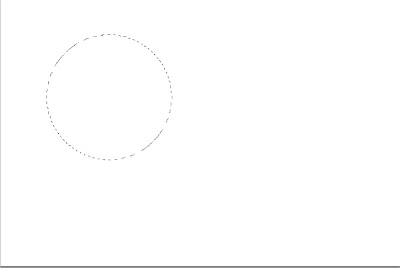
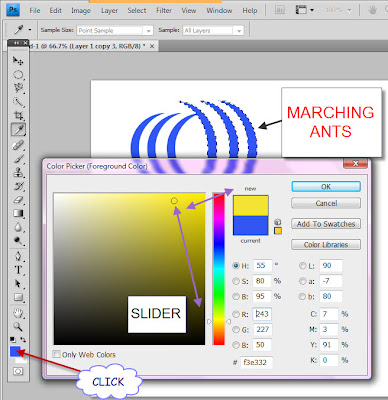
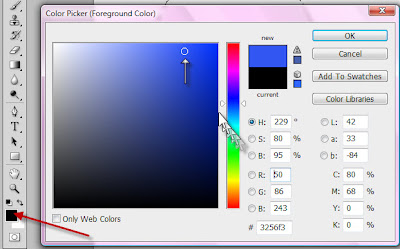 Step 5 : Click the Foreground Color in the left panel and the Color Picker comes up. Now drag the tiny white sliders on the Spectrum in the middle to select the color you want. I have chosen Blue. In the left panel I have clicked on a shade of Blue. The top half of New also changes to Blue. Click ok.
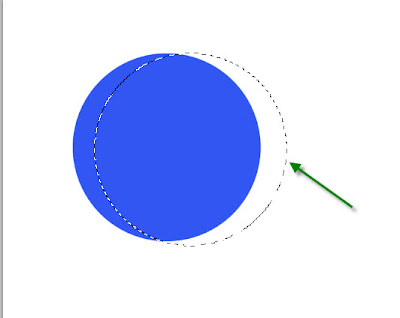 Step 6 : Now press ALT+Backspace. This will fill with the Foreground Color. Since we have changed the Foreground to Blue the circle is filled with the color. Press CTRL+D to deselect. Now click on the Elliptical Marquee again and draw out a perfect circle keeping SHIFT pressed. This is being done to cut out a crescent shape from the Blue circle.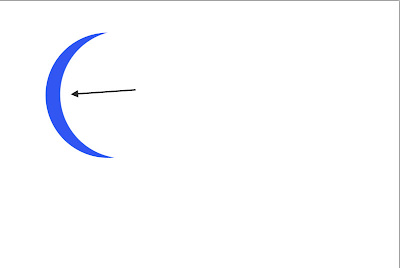
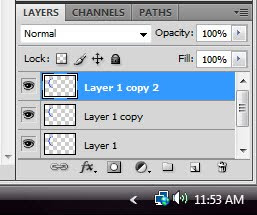 Step 8 : Now press CTRL+J twice. You will find Layer 1 duplicates into Layer 1 copy and Layer 1 copy 2. Layer 1 copy 2 is highlighted, which means you are on that layer.
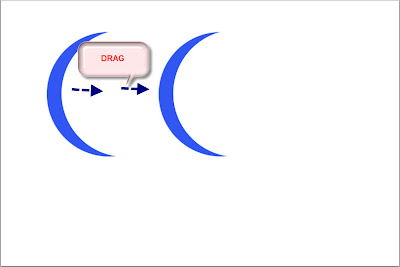 Step 9 : With the Move Tool drag the crescent to the right.
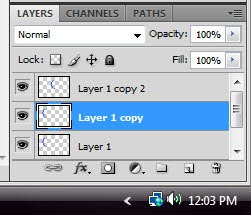 Step 10 : Click on layer 1 copy.
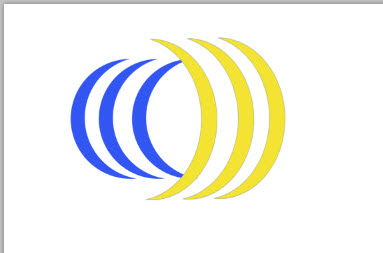
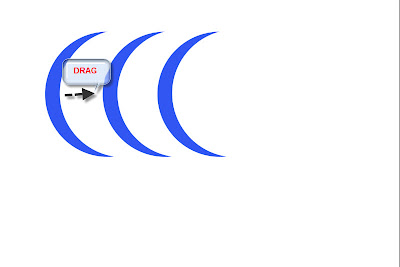 Step 11 : Now drag this layer apart. You should have three crescents now.
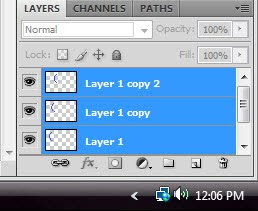 Step 12 : Now click on Layer1 copy 2, then Layer 1. All three layers will be highlighted as shown.
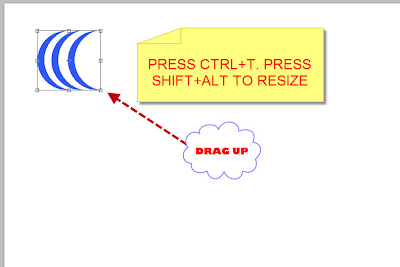
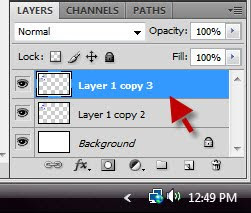
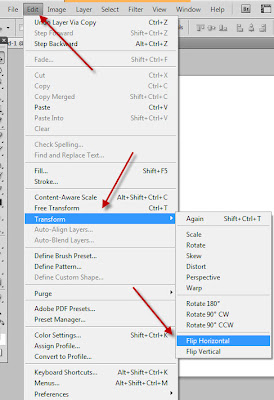
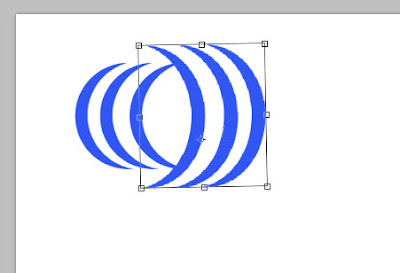
 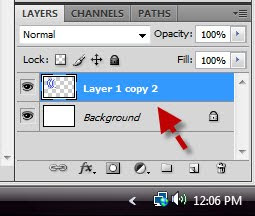 Step 13 : Now press CTRL+E. This will compress the three layers into a single layer as shown above.