


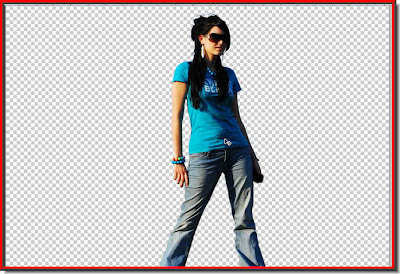
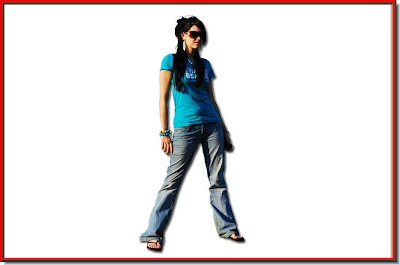
 This was the result of cutting out an image out of its background.
 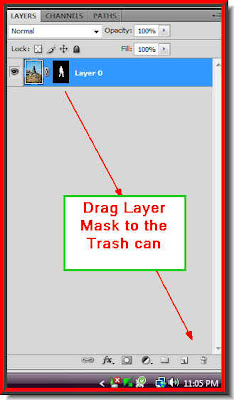 Step 1 : Click on the Layer Mask and drag it down to the Trash can at the bottom right of the Layers pallette.
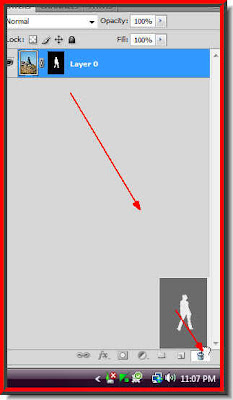 This is how it looks as you drag the Layer Mask (in PS CS).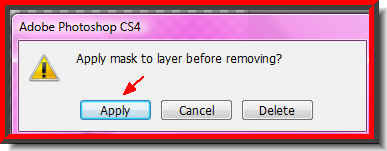
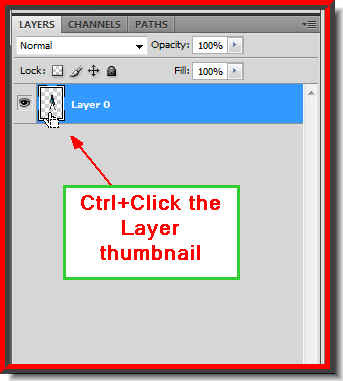
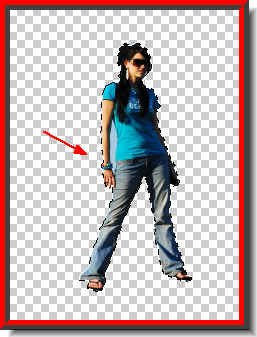 Step 3 : As soon as you CTRL+Click the layer thumbnail a selection of marching ants surround the girl's image.
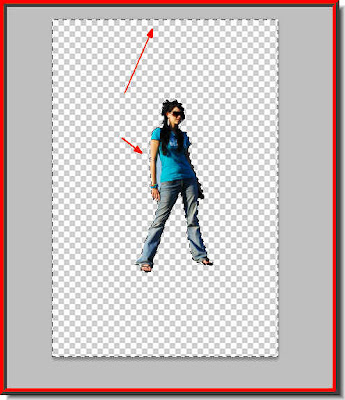 Step 4 : Press CTRL+SHIFT+I. This will invert the selection. You can see that selection is around the girl's image as also around the edges of the transparent background. Press the Delete key. You will not notice anything. Press CTRL+D to deselect.
 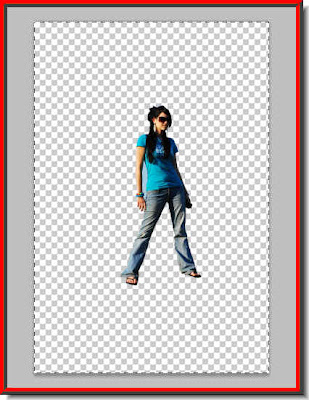 Step 5 : Now press CTRL+A (Select All), then CTRL+C (Copy).
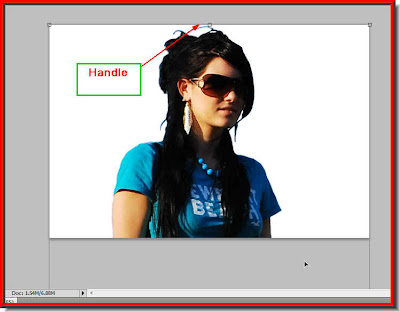 Step 6 : Open a new White Layer, then press CTRL+V (copy). Press Ctrl+D to deselect. Since the image that I am using is a very high resolution image it does not fit into the New White Layer. Press CTRL+T. A selection with handles will appear around the image of the girl..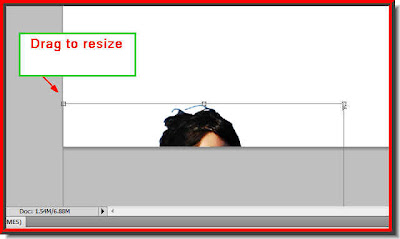

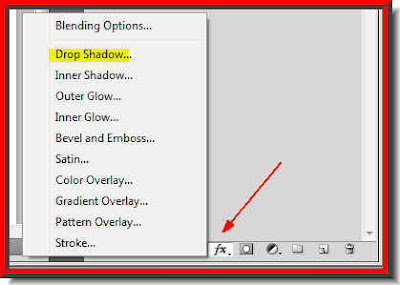 Step 8 : Click the Layer Style button and from the popup click on Drop Shadow.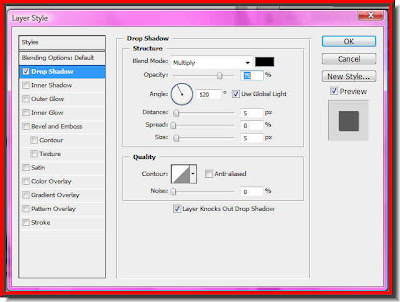
Step 9 : Just click ok in the Drop Shadow Layer Style box without altering any of the controls.
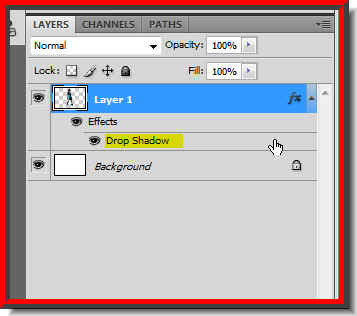
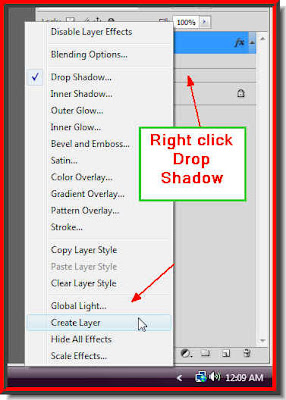

Step 12 : This dialogue box pops up. Click ok.

Step 13 : Now click on Layer 1's Drop Shadow. Note it is the Layer below that of the girl that has been cut out or Layer 1.

Step 14 : Now press CTRL+T. A selection forms.

Step 15 : Press CTRL+SHIFT+ALT. Drag the left corner handle inwards.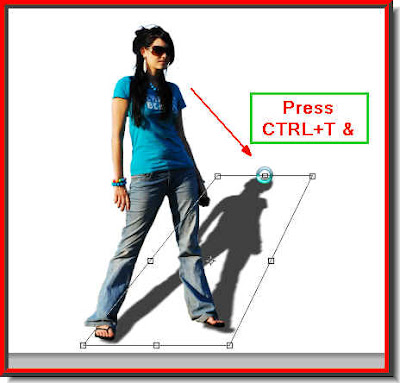
Step 16 : Press CTRL+T. Drag the centre handle on top sideways till the shadow falls to the side. It can be any side depending on the light direction of your image. Press enter.

Step 17 : Click the Move Tool. The shadow may not be exactly aligned with the image. Use the arrow keys on your keyboard to move the shadow to the appropriate place behind the image. Step 18 : Reduce the Opacity of Layer 1's Drop Shadow to less than 50 %.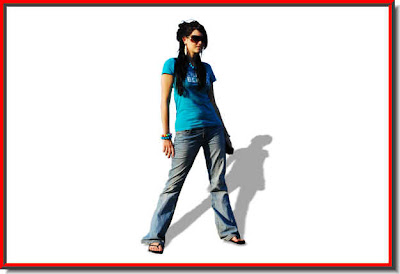
And there is my finished image. I will leave it at that. You can add your own background or you can also dispense with the Drop Shadow. I just showed you how to manipulate a Drop Shadow.
Other Tutorials are here.
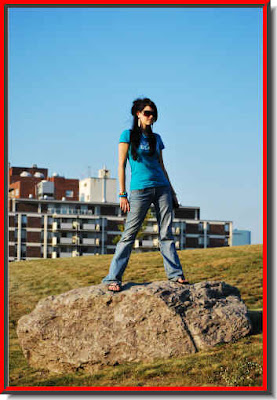
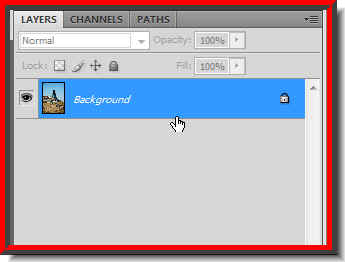 Step 2 : Look at the Layers pallette. There is only a single layer -- the Background layer. A background layer is always uneditable. It has to be unlocked.
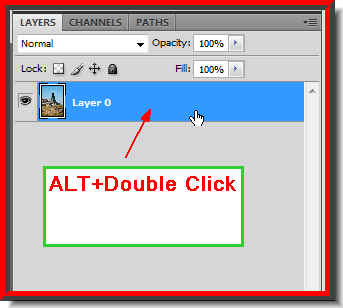 Step 3 : To unlock the Background layer, press ALT and double click the Background layer. It changes to Layer 0 (zero).
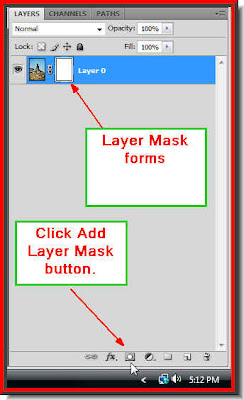 Step 4 : Click the Add Layer Mask button and a Layer Mask forms next to the Layer thumbnail on Layer 0.
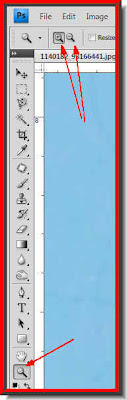 Step 5 : Click on the Zoom Tool. The magnifying glass like icons in the top panel is for zooming in or out. Click the one one with the plus sign to zoom in and the on with the minus sign to zoom out.
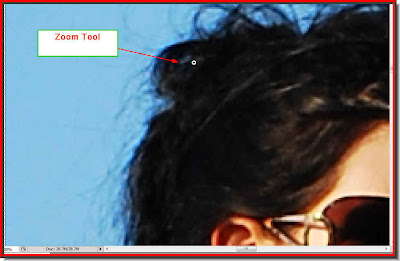 Step 6 : Zoom into the image. You need to see clearly what you are doing.
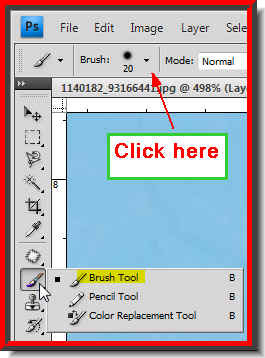 Step 7 : Click on the Brush Tool. Click where the arrow points to in the top panel to reveal the default Brushes.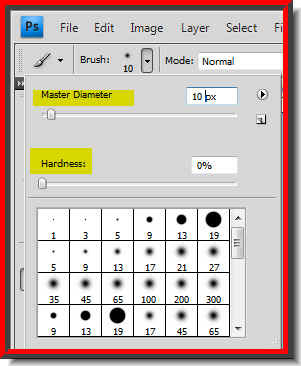

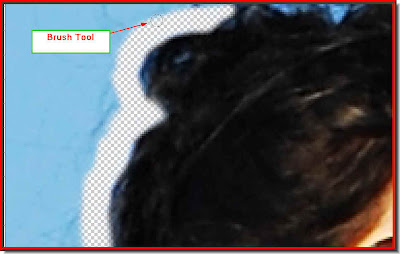 Step 10 : With the Brush begin painting away near the edge of the girl's figure. I am working on the girl's head. You have to increase and decrease the size of the Brush as you paint. To increase the size of the Brush tip press ] (right bracket key next to the letter P on the keyboard). To decrease the size of the Brush tip press [ key.
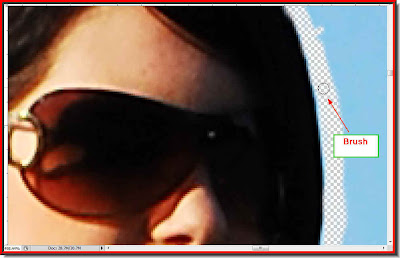 Step 11 : Keep changing he Brush size as you paint away revealing the transparent background. This is the tedious part, but do it carefully or the results may go awry.
  Should you accidentally paint out a portion, change the Foreground Color to White by clicking on the small bent arrow. After painting away the mistake, again switch the Foreground Color to Black and continue.
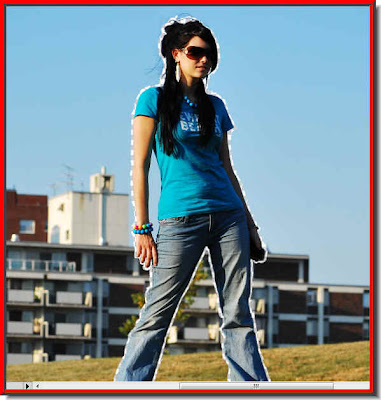 Step 12 : I have painted away all around the edges. It took me quite a while.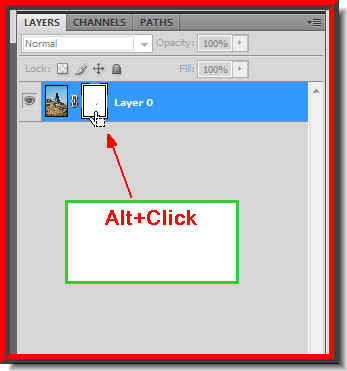
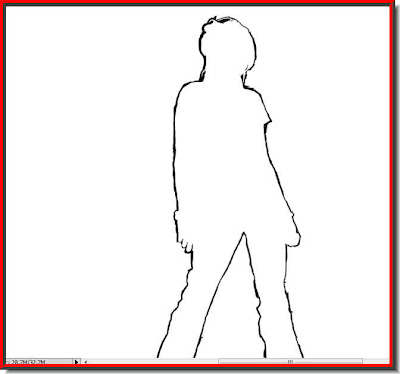
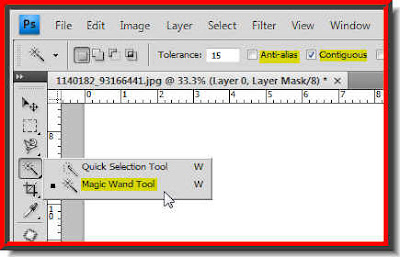
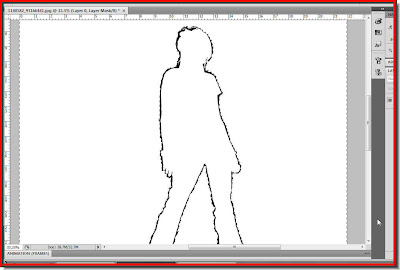
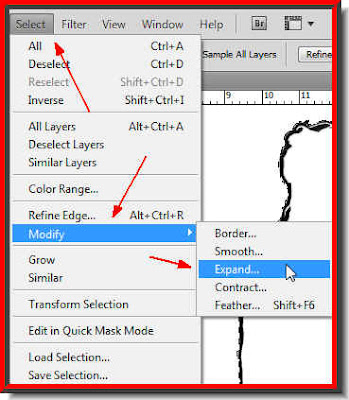
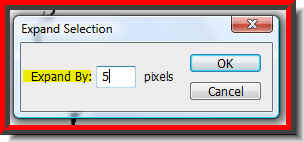
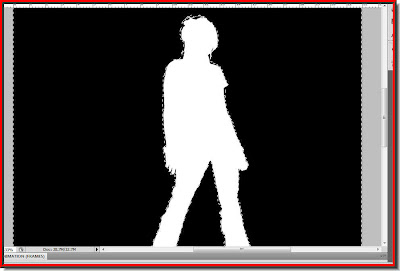
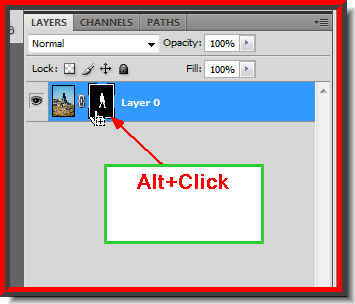
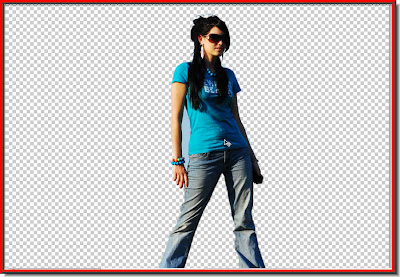 And, there you have it. The image has been cut out from its background. Omigosh! I have forgotten the part between her arm and body!!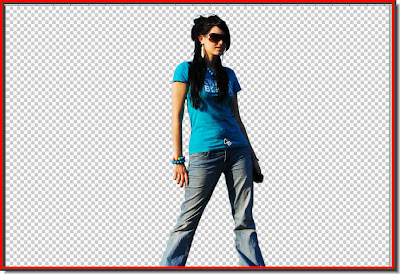
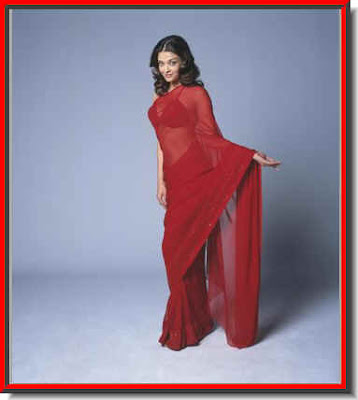 Step 1 : I have opened this image. Open a similar photo in photoshop.
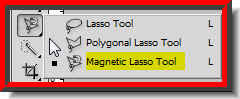 Step 2 : Now to make a selection. You can use the Magnetic Lasso Tool. I am sure you know how to use the Magnetic Lasso. If you don't have a look at this tutorial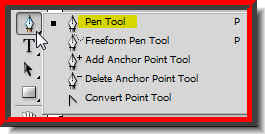
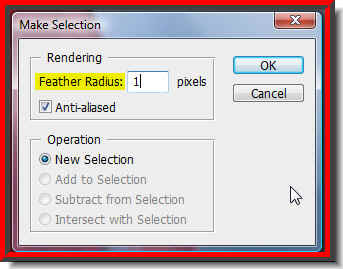 Step 3 : Whichever tool you may use, give a feather of at least 1 or 2 pixels. This is a low resolution image. I have given it a feather of only 1 pixel.
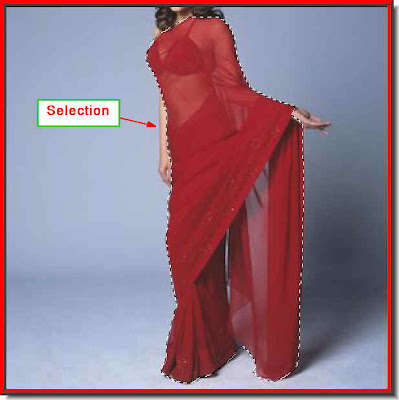 Step 4 : As soon as you click ok in the make Selection dialogue box a column of 'marching ants' surround the selection.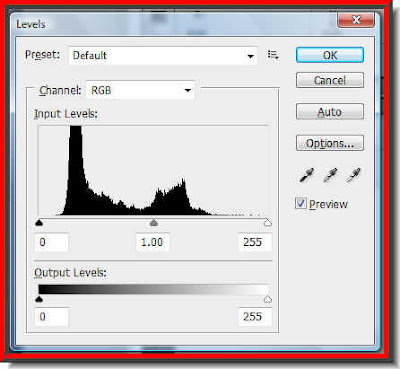
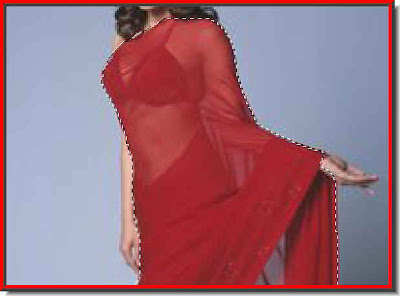 This is how a closeup of the saree looks.
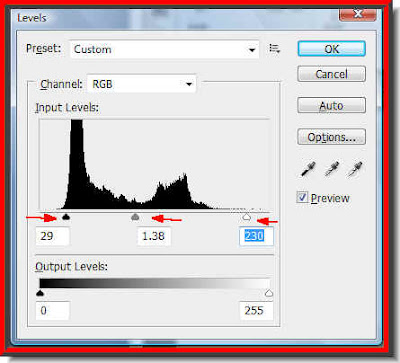 Step 6 : Now drag the Black slider at the left gradually towards the left. Do not overdo it. Next drag the middle slider (highlights) gently towards the left to brighten the selected portion. After this drag the White slider at the extreme right to the left. How much you drag the sliders will depend on your image and the effect you are satisfied with.
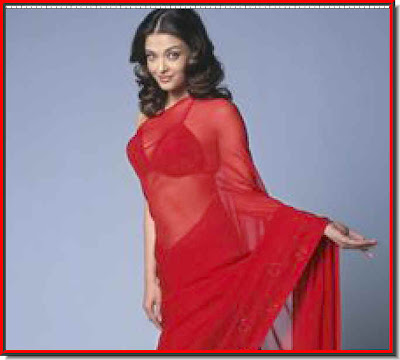 The transparency of the saree increases as you move the sliders in the Levels dialogue box.
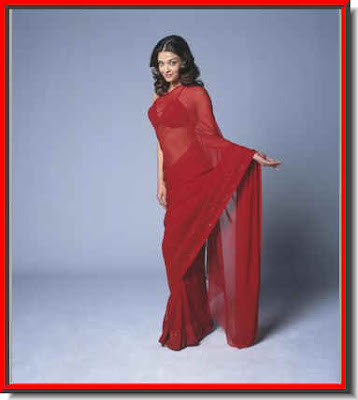 The original image.
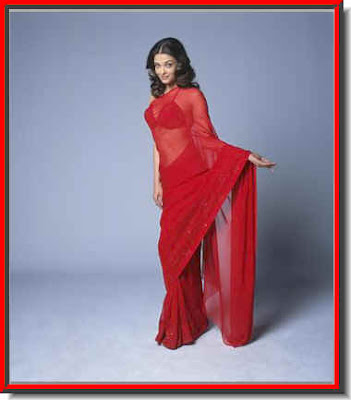 The tweaked image increasing transperancy. That is all.


