
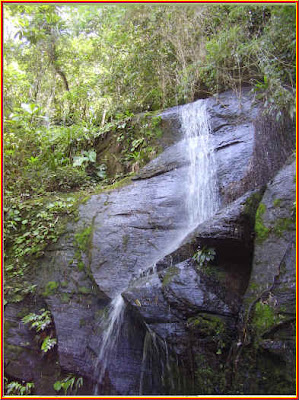
 Step 1 : I have opened these two photos. I will transpose the girl with long hair onto the waterfall image.
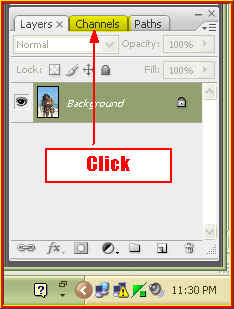
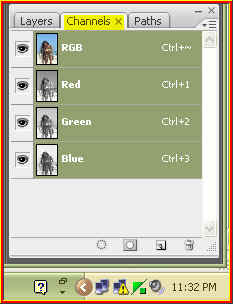
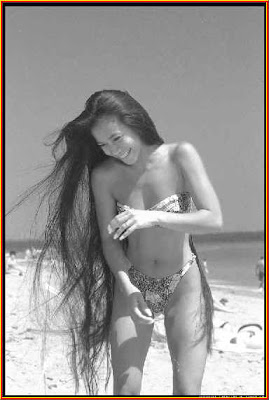
Clicking on the Red channel shows us this black and white image. Clicking on the Green channel shows more contrast.
Clicking on the Blue channel shows that it has the most contrast. We will work with the Blue channel.
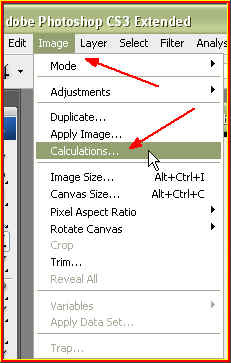
Step 4 : Go to Image>Calculations.
Step 5 : In the Calculations dialogue box, in Source 1 change the channel to Blue. In Source 2 also change the channel to Blue. Set the Result to New Channel. Change the Blending to Overlay. The red arrows point to dropdown boxes. Click where the red arrows point to to reveal them. Click ok after you are finished.
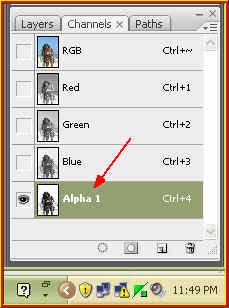
Step 6 : Notice that a new channel Alpha1 forms.
The image has much greater contrast now.
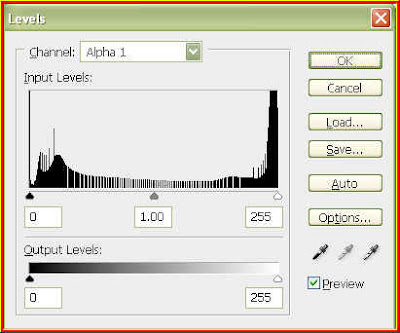
Step 7 : Press CTRL+L. This brings up the Levels dialogue box. Note the Black, Grey and White sliders.
Step 8 : Drag the Black slider to the right as also the Grey. Move the White slider slightly to the left.

The girl's image has become almost black.

Step 9 : Click on the Brush Tool. Step 10 : In the Top panel click where the white arrow points to.
 Step 11 : From the drop down drag the Hardness slider to the extreme right. The Master Diameter we can set from the keyboard by using these bracket [ ] keys. The left bracket [ is to make the brush tip smaller and right bracket ] to make it bigger.
Step 12 : Press D on the keyboard to set the Foreground Color to Black and Background to White if it is not so.
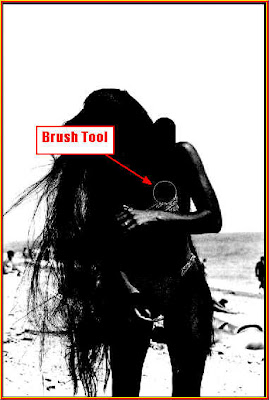
Step 13 : I am using the Brush Tool to paint in Black.
I have finished painting with Black.


A Tip. Use the Zoom Tool to zoom into the image. It will help, otherwise bits and pieces maybe left over which you may not notice if the image is small.
 Step 14 : Press X on the keyboard to change the Foreground Color to White.
Step 15 : Again click on the Brush Tool to select it.
Step 16 : I am painting with the White on background. I will paint the entire background White or as far as practicable keeping in mind the flowing hair. We will tackle that in a while.
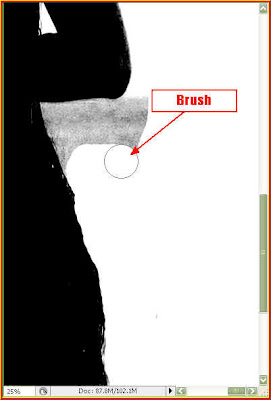
Step 17 : I have zoomed in on the image and am painting with White.
I have painted the background White without touching the hair strands, so a little bit of the background remains behind.
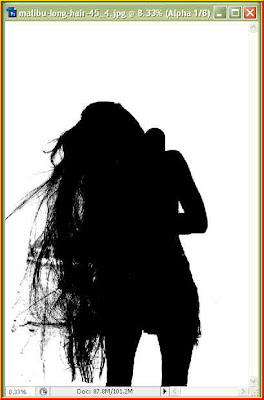
The background has been painted White.
Step 18 : Press CTRL+I on the keyboard and the colors will be inversed in the Alpha channel.

The inversed image.
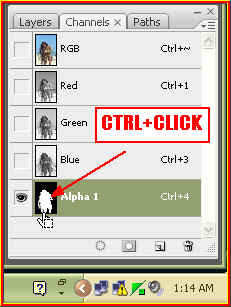
Step 19 : CTRL+CLICK the layer thumbnail of the Alpha 1 channel.
You will immediately note a selection forming.
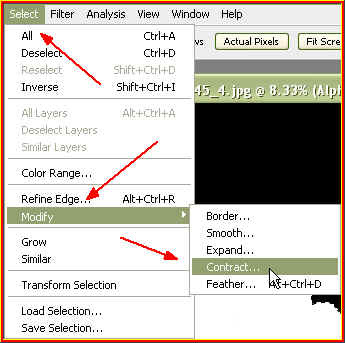
Step 20 : Go to Select>Modify>Contract. We will be using Select>Modify>Feather in the next step. Step 21 : Contract by 1 pixel. Click ok.
 Step 21 : Go to Select>Modify>Feather. Set the Feather Radius as 0.2. Click ok.
 If you happen to be using CS 3 omit Step 20 and 21. Go to Select>Refine Edge.
 In the Refine Edge dialogue box set Contract/Expand to -20 and Feather at 0.2
You will notice the progress bar pop up. Let it continue.

And here is your selection.
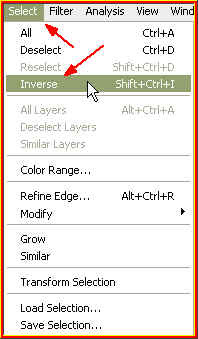
Step 22 : Go to Select>Inverse.
The Selection has been Inversed.

Step 23 : Press X on the keyboard to set the Foreground Color to Black.
Step 24 : Press ALT+BACK SPACE on the keyboard. The selection will be filled with Black. You may not notice much difference, but i has been filled with Black. Press CTRL+D to deselect.
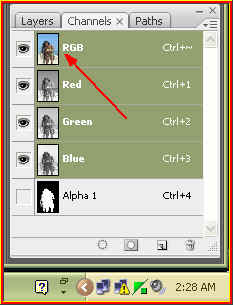 Step 25 : Click on the RGB channel.
 Step 26 : Click on the Layers pallette. Double click the Background. A new Layer dialogue box will open. Click ok. The Background will change to Layer 0.
Step 27 : Go to Select>Load Selection.

Step 28 : The Load Selection dialogue box opens. Select Alpha 1 as the channel from the drop down. Click ok.

The selection can now be seen.
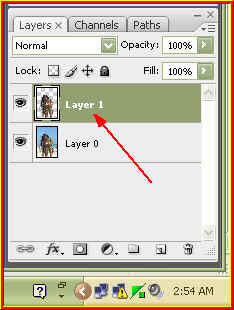
Step 29 : Press CTRL+J. This will copy and paste the selection to a new layer i.e. Layer 1.
Step 30 : Now drag the girl onto the waterfall image. Resize if necessary.
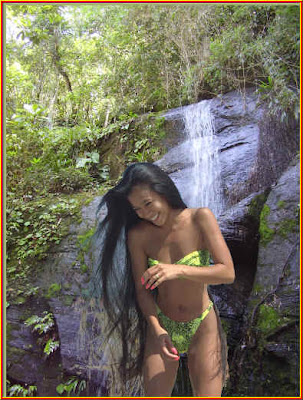
Step 31 : The girl is now on the waterfall image.
Step 32 : I have zoomed in the girl's hair. It has come out very nicely. We will finetune this even further.

Step 33 : Click on the Burn Tool to select it.
Step 34 : I am using the Burn Tool on the hair. Notice how the strands of hair are now looking darker and lifelike.
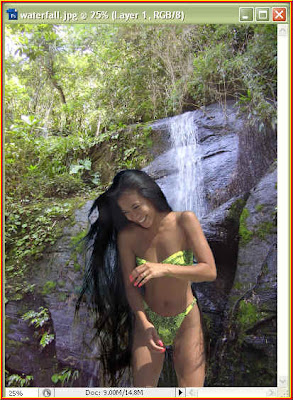
My work with the Burn Tool is finished. The hair looks realistic against the transposed background. One thing does not seem to be right though -- the lighting. It does not match the background.
Step 35 : Go to Edit>Transform>Flip Vertical.

There that looks better and even more dramatic. That is all.


