


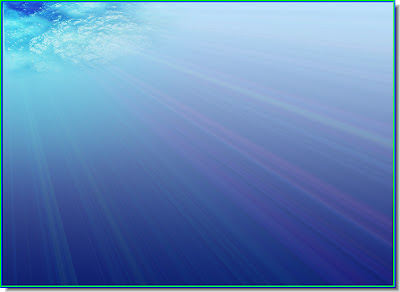
You can add other elements to it.
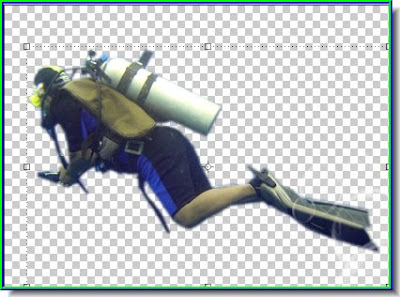
Step 1 : I have cut out this picture of the diver with the Pen Tool.
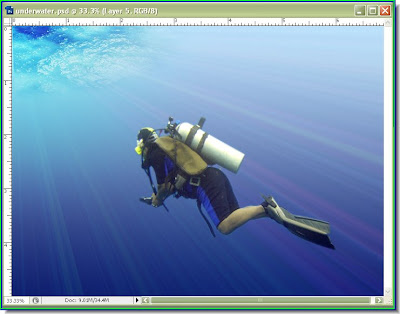
Step 2 : I have dragged it onto the underwater scene.
Step 3 : In the Layers/Channels/Paths pallette change the blend Mode to Soft Light.
Step 4 : The diver now seems to be part of the underwater scene. Now download this Brush by clicking here. It is a brush that replicates bubbles. Install it.

Step 5 : Click the Brush Tool.
Step 6 : Click as shown in the top panel to reveal the brushes pallette.
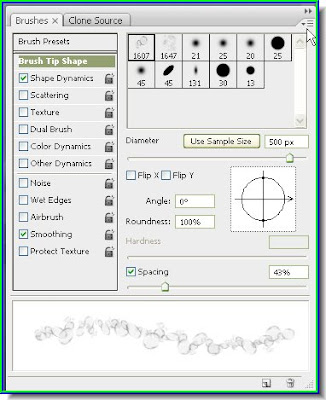
Step 7 : The Brushes pallete is revealed. Look where the small white arrow points to. It shows a tiny black arrow. Click it.
Step 8 : I have found the bubbles brush.

Step 9 : When I click it, this dialogue box opens. Click ok.

Step 10 : Set the Foreground Color to White.
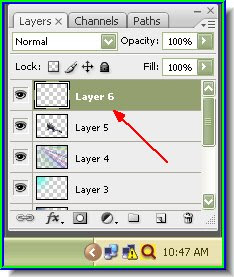
Step 11 : Press CTRL+SHIFT+N to make a new layer. Layer 6 is the new layer in the Layers/Channels/Paths pallette.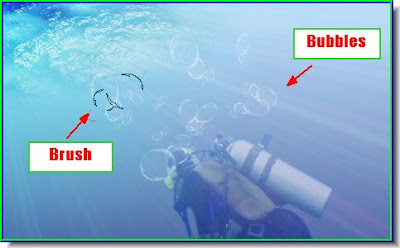
Step 12 I: I am using the Brush to create the Bubbles.
The finished image.


