


This is a tutorial on creating a Background with just a single Gradient. After creating the background you can add objects to it and text if you want and make a poster if you like. Step 1 : Open a new white layer.
Step 1 : Open a new white layer.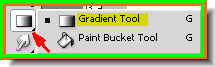 Step 2 : Click the Gradient Tool.
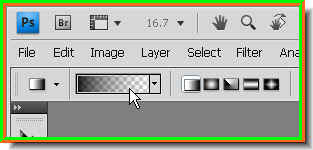 Step 3 : Click where the white arrow points to in the top panel to edit gradients.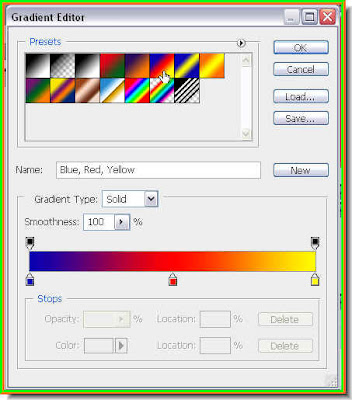
Step 4 : Click the Gradient the sixth from the left, the one the small white hand points to. Click ok.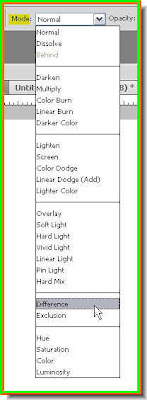
Step 5 : Now set the Mode in the top panel to Difference. Step 6 : Drag with the Gradient Tool in any direction you like.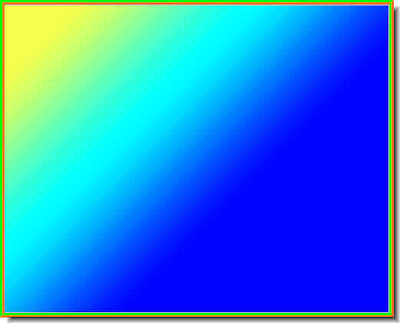
This is how the image looks after the first pass. You will get something different. Do not worry about it. Just follow the steps.
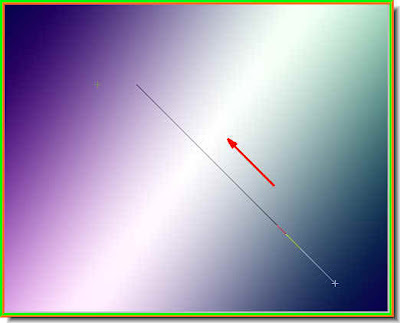 This is how it looks after the second pass. I have dragged for the third time. Drag in randon directions from any point to any point. You will have to this a number of times. It does not look interesting as yet, but it will.
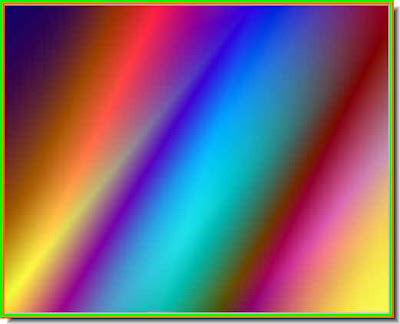 I have made a number of passes again. Up, down, sideways, drag with the Gradient Tool in any direction. Now it is beginning to look interesting.
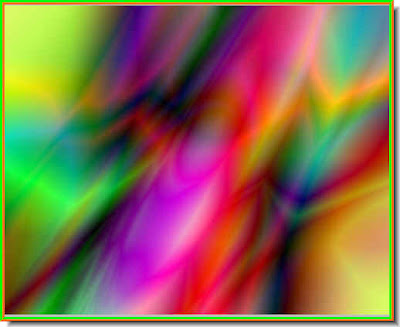 After some more passes it looks like this. You will get a different result, but it will be equally interesting. The more you drag in different directions the better it will get.
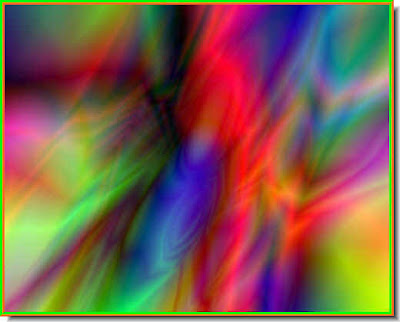 This is what I have got after quite a number of passes. This effect is being created because the Mode has been set to Difference. That is the secret.
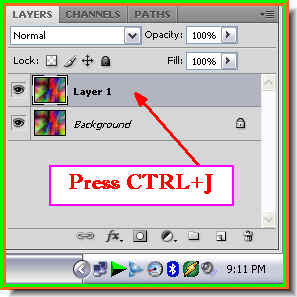 Step 7 : Now press CTRL+J. This will duplicate the Background layer. A new layer -- Layer 1 forms.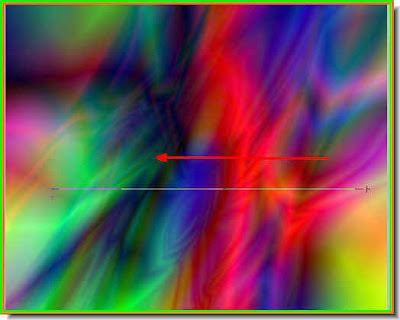
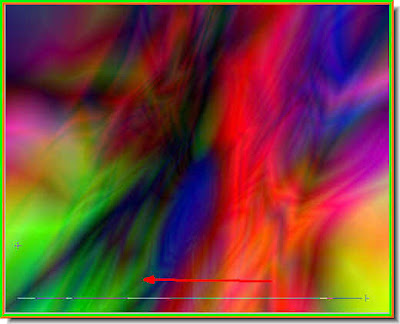
Step 8 : Look at the Layers pallette. You will find Layer 1 highlighted, which means we are working on this layer. Now select the Gradient Tool and drag a number of times randomly as before. The effect will keep changing every time you drag.
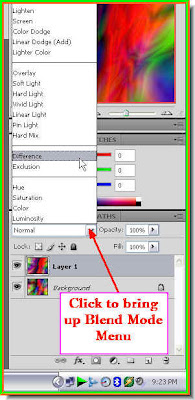 Step 9 : Now in the Layers pallette click where the red arrow to change the Blend Mode from the popup menu. I have set it to Difference.
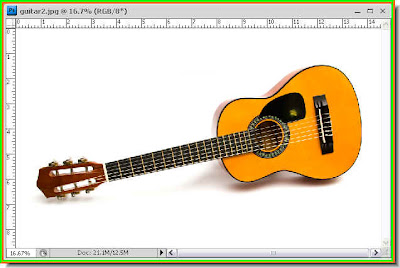 Step 10 : I have opened this free stock photo which I have downloaded from here. The site is http://www.sxc.hu/index.html
 Step 11 : Click the Move Tool.
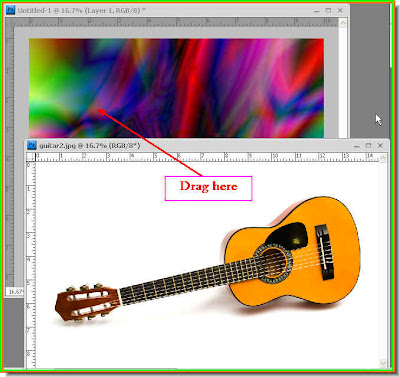 Step 12 : Drag the guitar image onto the other image.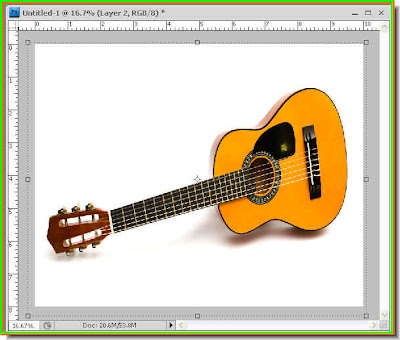
Step 13 : Press SHIFT+ALT and resize the image to fit completely over the other image.
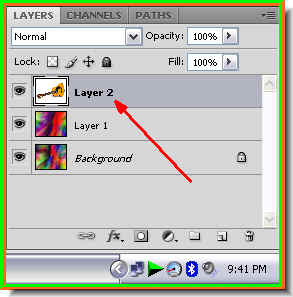 Step 14 : Look at the Layers pallete. The guitar image sits on the top layer. Press Enter to apply the transformation.
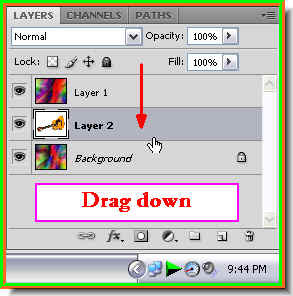 Step 15 : With the cursor drag Layer 2 below Layer 1.
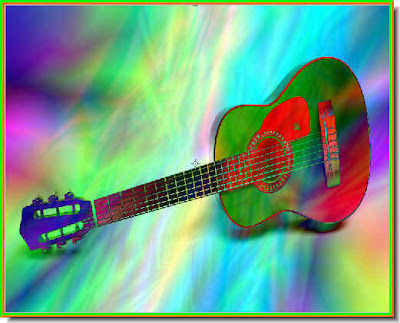 This is how my image looks.
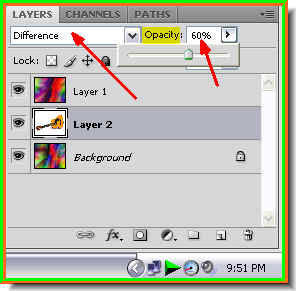 Step 16 : Now change the Blend Mode to Difference as shown in Step 9. Drag the Opacity down. I have dragged it down to 60%. Thee is nothing hard and fast about it. You can try your own settings.
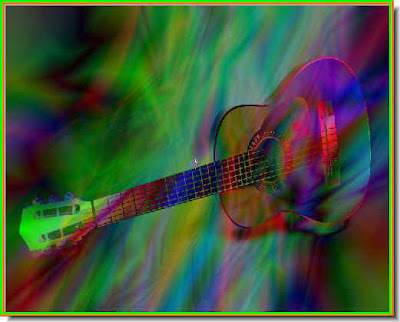 The finished image.
Add Text if you like.
You can find a number of Text tutorials here.
 Step 1 : I have opened this photo to which I will add a Layer Style.


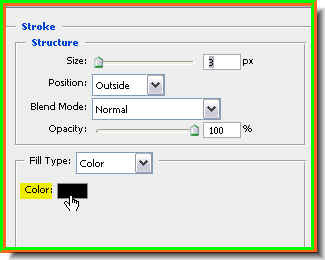 Step 5 : In the Stroke dialogue box that opens click on the Color. This is CS 4 Extended and the color is Black by default. In earlier versions it is Red. It has to be changed to Black from Red.
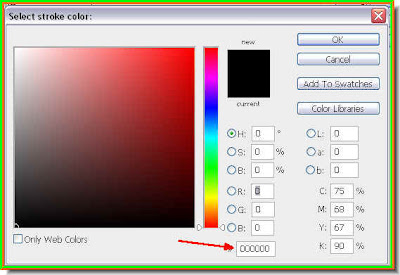 Step 6 : When the 'Select Stroke Color' dialogue box opens just put six zeroes in the box shown by the red arrow. This will make the Stroke Color Black or change the values of R G B to 0. Click ok.
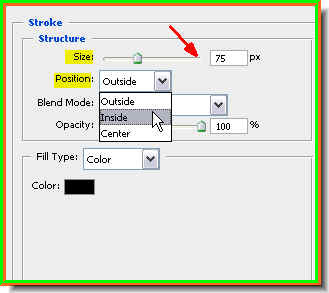 Step 7 : In the Stroke dialogue box, I have increased the size to 75 pixel because this is a high resolution image. Something around 50 to 60 px should also suffice if you are using a low resolution image. Change the 'Position' from 'Outside' to 'Inside' from the dropdown menu. DO NOT click ok.
 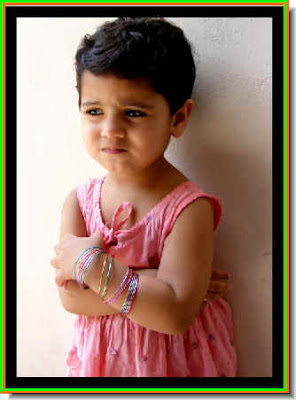 This is how the photo looks with a black frame in place.
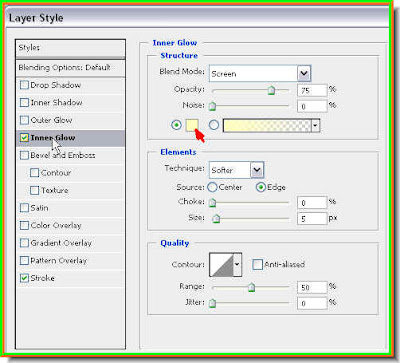 Step 8 : Now in the Layer Styles, look at the left side. You will see a list of Layer Styles. Note that Stroke is already ticked, this is because Stroke has already been applied. Click exactly where the white arrow points to on Inner Glow. This will reveal the Inner Glow structure. Now click where the red arrow points to. We need to change the default yellow color of Inner Glow to White.
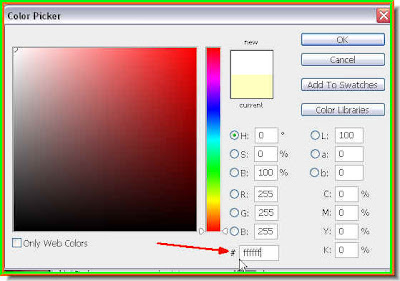 Step 9 : The Color Picker opens. Put six 'f''s where the red arrow points to. This will change the Inner Glow color to White. Click ok in the Color Picker.
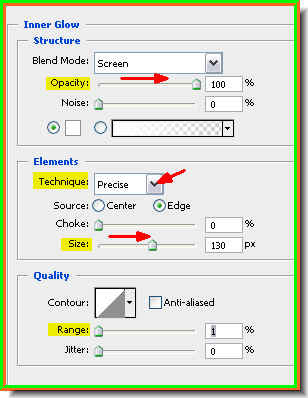 Step 10 : In The Inner Glow dialogue box first change the Opacity to 100%. Next change the Technique to Precise from the drop down menu which will be revealed if you click where the red arrow points to. I have increased the size to 130 pixels. Lastly set the Range to 1%. DO NOT click ok.
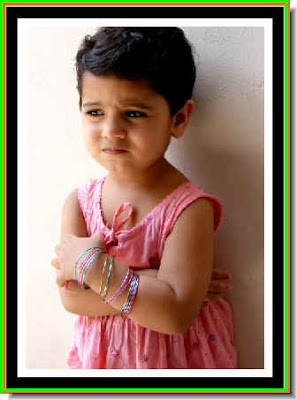 This is how the image looks like now.
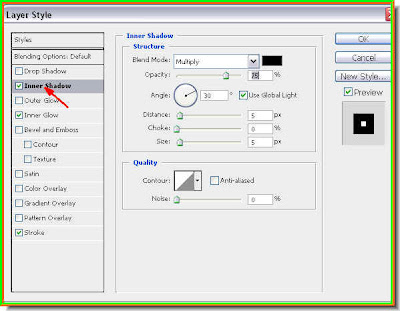 Step 11 : Now click on the Inner Shadow on the left side exactly where the red arrow points to and the dialogue box will reveal the Inner Shadow controls.
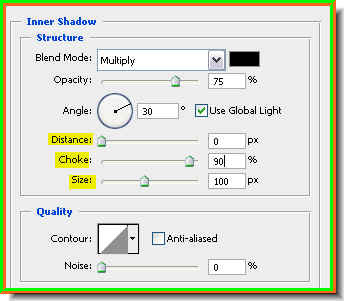 Step 12 : In the controls change the Distance to 0, Choke to 90 and Size to 100. But a Note of caution. Since I have used a high resolution photo I have set the Choke at 90. Something quite less will do for a low resolution photo. DO NOT click ok.
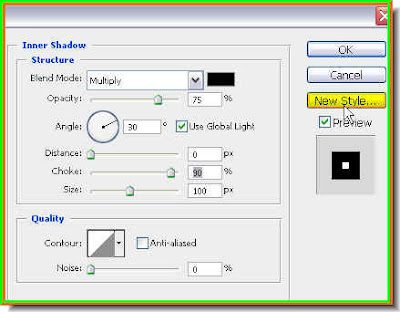 Step 13 : Look on the right side of the controls and click on New Style.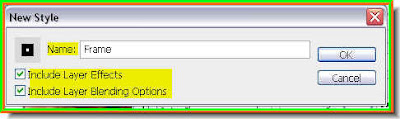
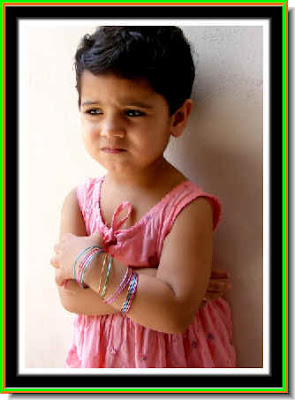
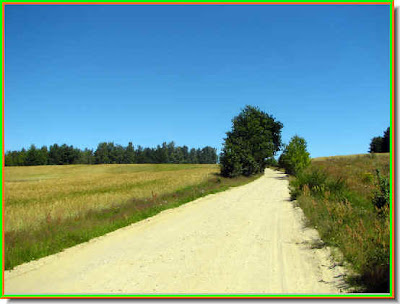 Step 15 : I have opened a new pboto now. It is not quite exactly as the other one as far as size and resolution are concerned. The frame will be applied, but it will look a bit different. Therefore when aplying the same Style to a number of image you must have all of the same type.
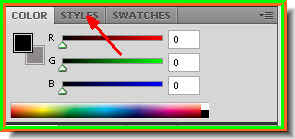 Step 16 : Now click on Styles at the right side of Photoshop.
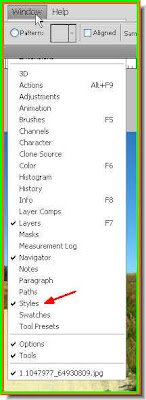 If you are unable to see Styles go to Window on the top panel and click on Styles from the list. Here it has a tick mark, which means that it is visible in Photoshop.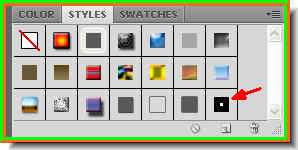
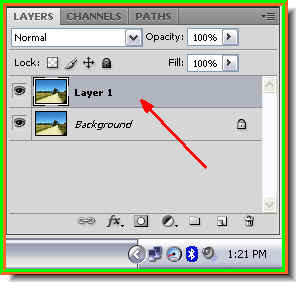
 Step 19 : Now click on the Layer Style created.
 The Layer Style has been apllied to the new photo.
  Here is a photo of the same type that that I used as the first example. The application of the frame layer style now is appropriate. Therefore when making the frame take into consideration what type of image you will be working with. That is all. Happy framing!!


