


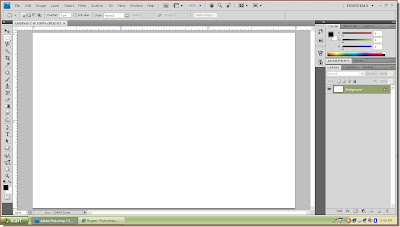
 Step 1 : Open a New white Layer in Photoshop.
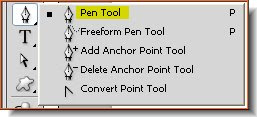 Step 2 : Click on the Pen Tool from the flyout on the left panel.
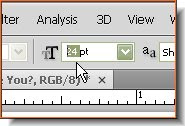
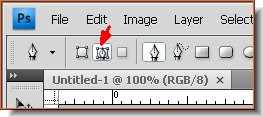 Step 3 : In the top panel make sure to click the second icon that the arrow is pointing to.
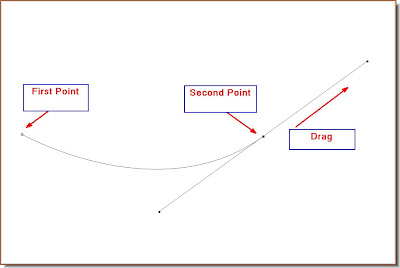 Step 4 : Click a point and then another some distance away. Do not let go of the mouse button and begin dragging. You will find two handles appear. Keep on dragging till the line seems to bend or a position you are satisfied with.
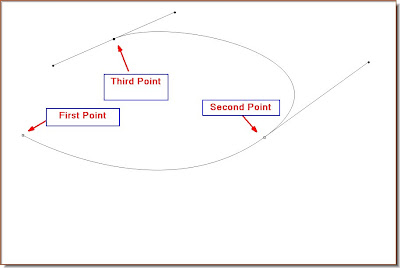 Step 5 : Now click a third point and without letting go of the mouse button drag again. You will find to handles emerge. Keep dragging till you are satisfied.
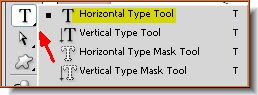 Step 6 : Click the Horizontal Type Tool.
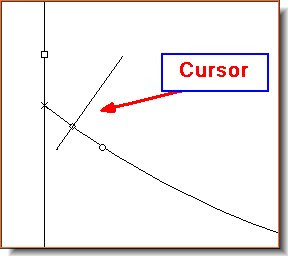
Step 8 : I have typed out 'Nature Is Green Are You?' I can't see it however. (The bounding box has appeared again!)
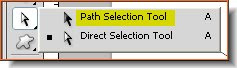 Step 9 : Click the Path Selection Tool from the flyout on the left panel.
 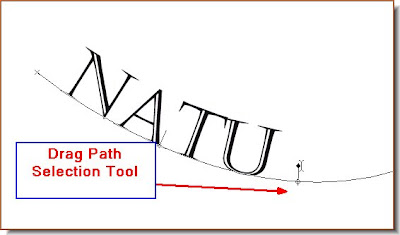 Step 10 : Now with the Path selection Tool begin dragging and the letters will begin to be visible.
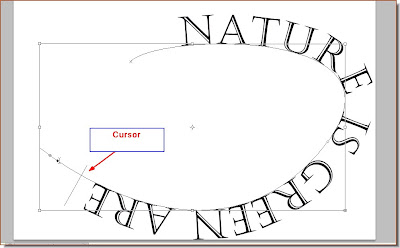
 Step 11: The letters have been dragged out with Path selection Tool. But the text is still not fully visible.
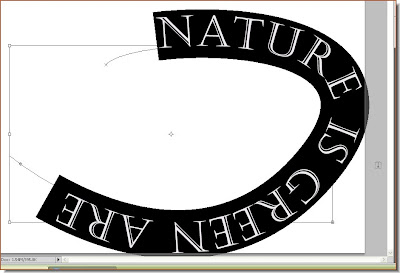
Step 12 : Place the cursor among the letters, then press CTRL+A. This will highlight the letters as above.
Step 13 : In the top panel highlight the points with the cursor as above.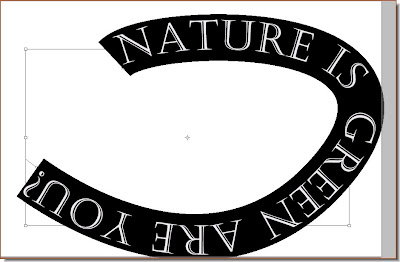
Step 14 : Now use the Down Arrow keys and the Up Arrow keys to expand and contract the words till the text is fully visible.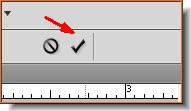
Step 15 : Click the check mark to apply the text.
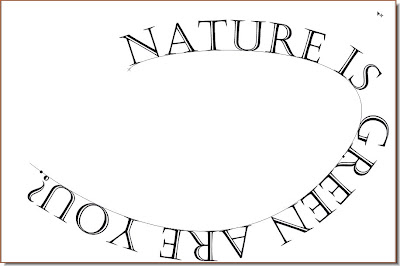
Step 16 : The Text is now fully visible.
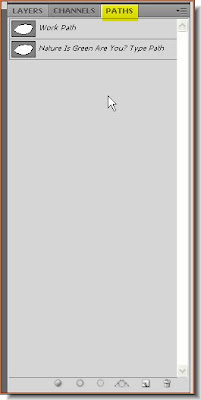
Step 17 : Now click the Paths pallete to reveal it. Click anywhere near where the arrow points to. This will get rid of the path.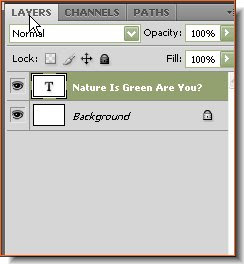
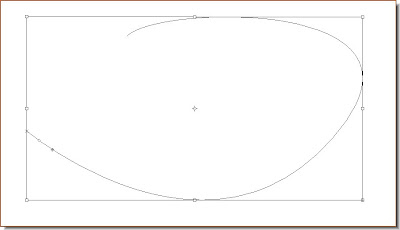
Step 18 : Click back on the Layers pallette. Now that our text has been created, it can be edited in the usual manner.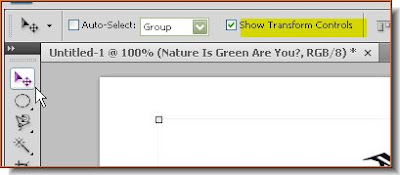 Step 19 : Click the Move Tool and make sure 'Show Transform Controls is checked' (It is called Bounding box in PS7 and is found in the same place).
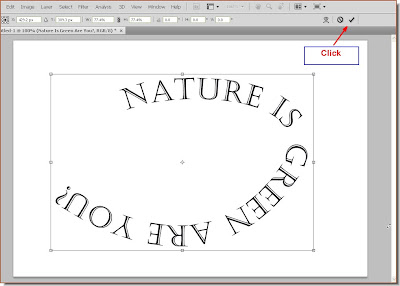
 Step 21 : Go the Layer>Rasterize>Text. This will rasterize the text or make it editable.
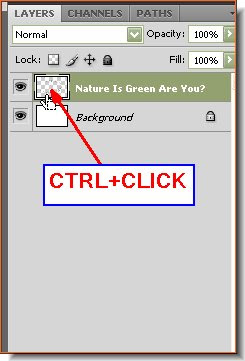 Step 22 : You can now see that the Text Layer above the Background Layer has been rasterised. Now CTRL+CLICK the layer thumbnail of the rasterised text layer.
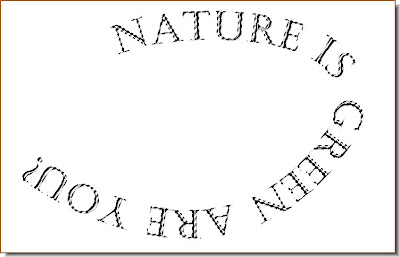
Step 23 : As soon as You CTRL+CLICK a column of marching ants are visible on the text. Press CTRL+D to deselect.
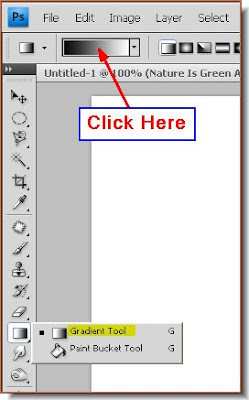 Step 24 : Click the Gradient Tool then click in the top panel to bring up the Gradient editor.
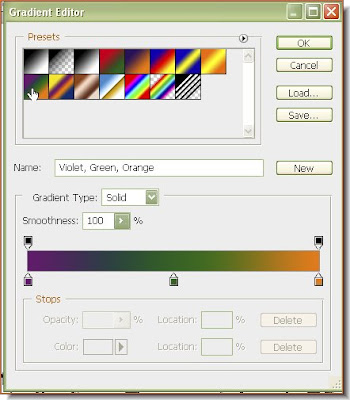 Step 25 : The Gradient editor opens. I have clicked on one of then Gradients. You may choose anyone.
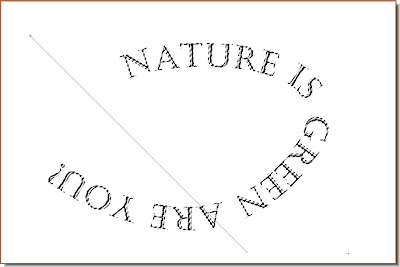 Step 26 : Now drag diagonally with the Gradient Tool. You can drag in any direction. It will prodiuce a different effect each time.
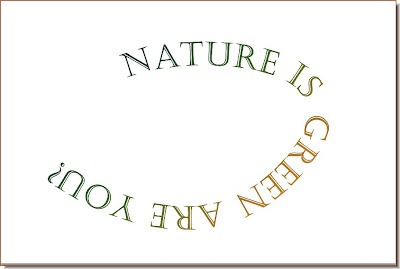


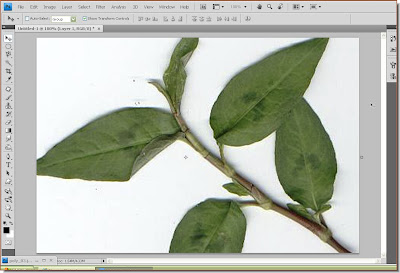
Step 30 : Drag the image proportinately by keeping SHIFT+ALT pressed. Then press Enter to apply the transformation.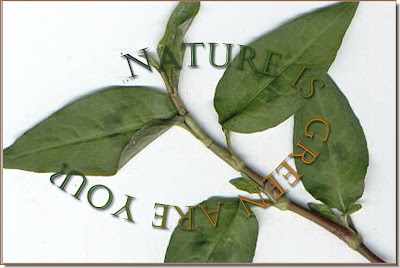
Step 31 : Now press CTRL+SHIFT+[. This will send the image behind the text.
Step 32 : Click the Add New Layer button and a new layer forms over Layer 1.
Step 33 : I have now applied the same Gradient as in Stepp 24 to 26.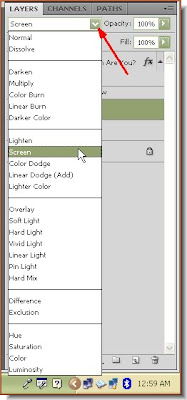
Step 34 : Now change the blend mode in the Layers pallette to Screen from the dropdown menu.
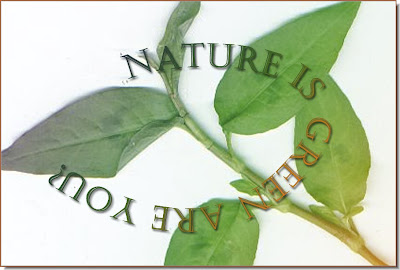
This is the finished image.


