


The Custom Shape Tool in conjunction with the Paste Into command can create a very attractive effect. You don't need much. Just an image that you would like to paste into. It can be done in any version of Photoshop. So here goes.
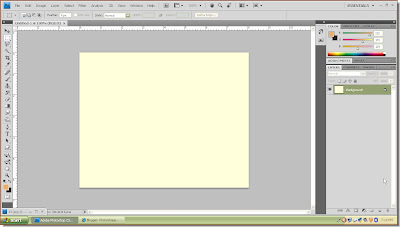 Step 1 : Open a New White layer.
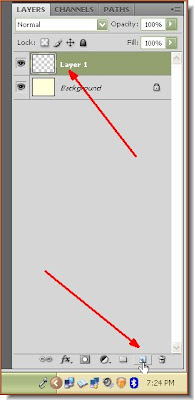 Step 2 : Click the Add New Layer icon and a blank layer forms above the White background layer.
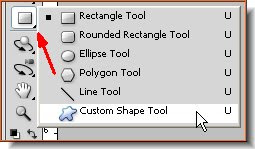 Step 3 : Click the rectangle Tool and you will find the Custom Shape Tool at the bottom of the flyout on the left panel.
 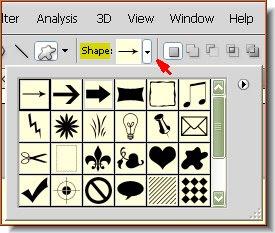 Step 4 : Now look in the top panel. Click where the arrow points to, to see the drop down of Custom Shapes available. But these are not the only ones available in Photoshop. There are others too.
  Step 5 : Click where the arrow points to.
 Step 6 : When you click the arrow, a panel appears at the side where you will find other Custom Shapes.
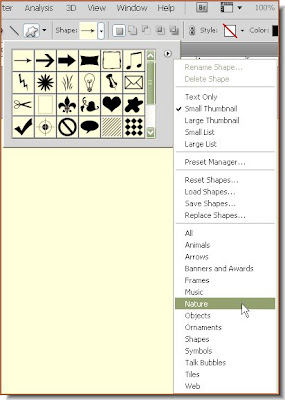 Step 7 : I have clicked on 'Nature'. You will find it in Photoshop.
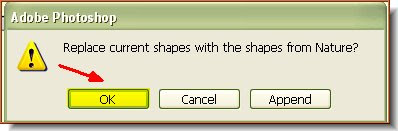 Step 8 : As soon as you click it, this pops up. Click ok.
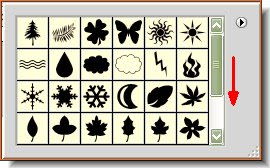 Step 9 : In the top panel, you can move the slider at the side to see other Shapes available in this group.
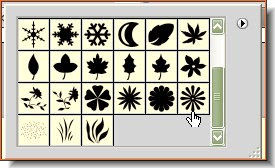 Step 10 : I have clicked on one of the Custom Shapes.
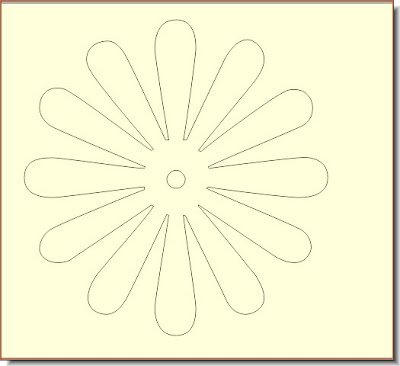 Step 11 : Drag out the Custom Shape with the cursor.
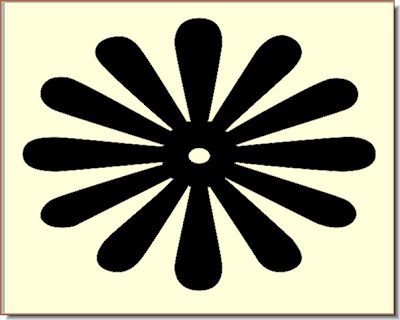 Step 12 : The shape immediately fills with Black.
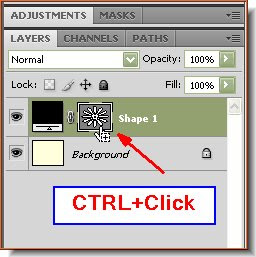 Step 13 : Look in the Layers pallette. You will find the Custom Shape as 'Shape 1'.
 Step 14 : Now CTRL+Click the Mask i.e. Shape 1. You will find a column of marching ants around the shape as soon as you CTRL+Click.
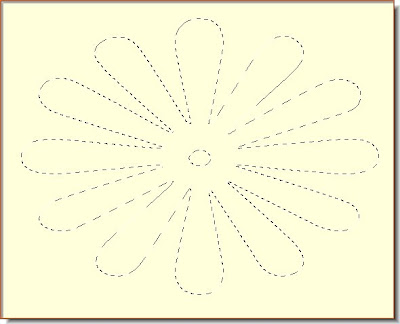 Step 15 : Hit the Delete key and the Black disappears. The marching ants remain.
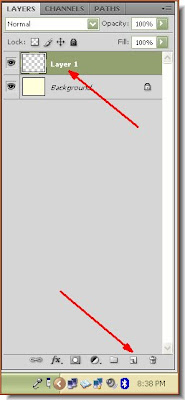 Step 16 : In the Layers pallette you will find a single layer the Background. Click the Add layer button and a new blank layer forms over the Background.
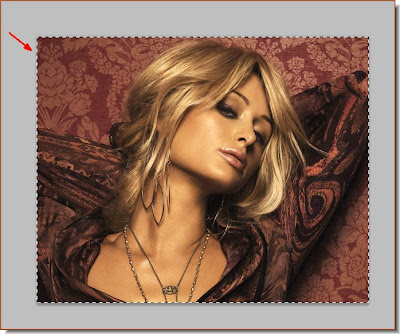 Step 17 : I have now opened this photo in Photoshop. Press CTRL+A (Select All) and then CTRL+C (Copy). Minimise the image.
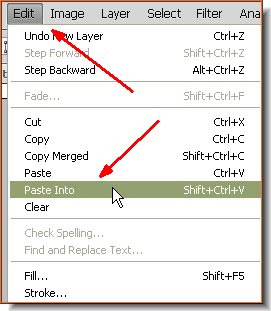
Step 18 : No go to Edit>Paste Into. Ordinarily this command is greyed out. But in this instance it will work.
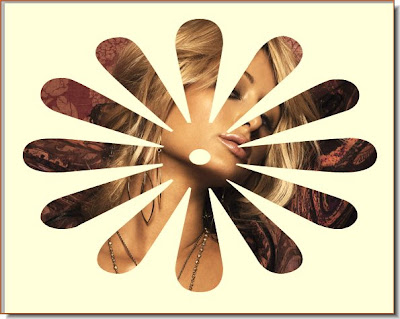 Step 19 : The photo has been pasted into the selection of marching ants.
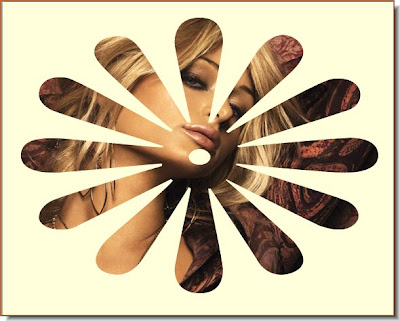
Step 19 : The photo has been pasted into the selection of marching ants.Step 20 : Use the cursor to move the image to a proper position with the cursor. Press CTRL+D to deselect. The marching ants go away.
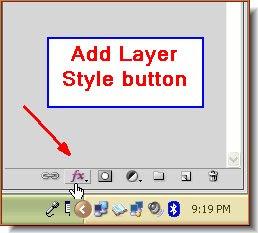 Step 21 : Click the Add Layer Style button. It looks a bit different in PS7, but is found in the same place.
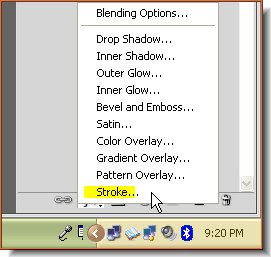 Step 22 : From the popup click on Stroke.
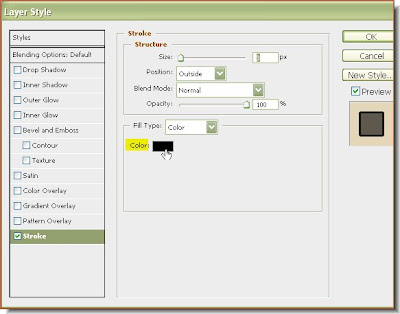 Step 23 : In the Layer Style dialogue box, the Color in CS 4 is set to Black by default. In earlier versions it is Red.
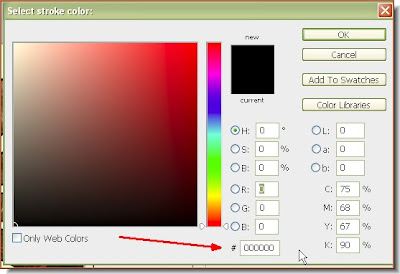 Step 24 : Click the Color and it bring up the Select Style Color. Type '000000' (six zeroes) where the arrow points to. Click ok. It stands for Black. Do not click ok in the Layer Styles dialogue box.
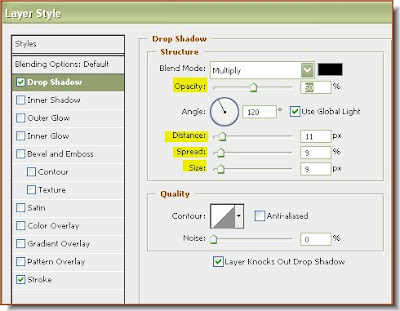 Step 25 : Now click on the Drop Shadow. Adjust the Distance, Spread and Size suitably. It will depend on your image. Lastly reduce the Opacity to 50 %.
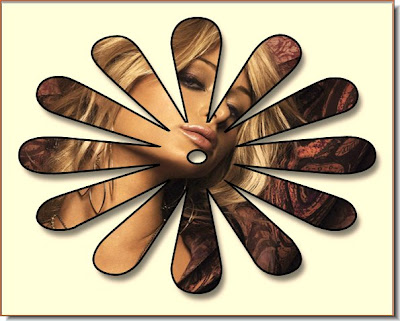
The finished image. You can add something in the background white layer such as a gradient or drag another photo. That depends on you. Happy editing. You can use any of the other Shapes as well.


