


The Warp Tool can be found in Photoshop CS 2 and above. It can be used to change hairstyles in a number of steps.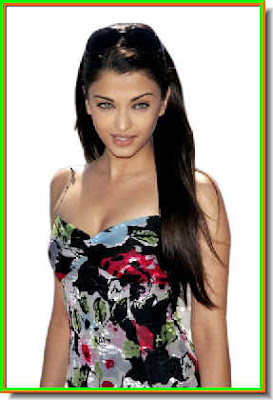
I have used the Warp Tool and the Quick Mask to change the hairstyle. It is quite easy.


I have used the Warp Tool and the Quick Mask to change the hairstyle. It is quite easy.
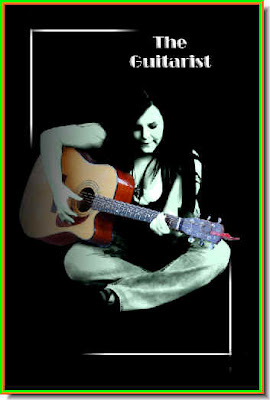
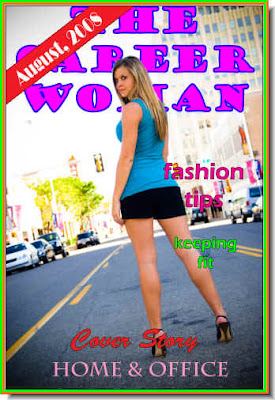
The retro looking poster created in Photoshop.
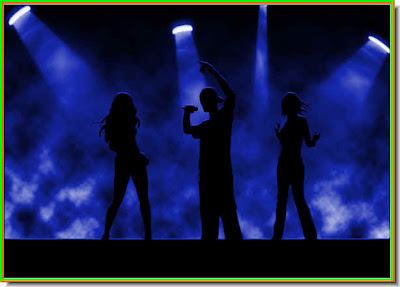
These spotlights shining down on a band performing on a stage has been created in Photoshop.

The Glass Text. You can create it too. Here is the tutorial.

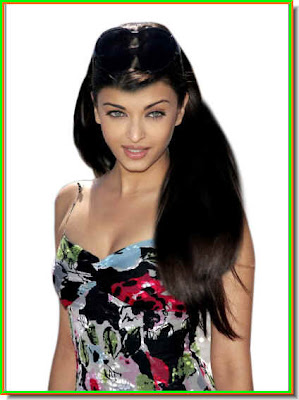
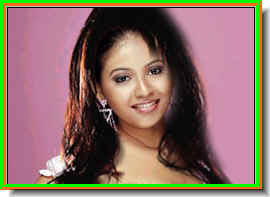
I have the photos of these two girls. I will change the hairtyle of the girl at the bottom with hair grafted from the top image.
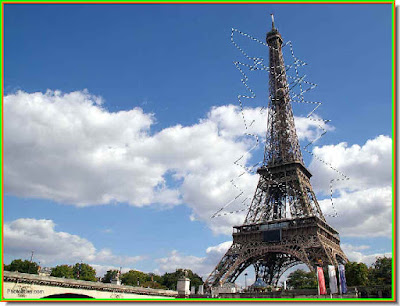
Hey presto! There you are!

Step 6 : Press CTRL+J. The selection will be copied and pasted into a new layer -- Layer 1.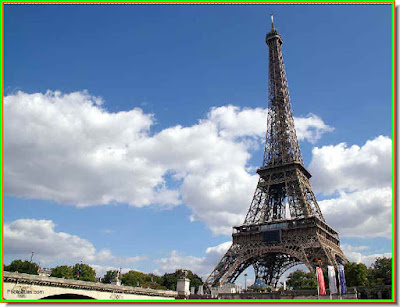
Step 7 : The selection disappears from the photo.
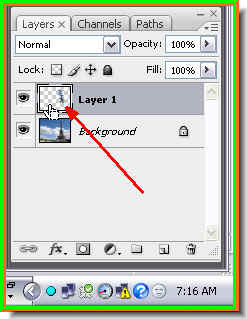
Step 8 : CTRL+Click the Layer 1 thumbnail to make the selection appear again.
Step 9 : The selection reappears.
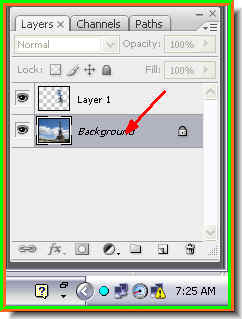
Step 10 : Click on the Background layer.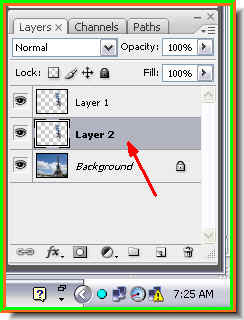
Step 11 : Press CTRL+J and the selection is again pasted on another new layer --Layer 2 above the Background layer.
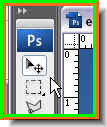
Step 12 : Click the Move Tool.
Step 13 : On the panel at the top ensure that the Show Transform Controls is checked. It is called Bounding Box in PS7 and is found in the same place.
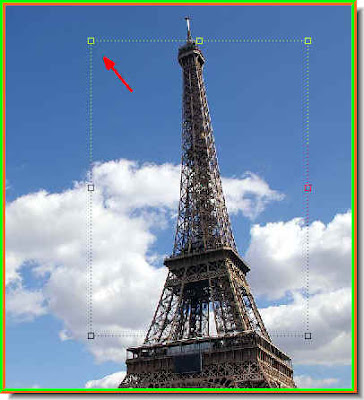
Step 14 : When you click the Move Tool a selection appears around the image.

Step 15 : Use the Move Toool to move Layer 2 to the left. You can see the shatter effect.
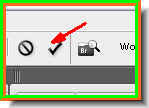
Step 16 : Click the Tick Mark in the top panel at right or press return to commit the transformation. Step 17 : Click on Layer 1.
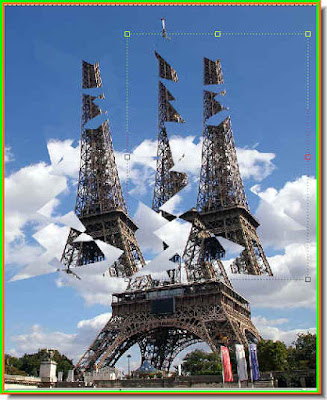
Step 18 : Use the Move Tool to move Layer 1 to the right.
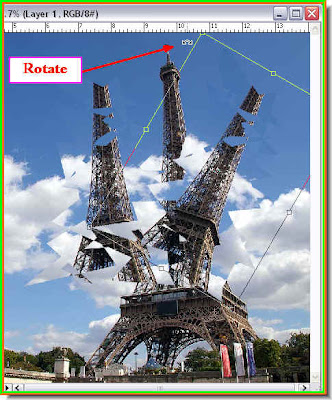
Step 19 : Hover your cursor near a corner of the selection and a small bent double headed arrow will appear. You can then rotate the selection as shown.
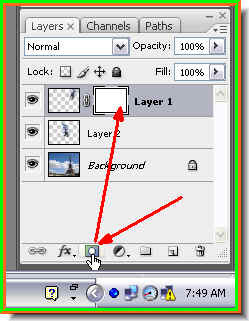
Step 20 : Click the Layer Mask button and a Layer Mask forms next to the Layer thumbnail on Layer 1.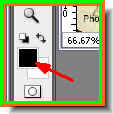
Step 21 : Click on the Foreground Color. Make sure it is Black. If it is not press 'x' then 'd' on the keyboard.

Step 22 : Click the Brush Tool to select it.

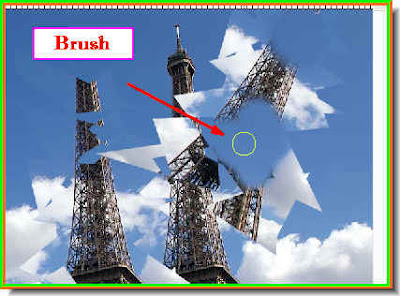
Step 23 : I am using the brush to brush away parts of the layer. You can control the size of the brush tip with the [ ] (bracket keys). Press [ to make the brush tip smaller. Press ] to make it larger. I am also using a soft brush. Press SHIFT and the [ to make it soft and SHIFT and ] to make it hard.

In the top panel at left you can see the brush tip. This is a soft brush tip. Note that the size of the tip is 40.
This is a hard brush tip. Note that the size remains unchanged.
Step 24 : More brushwork to erase a portion of the layer.
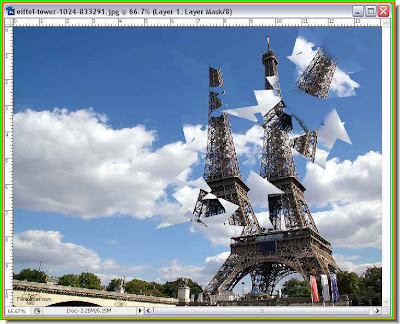
The finished shatter effect.


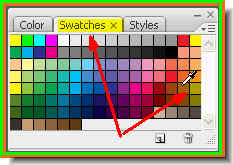
Step 5 : Click on Swatches and click on the color I picked. Step 6 : Press ALT+BACKSPACE to fill the selection with the chosen color. Press CTRL+D to deselect.
 Step 7 : Click the Brush tool.
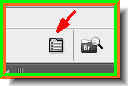
Step 8 : You will find this icon appear on the top panel at right. Click it.
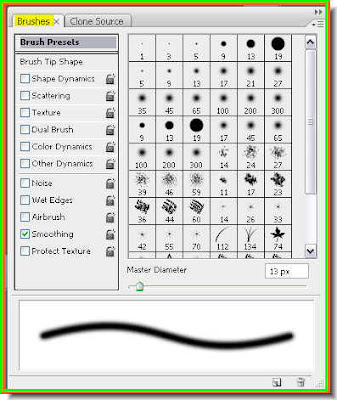
Step 9 : Clicking it brings up the Brushes pallette.
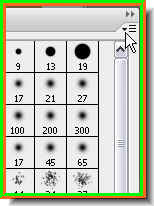
Step 10 : Click the tiny black arrow at the top right as shown by the white arrow.

Step 11 : This reveals the list of Brushes available. Here I have some additional Brushes that I have downloaded from the internet for free, besides the once that are built in.
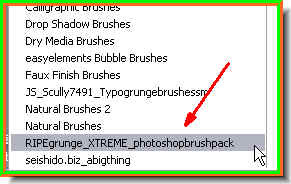
Step 12 : This the Brush I asked you to download. Click to select it.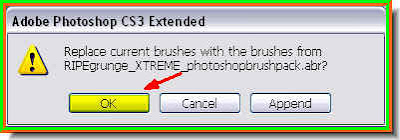
Step 13 : As soon as you click the Brush, this dialogue box appears. Click OK.

Step 14 : The Brushes available in the set can now be seen.
Step 15 : If you click any of the brushes you can see its shape in the panel below.
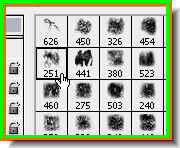
Step 16 : I am clicking on Brush no 251 in the set.

Step 17 : I am now clicking on the Brush Tip Shape.

Step 18 : As soon as click the Brush Tip Shape you will find a panel opening as above from which you can set the Spacing.

Step 19 : As you drag the slider the spacing increases as shown. I have increased it to 131%. Step 20 : Now click the double arrow at the top and Brushes panel will go away.
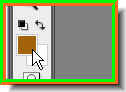
Step 21 : Click the Foreground Color to bring up the Color Picker.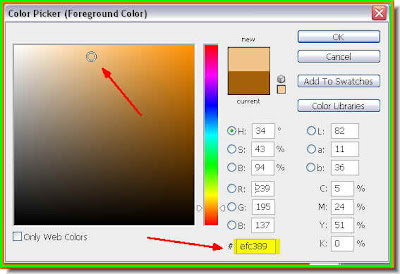
Step 22 : The Color Picker opens. Choose a lighter shade at left. Each color has a number. The number of the color you pick appears shown in the highlighted box.
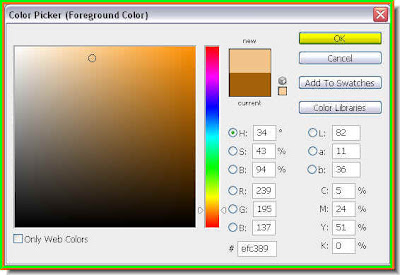
Step 23 : Click ok in the Color Picker.

Step 24 : Begin clicking with the Brush.
I have finished clicking with the Brush.

Step 25 : Press CTRL+L to bring up the Levels dialogue box. Now drag the Black and White sliders to the ends of the black histogram as shown.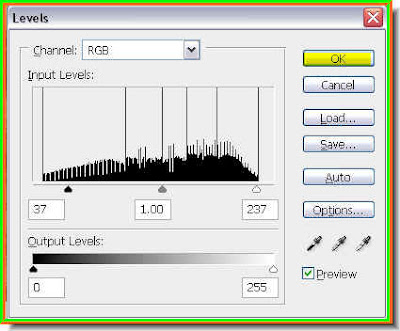
Step 26 : Click ok in the Levels dialogue box.

Step 27 : The parchment has turned a bit darker. Do not worry if some of the brushwork spills over to the white border. I will fix that later.
Step 28 : Click on the Burn Tool to select it.
 Step 29 : In the top panel increase the Exposure to 80% by dragging the slider.
 Step 30 : You can increase the size of your Brush Tip by using the right ] (bracket) and decrease it with the left [ (bracket) key. You can make the brush tip hard by pressing SHIFT and ] (right bracket) and soft by pressing SHIFT and [ (left bracket).
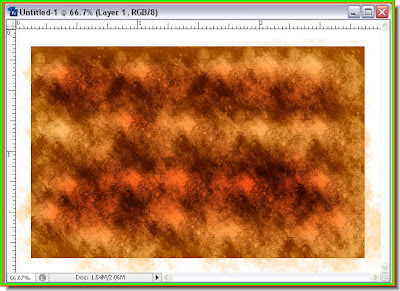
Step 31 : Make a neumber of passes with the brush and you will get the 'burnt parchment' effect. A note of caution do not overdo it.
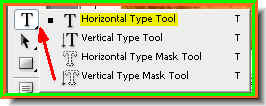
Step 32 : Click the Type Tool and choose the Horizontal Type Tool.
Step 33 : In the top panel click the color box to set the color of the Type.

Step 34 : The Select text color dialogue box opens. I have chosen a lighter color. The number of the color is given in the highlighted box.
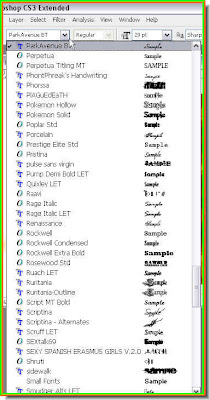
Step 35 : Now choose a font from the drop down box. In PS7 the names of the fonts are given, but you cannot make out how they look. ThE CS 2 and CS 3 has the advantage that you can make out how they look like.
Step 36 : I have chosen MisterEart BT as my font.

Step 37 : Draw out the text box with the text tool.
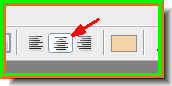
Step 38 : In the top panel set the aligment of the margin. I have chosen central alignment.
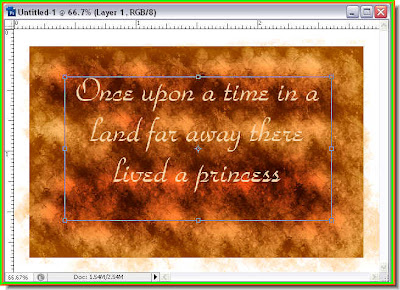
Step 39 : I have typed out my text.

Step 40 : Click the Tick mark on the right of the top panel to commit the text.
Step 41: Click the Add Layer Style button in the Layers pallette.
Step 42 : From the popup click on Blending Options.

Step 43 : The Layer Style dialogue box opens.

Step 44 : On the left of the Layer Styles panel click on Drop shadow. Click where the white arrow points to reveal the Drop Shadow dialogue box.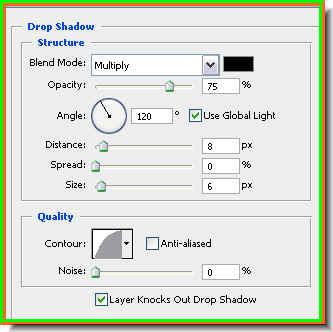
Step 45 : The Drop Shadow dialogue box. Step 46 : Double click on the Contour.
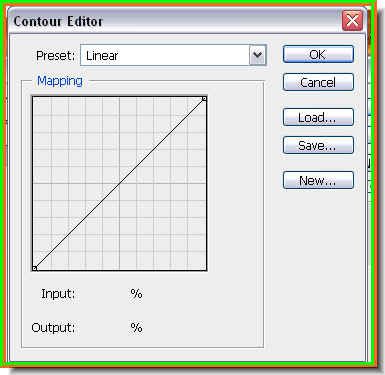
Step 47 : The Contour Editor opens.
Step 48 : Click the half Round from the Preset dropdown.
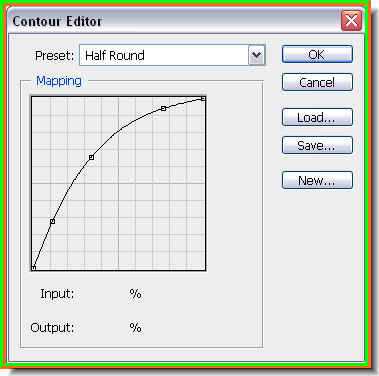
The Half Round preset.
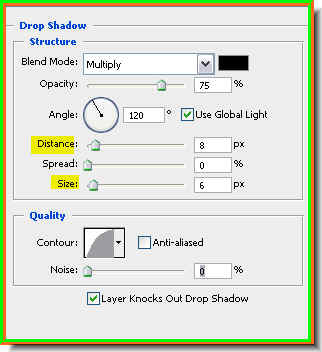
Step 49 : Drag the Distance and Size sliders slightly. See the values given.

This is how the image looks.
Step 50 : Click the Move Tool.
 Step 51 : Press CTRL+A or Select All. You will find a column of marching ants selection all around the image.
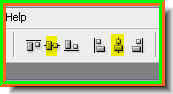
Step 52 : In the top panel click on then second and fifth icons to align the text.

Step 53 : The text has been aligned.

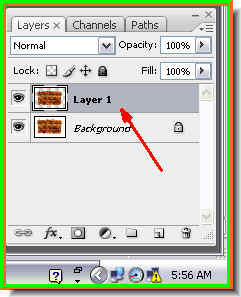
This is how the Layers pallette looks at the moment. Step 54 : Go to Layer>Flatten image.
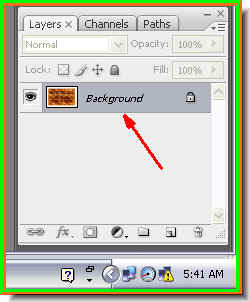
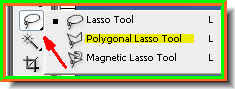
Step 55 : The layers have been flattened into one i.e. the Background layer.  Now click the Lasso Tool.
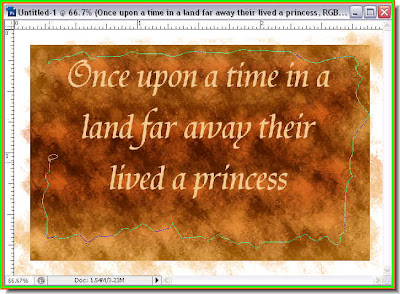
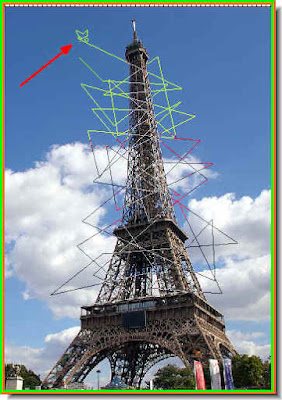
Use the Lasso Tool to draw a selection around the edge.

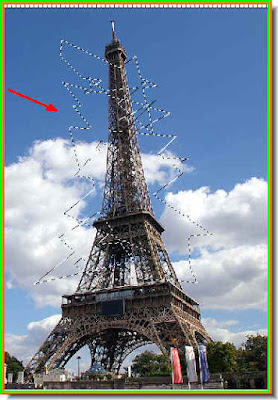
The selection has been drawn with the Lasso Tool. Then select Inverse.

Press CTRL+SHIFT+I. The selection has been inversed After this press DELETE. This will delete the edges of the parchment in a jagged line. Press CTRL+D to deselect.

Step 56 : Click on the Magic Wand Tool to select.
Step 57 : Click on the white area outside the parchment with the Magic Wand.

Step 58 : As soon as you click with the Magic Wand a double row of 'marching ants' appears -- on the border and around the 'parchment' area.
Step 59 : Press CTRL+SHIFT+I. This will inverse the selection with only the 'parchment' area selected now.
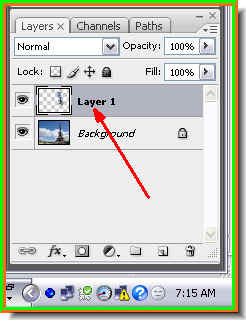
Step 60 : Look in the Layers pallete. Press CTRL+J. The parchment area only has been copied and pasted onto another layer i.e. Layer 1.

Step 61 : Click the Add Layer Style button.
Step 62 : From the popup click on Blending options.

Step 63 : Click on the Drop Shadow. Click where the white arrow points to, to reveal the Drop Shadow dialogue.

Step 64 : In the Drop Shadow dialogue box drag the Distance, Size and Spread sliders slightly in that order.
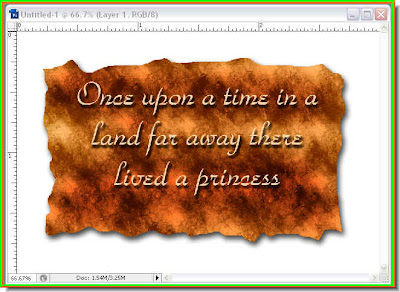
This is how the image looks.

Step 65 : Now click on Contours as shown in Step 46 to bring up the Contour Editor. Click on Gaussian from the Preset dropdown.
Step 66 : The Gaussian Preset. Click ok. Click ok in the Drop Shadow dialogue box.
This is how the image looks.

Step 67 : Click the Move Tool.

Step 68 : As soon as you click the Move Tool a selection appears.

Step 69 : Press ALT and drag a corner handle and drag outwards.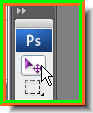
Step 70 : Click the Move Tool.
Step 71 : In the top panel click the second and fifth icons.
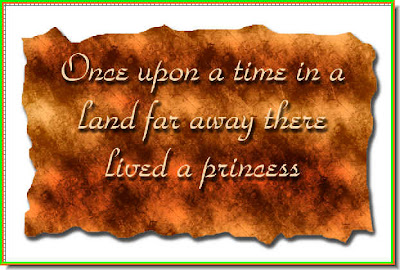
The 'burnt parchment'.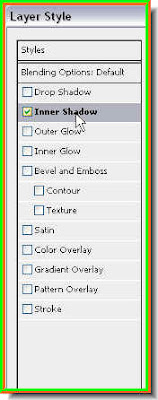
Step 72 : From the Blending Options click on Inner Shadow.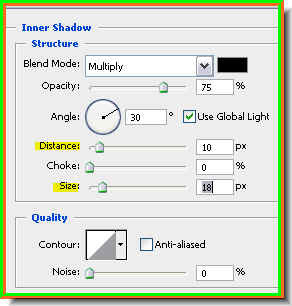
Step 73 : Move the Distance and Size sliders slightly to the right.
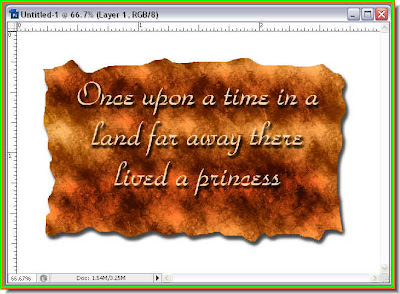
Step 74 : From the Contour Editor click on Cone from Preset. Click ok. Now the edges are nice and brown too. That is all.
 Last but not least, bring up the brushes as shown earlier.
 Click on Reset Brushes to rest, otherwise you will face a problem next time you work with Brushes. That is all.


