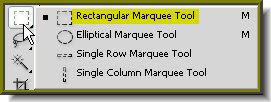
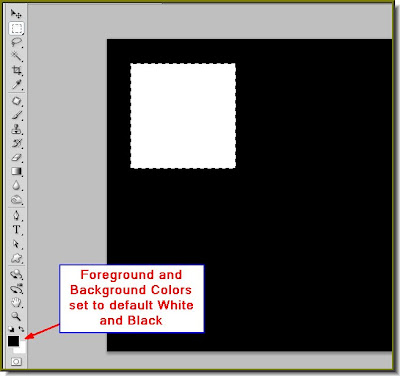
Step 4 : Make sure that the Foreground and Background are set to Black and White respectively. If not press 'x' and then 'd' on the keyboard. Keeping Shift pressed draw out a selection with the Rectangular marquee. It will be a perfect square because you are holding down Shift. Press CTRL+Backspace. This will fill the selection with the Background Color which is White. Press CTRL+D to deselect.
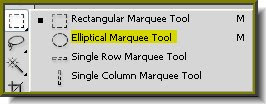
Step 5 : Click on the Elliptical Marquee Tool.
Step 6 : Press Shift and draw a perfect circle by dragging the Elliptical Marquee Tool from the left hand top corner of the square to the right bottom.

Step 7 : Now press ALT+Backspace. This will fill the circle with the Foreground color which is Black. Press Ctrl+D to deselect. Now use the Rectangular Marquee Tool to draw a selection around the square.
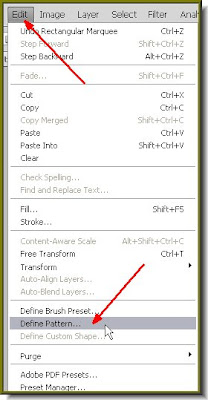
Step 8 : Go to Edit>Define Pattern. Step 9 : When this popup appears you can leave it at the default name or give a name. I havv a name called Black Circle. Click ok.
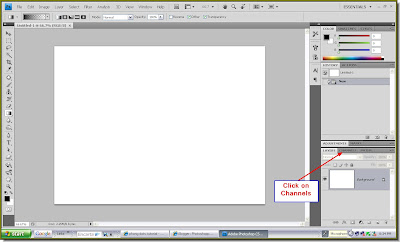
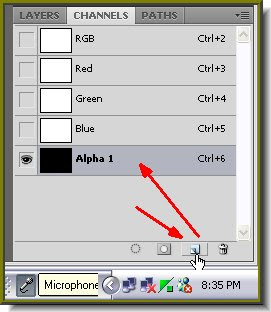
 Step 10 : Add a new channel in the Channels pallette and then go to Edit>Fill.
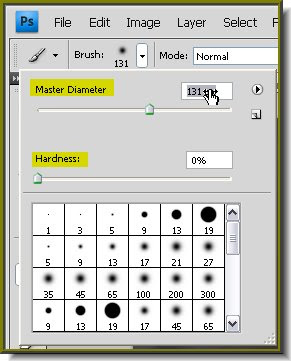
 Step 11 : In the Fill dialgue box change the Use to Pattern from the drop down box. You will be able to find the pattern just created. Click to select it. Then click ok.
Step 12 : This is the effect you get.
 Step 13 : This is how the Channels pallette looks. Note the Alpha 2 channel.
Step 14 : Now press CTRL+I. This will inverse the colors.

Step 15 : Click on the RGB channel, then click back to the Layers pallette.

Step 16 : In the Layers pallette click on the Add new Layer button and a new Layer1 forms.

Step 17 : Go to Select>Load Selection.

Step 18 : In the Load selection dialogue box that opens click on Alpha2 from the Channel drop down. Click ok.

Step 19 : This is how the image looks. It is filled with a column of 'marching ants'.
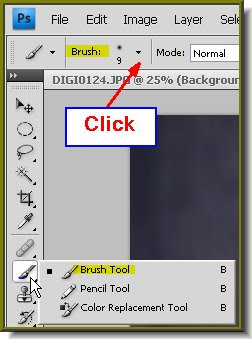
 Step 20 : Click on the Gradient Tool. Then click where the arrow points to bring up the Gradient Editor.
 Step 21 : Click on any of the Presets. I have chosen one. The small white hand points to it.
 Step 22 : As soon as you click on a Gradient the color band below changes. Click ok after selecting a Gradient.
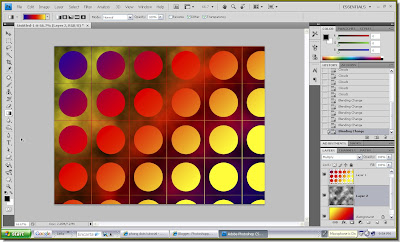
 Step 23 : Now use the Gradient Tool to drag diagonally from top to bottom.
This is how my image looks. Press CTRL+D to deselect.
 Step 24 : Click on the Background layer.
 Step 25 : Since a Gradient has already been selected, use the Gradient Tool again. This time drag it diagonally from the right bottom to the left top.
 This is how my image looks. You can use this as a background for any composition if you like. You can save it as a psd here for later use.
 Step 26 : With the Background layer still selected, click on the add new layer icon and a Layer 2 forms above the Background layer and below Layer1.
Step 27 : Now go to Filter>Render>Clouds.
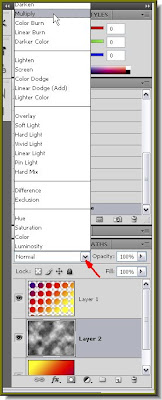
Step 28 : Layer 2 is filled with Clouds. Now change the Blend Mode to Multiply.
 This is how the image looks.
 Step 29 : Now click on Layer 1.
Step 30 : This is the part which can only be done in CS4. Go to 3D>New Shape from Layer>Soda Can. You can choose any of the shapes.
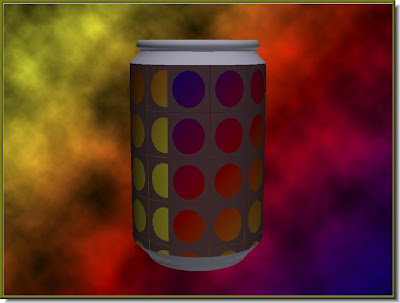
This is how my image looks like.
 Step 31 : Click the Add Layer Style button
 Step 32 : From then popup click on Outer Glow.
 Step 33 : In the controls of the Outer Glow click where the small white hand points to.
 Step 34 : When the Color Picker open type 'ffffff' (6 'f's) where the arrow points. By default the Outer Glow Color is yellow, we are changing it to White. Click ok.
 Step 35 : Drag the Spread and Size sliders suitabley, then reduce the Opacity to 50%. Click ok.
 This is how my image looks.
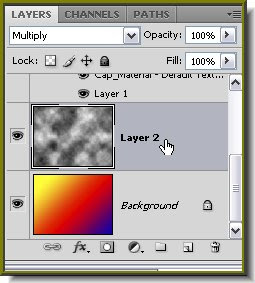 Step 36 : Click on Layer 2.
 Step 37 : Go to Filter>Render>Lighting Effects.
 Step 38 : This is the dialogue box that opens.
 Step 39 : Change the Light type to Omni from the drop down. Click ok.
 Step 40 : Change the Blend Mode of Layer 2 to Color Burn.
 This is how my image looks.
 Step 41 : Reduce the opacity of Layer 2 to 50%.
 This is the finished image.

 Step 2 : Press Ctrl+J. This will duplicate the image. Look in the Layers pallette. You will find a new Layer1 above the Background layer.
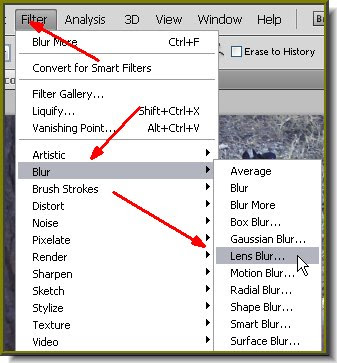 Step 3 : This step is for those using PS CS. It can be also be done in PS7. I will show it also. For CS users go to Filter>Blur>Lens Blur.
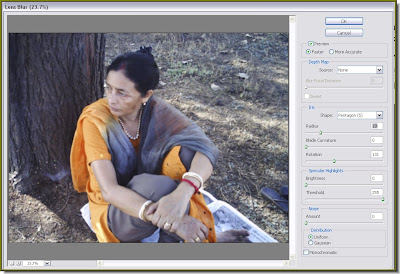 Step 4 : The Lens Blur dialogue box opens. The controls are on the right.
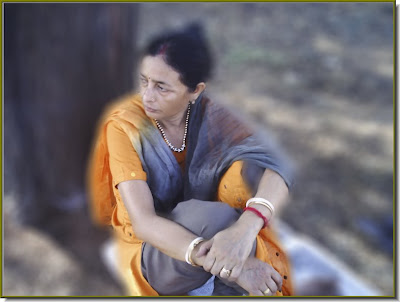
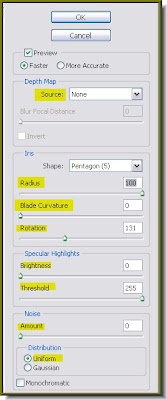 Step 5 : Give the settings as above. The Radius is the key. I have set it at 100 to give the maximum blur. If you think that a little less blur is ok for your photo, give the setting likewise. Click ok.
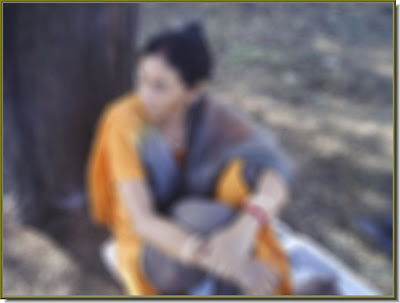
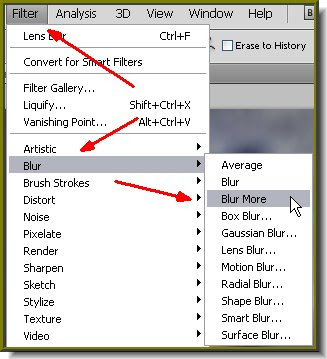 For Photoshopshop 7 users go to Filter>Blur>Gaussian Blur. Then go to Filter>Blur>Blur More. Then press CTRL+F a number of times till you have the same effect.
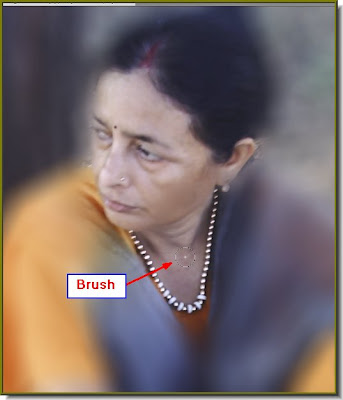
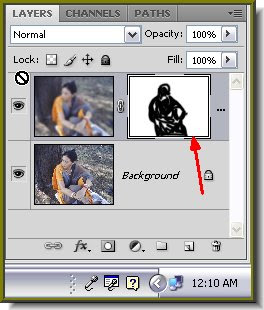
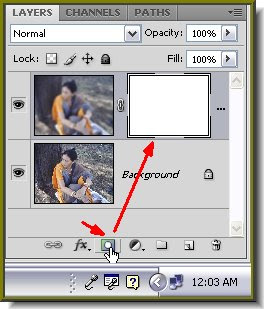 Step 6 : Click on the Add Layer Mask icon. A layer Mask forms next to the Layer thumbnail on Layer1.