


Turning any image into a sketch is fun. I will show you how you can do so. Then add a Halftone Pattern for added effect. You need not be an expert to try this tutorial and it can be done in any version of Photoshop.
 This is the effect I will create.

Step 1 : I have opened this free stock image in photoshop. You will find it here
It belongs to GABOGRAFICO
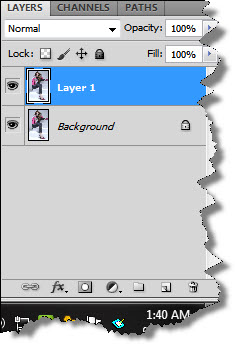
Step 2 : Press CTRL+J to duplicate the Background layer to Layer1.

Step 3 : Press CTRL+SHIFT+U to desaturate the image.

Step 4 : Press CTRL+J to duplicate Layer1 into Layer1 copy.

Step 5 : Press CTRL+I to invert and the image looks like a negative.

Step 6 Change the Blend Mode to Color Dodge.

Step 7 : The image has turned White. In some images a trace of black is left. It should not be a bother.

Step 8 : Go to Filter>Blur>Gaussian Blur.

Step 9 : I have set a Radius of 30 pixels in the Gaussian Blur dialogue box. Something less or something more will be just as suitable depending on how you want your sketch to look like. Click OK.

Step 10 : My image looks like this.

Step 11 : Go to Filter>Sketch>Halftone Patter.

Step 12 : The Halftone Pattern dialogue box opens filling up your screen.

Step 13 : In the controls at the top right I have set the Size at 5 (It depends on how big or small you want the dots to be), Contrast at 10 and Pattern Type as Dots. Click OK.

This is how the image looks with the Halftone Pattern.

Step 14 : Click the Add Adjustment Layer button

Step 15 : Click on Solid Color from the pop up menu.

Step 16 : The Color Picker comes up.

Step 17 : Drag the slider up and down the Spectrum to select a color. Then click a shade on the left. I am using 128ca6 which you can see at the bottom. Click OK.
 Step18 : The image is covered with the shade I picked.
 Step 19 : Change the Blend Mode to Soft Light.

This is the completed image.
 This is another free stock image that I have opened.
This is the completed image.

This is how the image looks following the Steps 1 to 13. Unlike the other image, this one has a background which is visible quite noticeably. The Halftone is also quite visible there.

Click the Add Layer Mask button. A Layer Mask forms on Layer1 copy.

Click the Brush Tool.

Make sure that the Foreground/Background Color is set to Black/White.

Choose a soft round Brush. To increase the size of the Brush drag the Size slider or to use shortcuts -- press ] (right square bracket) to increase the size and [ (left square bracket) to decrease it.

Use the Brush to remove the Halftone Pattern from the background.

Zoom into the image and carefully brush away all the background which removes the Halftone Pattern.

Now continue from Step 15 to add color to the image.

You can change the color by clicking on the thumbnail of Color Fill 1 layer. The Color Picker comes up again.

You can drag the sliders on the Spectrum up or down and then select a shade to change the shade.

The image changes color.

While working on different images set a lower or higher Size in Step 13.

The image with a smaller Halftone Pattern which looks better. I have also removed the Halftone from the bikini.
That is all.
Other photoshop tutorials are here
You can email me for tutorial requests at pradip.chowdhury@gmail.com


