The Cube could be made in Photoshop all along, but it required a lot of effort and manipulation. In CS5 making a Cube from an image is very simple.You can do it with a single image. Photoshop fills all six sides of a Cube with the chosen image. You can also use the Cube Wrap feature. One tutorial on Cube Wrap is
here Here I wish to use a different image for each of the six sides.
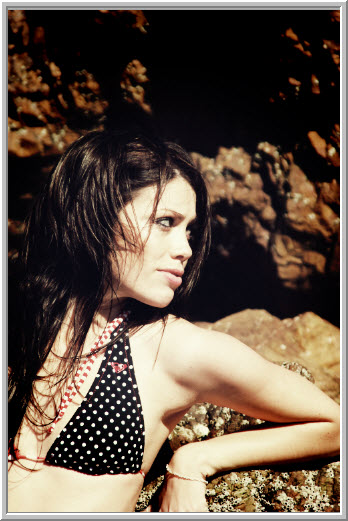
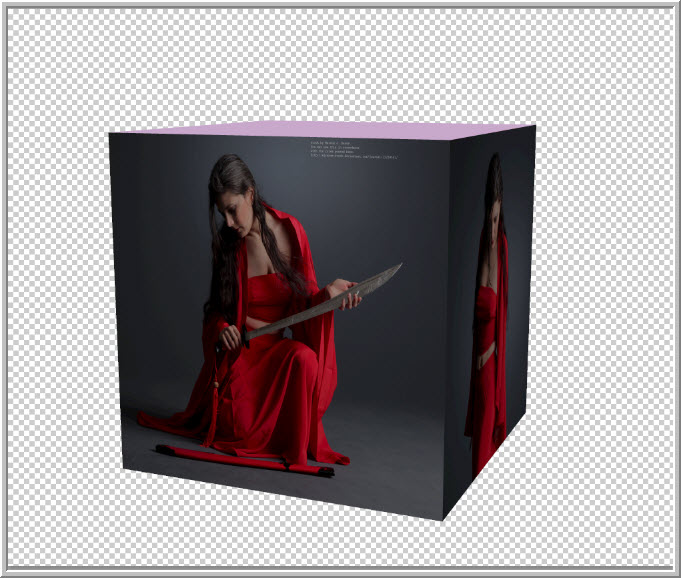
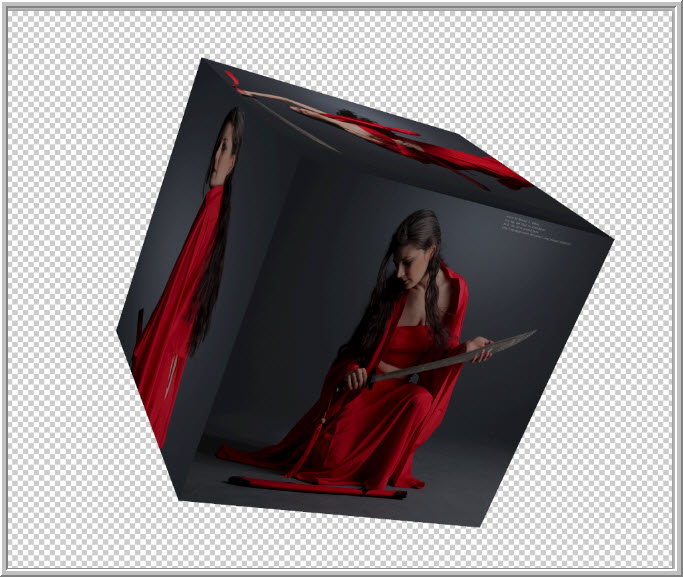
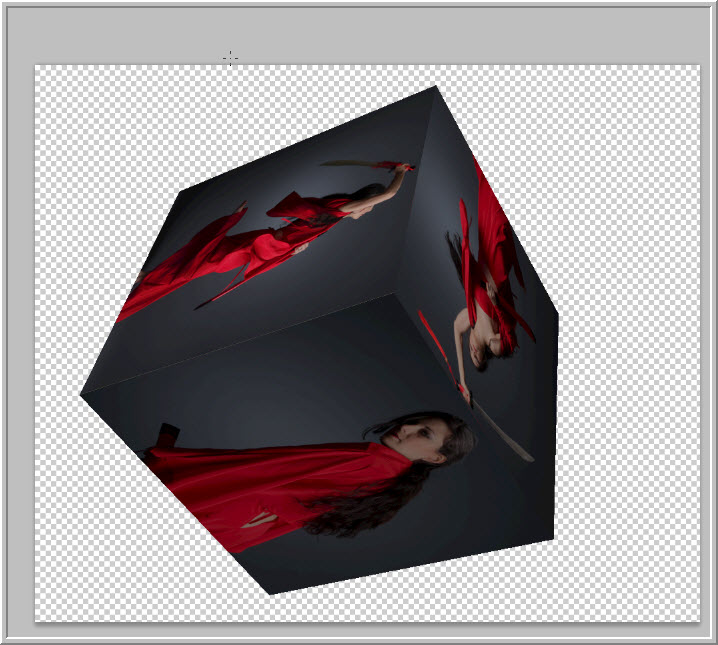
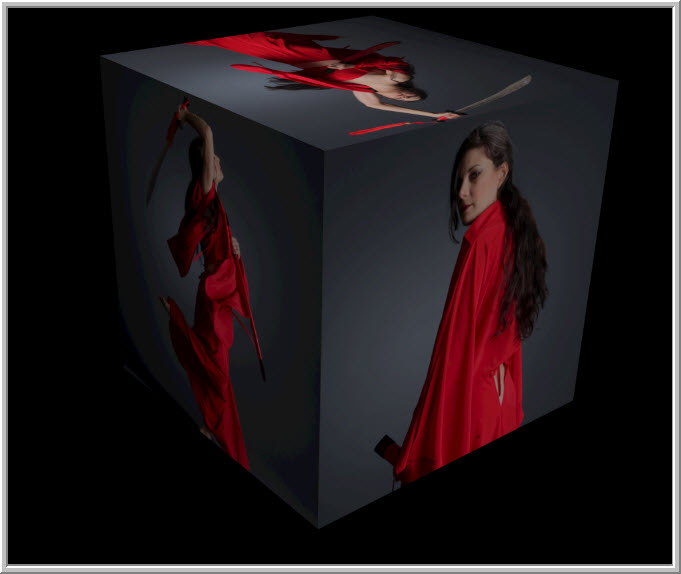
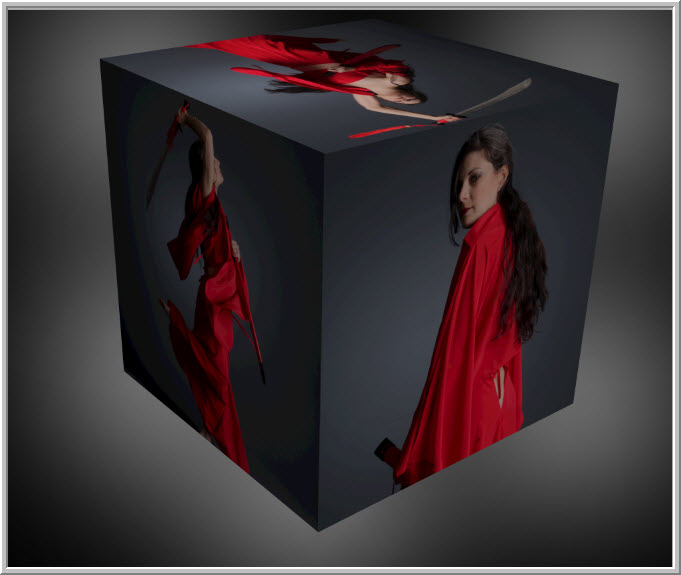
This is the effect I intend to create.
Download these free stock images. You will find them
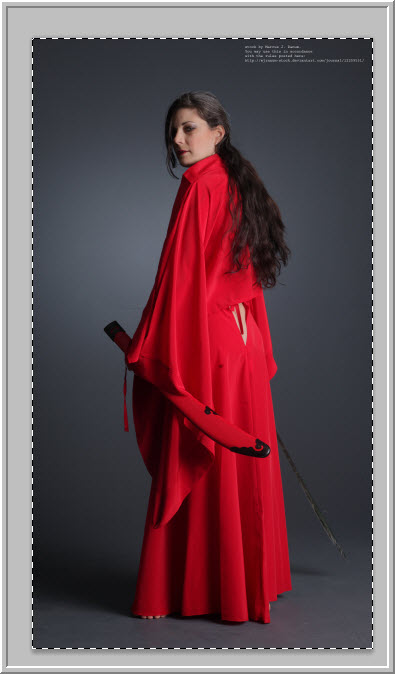
hereI have opened this image in Photoshop. I will show how you can make this into a Cube.
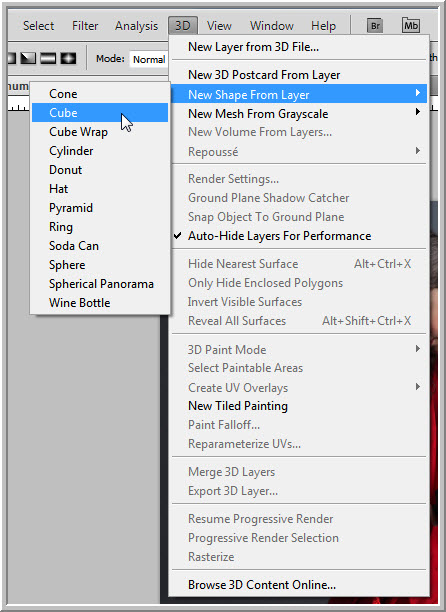
Go to 3D>New Shape from Layer>Cube Wrap
Photoshop has done all the work. But this is not what I want to demonstrate. I would like to use six images for the six sides of a Cube. That is done a bit differently.
Step 1 : Open the image. Go to 3D>New Shape from layer>Cube.
This is what you get.
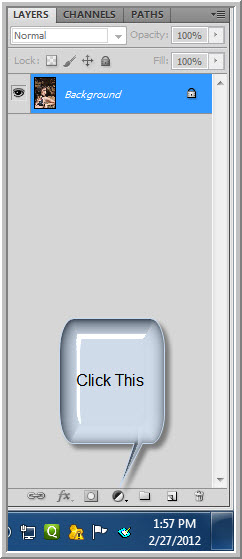
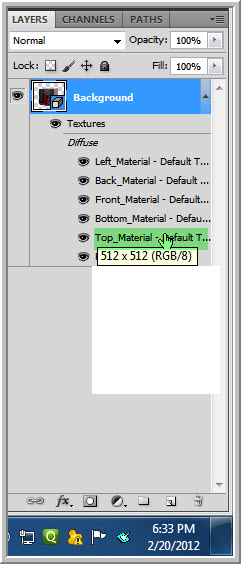
The Layers panel looks like this.
If you double click the Background Texture you will be able to see the image. The sides are the textures.
Step 2 : Double click the Top Material Default Texture which is just above the the Background Texture.
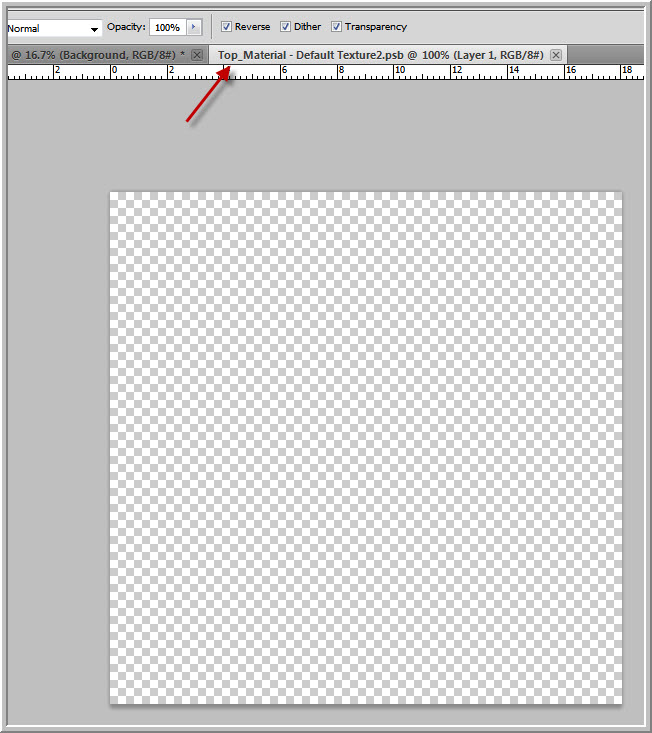
Photoshop opens a blank layer. On top you can see it is the Top Material default texture
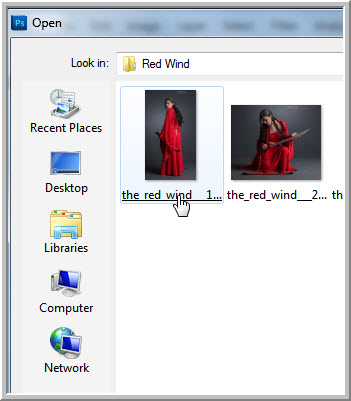
Step 3 : Go to File>Open.
Step 4 : Navigate to the folder where you have downloaded the images.
Step 5 : Click one of them to open in Photoshop.
Step 6 : Press CTRL+A (Select ALL) and CTRL+C (Copy) after opening the image in Photoshop.
Step 7 : Go to the Top Material and press CTRL+V (Paste). The image is a large one and has to be resized.
Step 8 : Resize the image by pressing SHIFT+ALT and dragging a corner handle.
Press ENTER.
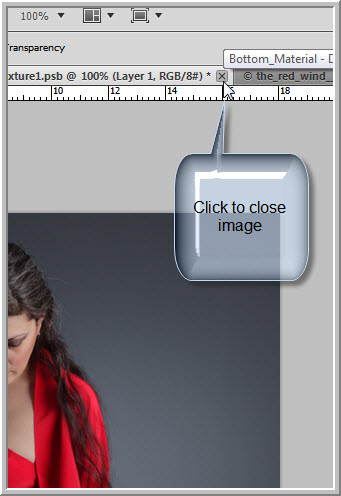
Step 9 : Click the small x to close the image.
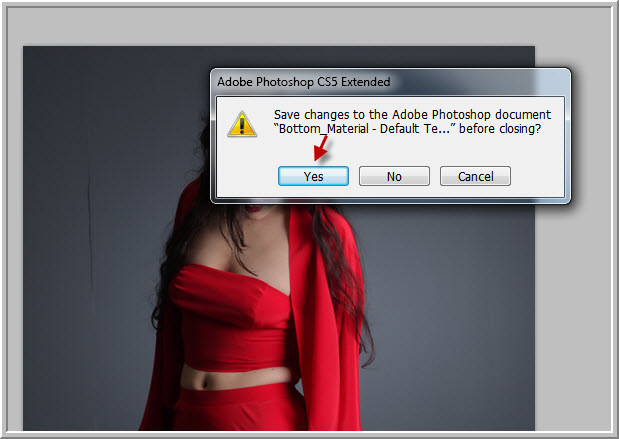
Step 10 : This dialogue box appears. Click Yes. Close the other image also.
The image looks like this. You don't see any change. This is because the image has been added to a side not visible to you.
Step 11 : Click on the Bottom Material.
Photoshop opens it.
Step 12 : Click on another image.
Step 13 : Press CTRL+A and them CTRL+C.
Step 14 : Go to the Bottom Material and press CTRL+V. Resize the image since it is a large one. Press ENTER.
Step 15 : Click the x at the top to close the image.
Step 16 : This dialogue box opens. Click Yes. Close the other image also.
The image looks like this. I hope you can now understand how to add an image to each side of the cube. You have to click on the sides one by one in the Layers panel, open and image, Select all (CTRL+A), copy (CTRL+C), take it to the relevant side and paste (CTRL+V). Resize. Close the image. Save the image. This is how you will add images to all six sides.
Step 17 : I have added images to all the six sides as I have described.
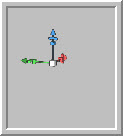
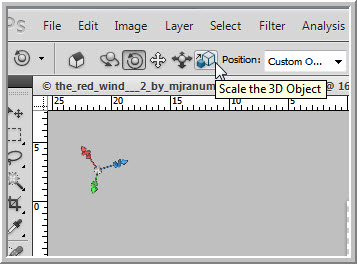
Step18 : Click the 3D Object Rotate Tool.
This will be seen at the top left beside the image to rotate the image.
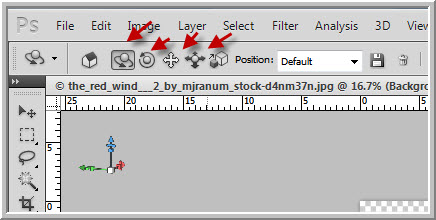
On the top panel you will find these tools.
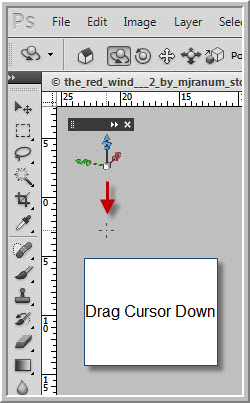
If you drag the cursor straight down you will be able to rotate the Cube downwards.
The Cube has been rotated downwards.
Drag the cursor to the right. The Cube rotates to the right.
The Cube has rotated to the right.
You can rotate the Cube anyway you want.
The Cube looks like this.
I have rotated the Cube like this.
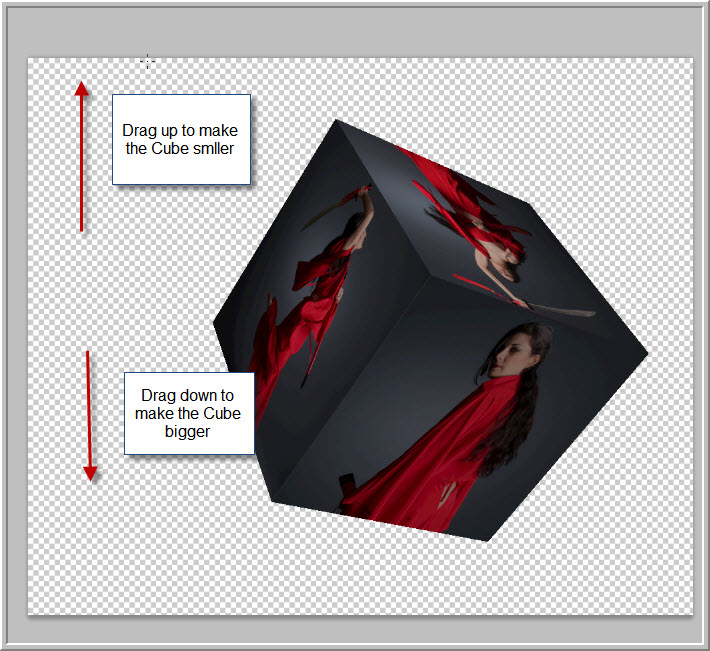
You can also Slide the Cube.
Drag up the cursor to make the Cube smaller and drag down to make the cube bigger.
If you move the cursor to the right or left it will move the Cube to the right or left. It will not make it smaller or bigger.
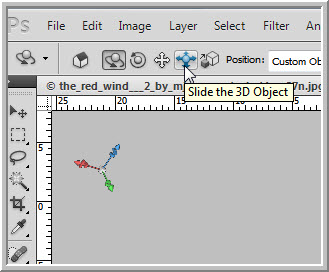
You can also drag the Cube anywhere on the canvas by clicking the Drag the 3D object icon.
You can also Roll the 3D object by clicking on the icon.
The Cube has been rolled.
You can also scale the Cube.
You can drag down to make the Cube smaller.
You can drag up to make the Cube bigger.
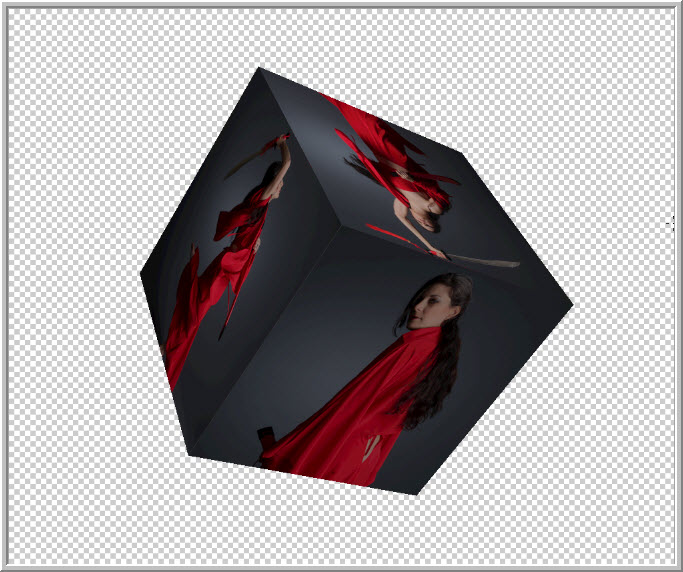
I have positioned the Cube thus.
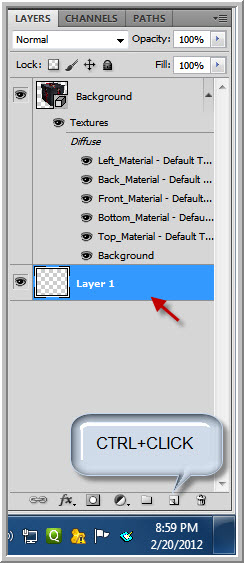
Step 19 : CTRL+CLICK the New Layer icon. A new Layer 1 forms at the bottom.
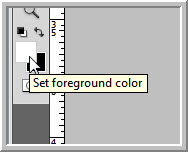
Step 20 : Make sure that the Foreground/Background Colors set to the default Black/White.
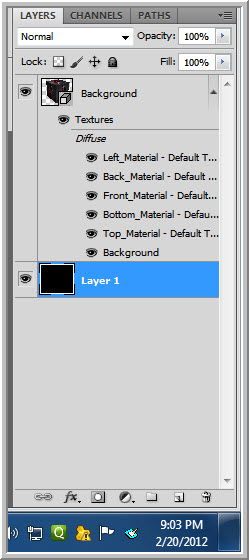
Step 21 : Press ALT+BACKSPACE to fill with the Foreground Color which is Black.
The image looks like this.
Step 22 : Click the New Layer icon. A new Layer 2 forms above Layer 1.
Step 23 : Press x to change the Foreground Color to White.
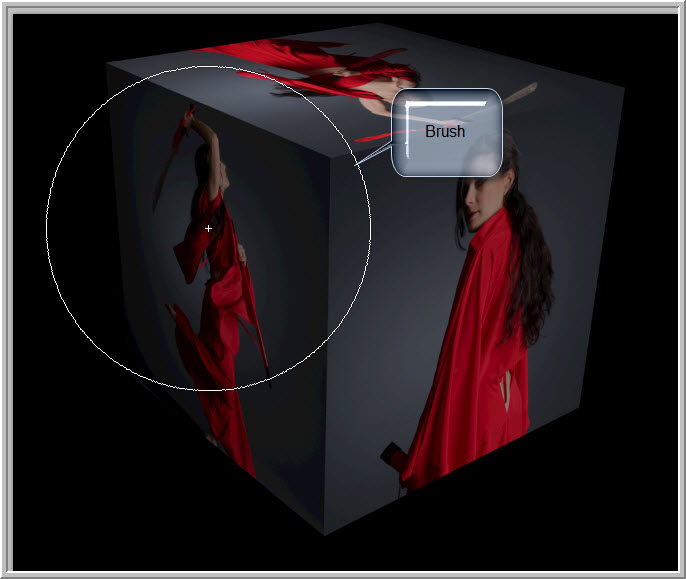
Step 24 : Press b for the Brush Tool. Press ] (right square bracket) to make it large.
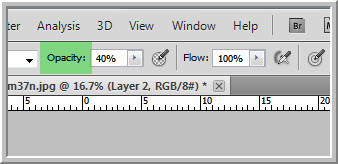
Step 25 : In the top panel reduce the Opacity of the Brush to 40%.
Click once with the Brush at the corners. And, here is the completed image.
Other photoshop tutorials are
here


 This is a free stock image.
 This is the effect I intend to give.