


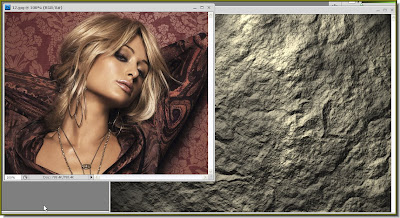
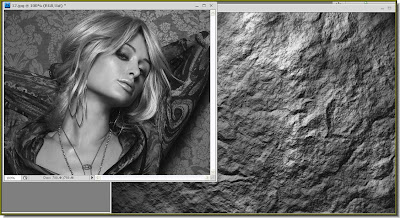
Step 2 : Click each photo in turn to select it and press CTRL+SHIFT+U. This will destaurate the images one by one. Step 3 : Click the Move Tool. Make sure that Show Transform Controls (Bounding Box in PS7) is checked.
 Step 4 : Keeping the SHIFT key pressed drag the photo of the girl onto the stone texture. Keeping the Shift pressed ensures that the photo of the girl lands exactly in the middle of the stone texture.
 Step 5 : Now press CTRL+T. You will find a selection with corner handles around the image of the girl.
Step 6 : Now keeping Shift+Alt pressed drag any corner handle to the edge of the one below. Then click the Tick mark in the top panel to apply the transformation.
Step 7 : Note that the stone texture is the Background and the photo of the one is on Layer1. Now click where the arrow points to, to change the Blend Mode.

Step 8 : Set the Blend Mode from the popup to Multiply.

The girl has been turned to 'stone'. There is one point though. Stone images do not have eyes. That has to be fixed.
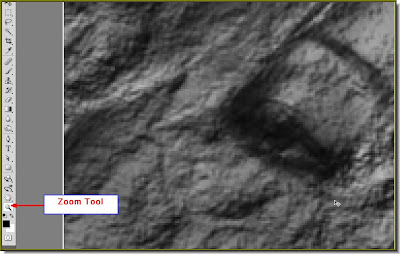 Step 9 : Zoom into the image with the Zoom tool for a closeup look at the eyes.
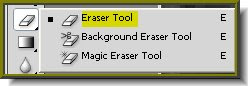 Step 10 : Click on the Erazer Tool.
Step 11 : The Erazer Tool functions just like the Brush Tool. Click in the top panel as shown and set the Hardness to zero. Choose a suitable size as Master Diameter. A shortcut to makie a brush soft is to press the Shift+[ bracket key repeatedly. To make it hard press Shift+] bracket key. Always work with a soft brush, whether it is the Brush Tool or other tools that function like brushes.

Step 12 : Brushing gently eraze the eye.

Step 13 : Eraze the other eye also likewise.

This is how the image looks. The eyes still look unnatural. Let us fix that.

Step 14 : Go to Filter>Render>Lighting Effects.

Step 15 : In the Lighting Effects dialogue box just change the Light Type to Omni. The Style is set at Default.

Step 16 : This is how the effect looks in the dialogue box when you set the Light Type to Omni.

Click ok in the Lighting Effects dialogue box and there is your graven image. Easy was it not?


