This is a way to subtly cross process images with Gradient Map. Instead of having a Black and White image you can give a faint tinge of color. It is quite easy to do.
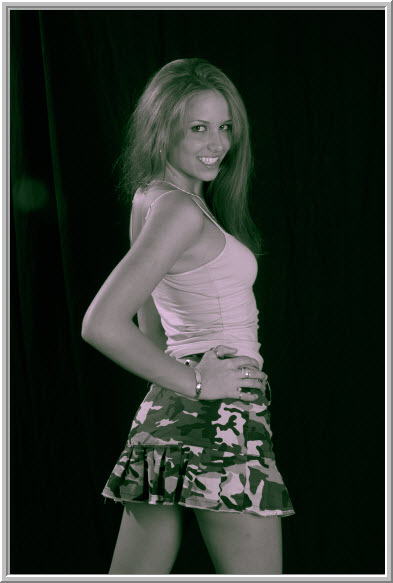
This is the effect I wish to create.

I will be using this free stock image. You will find it
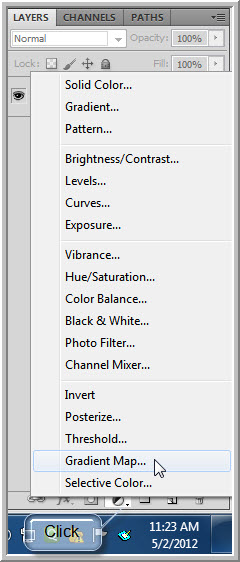
hereStep 1 : Click the Create New Fill or Adjustment Layer button at the bottom of the Layers palette and click on Gradient Map.
Step 2 : The Gradient Map layer opens. Click where shown to open the Gradient Editor.
Step 3 : The Gradient Editor opens. Note the Black stop at the left and White stop at the right.
The image looks like this.
Step 4 : Click the Black stop. The Color which was grayed out turns to Black.
Step 5 : Keeping ALT pressed drag the Black slider to the right. It separates into two. Move it just a bit. Look at the location, the stop has been moved 5% only. You don't have to drag it to exactly to 5% but just a little bit.
Step 6 : Type 50 in the Location box. The Black slider moves 50% automatically.
The image looks like this. I know it looks terrible.
Step 7 Click the Color.
Step 8 : The Select Stop Color (color picker) opens.
Step 9 : Click on a light shade of gray. If you want to use the same shade I have picked type in c7c1c1 in the highlighted box and click OK.
We now have a nice Black and White image. Now for the cross processing. It will be a very subtle effect, but it will not look so initially.
Step 10 : The column in the middle is the Spectrum. You can click on any color to choose it. Or you can move the tiny white sliders at the bottom of the Spectrum up or down to choose a color. I am clicking on Light Green.
Step 11 : I have clicked a light shade of green.If you want the exact shade type in cbf2d3 in the highlighted box. The exact shade or color is not necessary. I am only showing how to go about it. Click OK in the Color Picker.
This is how the image looks. Ugh!!
Step 12 : Click on the White stop and then on Color.
Step 13 : The color picker opens again. I have clicked on purple in the Spectrum.
Step 14 : I have clicked on a light shade of purple. You can see the numerical value in the highlighted box.
Click OK.
Step 15 : Click OK in the Gradient Editor.
The image looks like this. It looks worse you will say.
Step 16 : Change the Blend Mode to Color.
The final image. You can choose any color for this and follow the same steps.
Other photoshop tutorials are
here


 This is the effect I wish to create.