


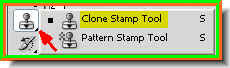
Step 3 : Click on the Clone Stamp Tool. Step 4 : Go to Windows in the top panel and click on Clone Source.
Step 5 : The Clone Source dialogue box opens. Click the first Clone Stamp Tool icon on the top. There ar five. Then click the small arrow to make the dialogue box go away.

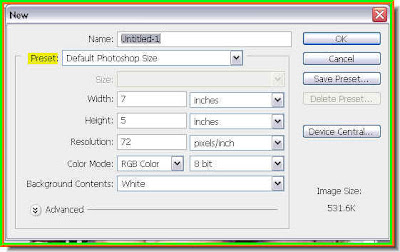
Step 6 : Click where the arrow points to to reveal the Brush Size dialogue box. It is set at 500 pixel. You can decrease it if you want to. I will leave it at that.

Step 7 : Now ALT+Click a point on the image.

Step 8 : Click the New White Layer to select it.

Step 9 : Click the New Layer icon in the Layers pallete and a new Layer 1 forms.
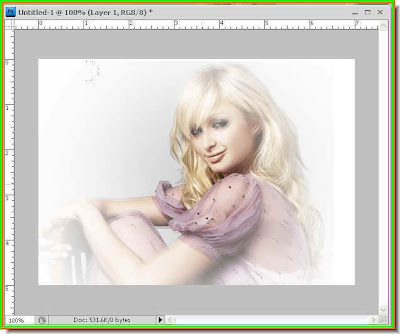
Step 10 : Now click on the White layer. And there you are. The image has been cloned to the new White Layer.
Step 11 : I have clicked a number of times with the cursor in different parts of the White Layer to get this effect. Try it out. That is all.


