


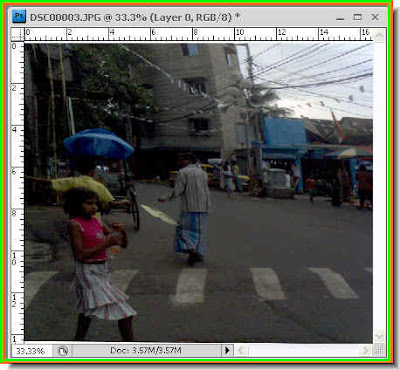
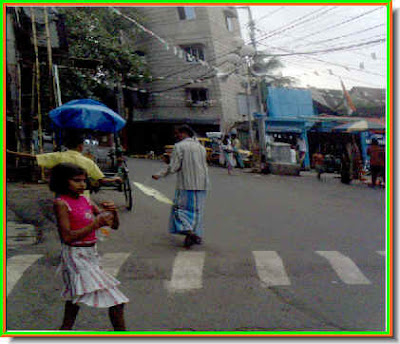
 Step 1 : I have opened this photo. I had taken this my mobile phone. You can see the result.
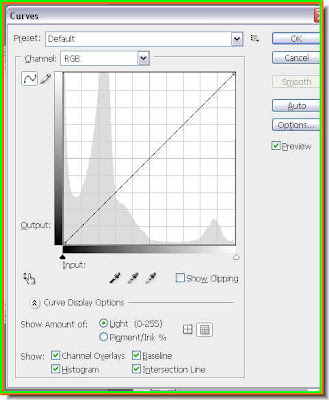
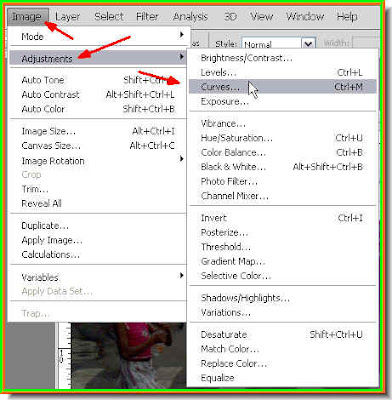
Go to Image>Adjustments>Curves to access it.
Step 3 : If you hover your cursor on a part of the image it turns into an eye dropper.
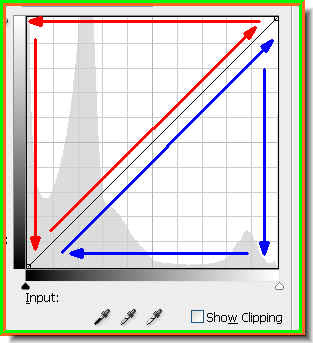
Step 4 : The area bounded by the red arrows affects the Light in the image. The area bounded by the blue arrow the Shadows.

Step 5 : Look at the Black and White sliders at the bottom of the graph.
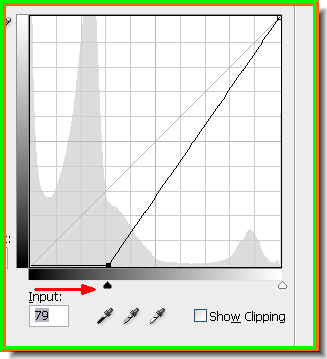
Step 6 : Drag the Black slider to the right.
The image turns dark.

Step 7 : Now instead of the Black slider drag the White slider to the left.

Step 8 : I am clicking on the girl's face.

A tiny circle is visible on the diagonal line in the middle. It disappears when you move the cursor.
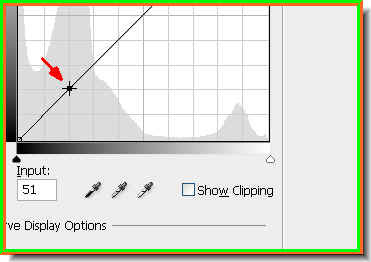
Step 9 : Place the cursor where the small circle appeared.
Step 10 : Now use the Up arrow key to move the curve up step by step.
Look how the image has changed.
Step 11 : If you want to darken the image place the cursor on the diagonal at the top and use the Down arrow key step by step to darken the image.
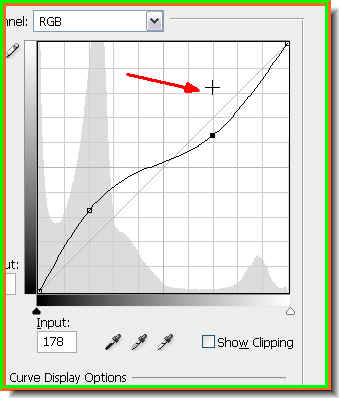
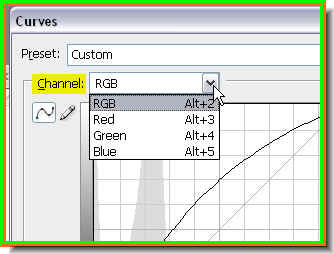 Step 12 : You can also use the Curves to affect the Red, Green and Blue channels. By default it is set at RGB.


I have made subtle changes in the Blue, Red and Green channels.
If you swith back to the RGB channel te graph looks like this. (Note this is not visible in PS7).

This is ultimately how my photo looks like. Try it out for yourselves.


