


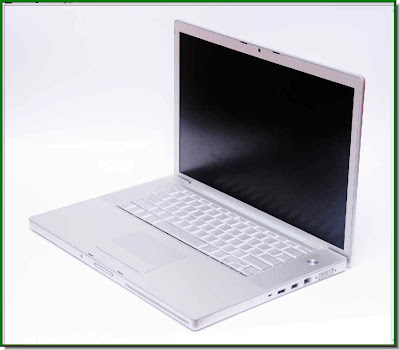
 I will be using this free stock image. Download it here.
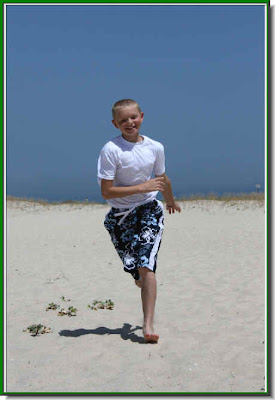
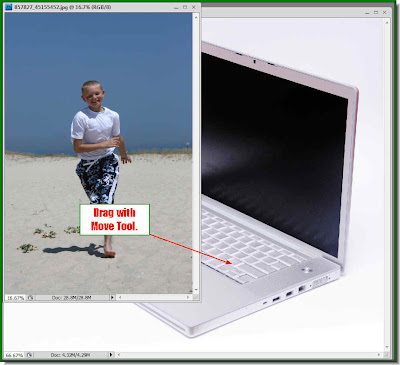
 This is the Move Tool. I'm sure you know it.
 Step 2 : The photo of the boy is bigger than the photo of the laptop. This is how it looks after I have dragged it. It has to be resized. This is a common enough problem.
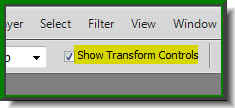
Step 3 : Make sure that 'Show Transform controls' is checked. It is called 'Bounding Box' in Photoshop7 and is found in the same place.
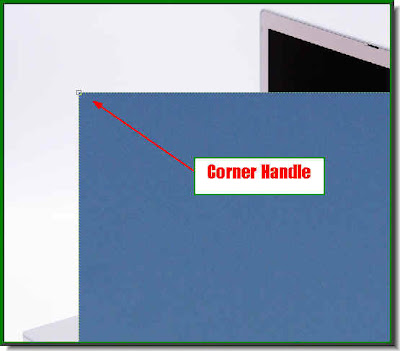 Step 4 : Drag the photo towards the right with the Move Tool till a corner handle becomes visible. The corner handle will not be visible unless you check the 'Show Transform Controls'.
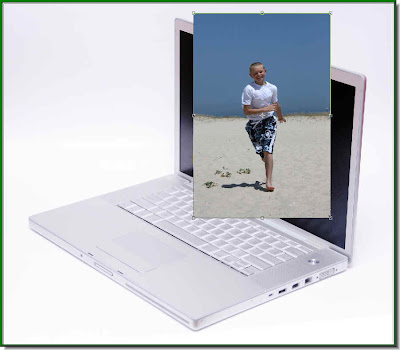 Step 5 : Press SHIFT+ALT and drag by a corner handle. This will resize your photo proportionately. After resizing this is how your photo should look like.
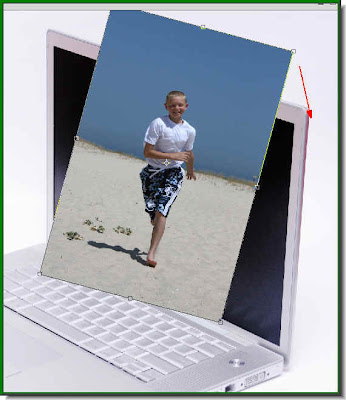 Step 6 : Now hover your cursor near the right top corner and a small bent arrow will appear. It is not shown here. Use the bent arrow to tilt the photo in line with the laptop's screen.
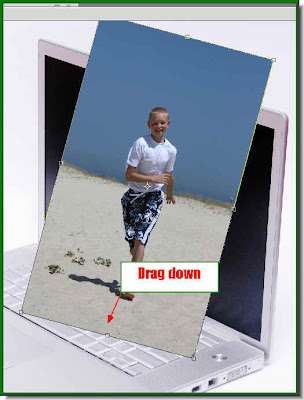 Step 7 : Now drag down with the Move Tool only.
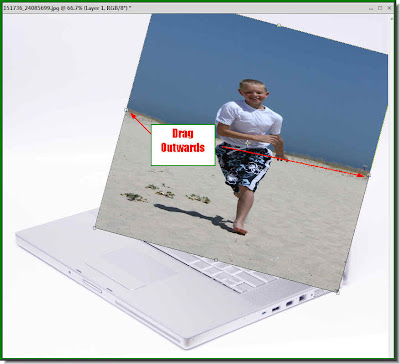
Step 8 : Now drag the middle handles to the right and left till the photo of the boy covers the screen and beyond as I have done.
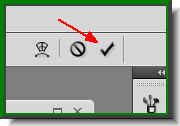
Step 9 : Now click the Tick Mark to apply the transformation. You have dragged the photo out of its proportion. You are setting a new size. This is called applying the transformation.
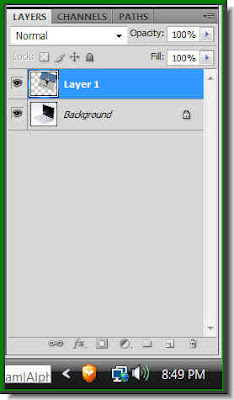 This is how the Layers pallette looks like. The laptop is the Background Layer and the boy is on Layer 1. Layer 1 is highlighted. It means that this is the layer you are on or the active layer.
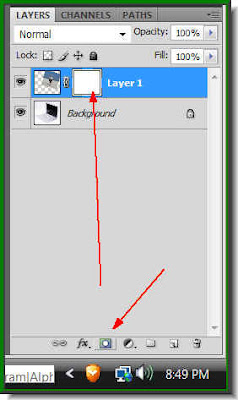 Step 10 : Click the Add layer button and a layer mask forms next to the layer thumbnail on Layer1.
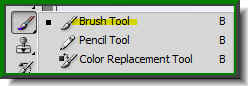 Step 11 : Click the Brush Tool
 Step 12 : Click the Brush in the top panel to reveal this dropdown. Set the hardness to zero or a very low amount by dragging the slider. The size can be made bigger or smaller with a shortcut. Press [ (left bracket next to letter P) to make the brush tip small or ] (right bracket) to make it bigger. You will need to constantly adjust the brush tip as you paint. This is an easy way of doing it.
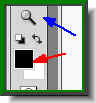

Step 14 : Make the Brush Tip large and begind painting. It will wipe away portions of layer 1 to reveal the Background layer which is the laptop.

Step 15 : Begin with a large brush tip after zooming in on the image.

Step 16 : I have painted all around the edge of the screen.

Step 17 : Since the Brush Tip is large begin painting away from the frame and you will be able to reveal the frame. Be careful that you do not paint into the inside of the frame.

Step 18 : Should you accidentally paint away a portion you should not have done, just change the Foreground Color to White by clicking on the small bent arrow. Rectify the mistake and then change the Foreground to Black and continue with your painting. Actually this is all to it.

Step 19 : Paint carefully around the boy's shadow to reveal the keyboard.

Step 20 : paint carefully around the foot. Make the Brush Tip small or large as required.

Step 21 : I have painted carefully on the frame. Paint towards the outer edge of the frame and you will find that since you are using a soft brush the inner side of the frame is rid of the blue of the sky.

And that is my completed image. It can be done very easily. Just takes a bit of care and patience. You can use images of your own, just follow the steps and you will get the same effect.
You can leave your comments on this blog or email me at pradip.chowdhury.gmail.com if you want a particular tutorial.
Other photoshop tutorials are here.


