


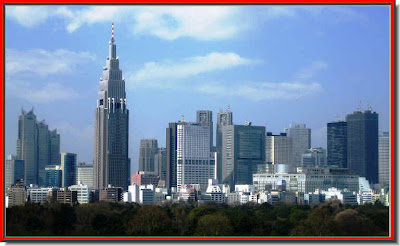
 Step 1 : Open any image in Photoshop. I have opened this photo.
 Step 2 : Click the Elliptical Marquee Tool.
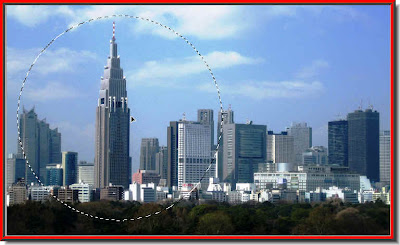
Step 3 : Press SHIFT and drag and you will be able to draw a perfect circle with the Circular Marquee Tool. Note I have chosen the skyscraper which is to the left of the image. 
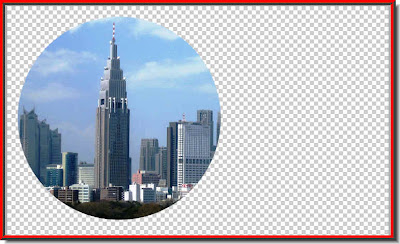 This is how the image looks.
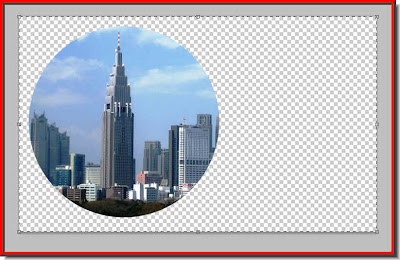 Step 5 : Press CTRL+A and a selection of marching ants forms all around the edge of the image.
Step 6 : Click the Move Tool (just above the Marquee Tools on the left panel). Then click the second and fifth icons that appear in the top panel as shown.

The image moves to the exact centre of the canvas.

Step 7 : CTRL+Click the layer thumbnail on Layer 1.

A column of marching ants selects the circle.

Step 8 : Go to Select>Modify>Border.
Step 9 : When this dialogue box pops up give an appropriate value. It will depend on your image. I have put the width at 50 pixels.
Step 10 : The border forms around the circle.

Step 11 : Click on the New Layer icon and a new Layer 2 forms above Layer 1.
Step 12 : Click on the Gradient Tool, then click in the top panel to bring up the Gradient Editor.
Step 13 : Click on the first Preset. You can click any of the Presets. I have chosen the first Preset.

Step 14 : With the Gradient Tool drag from the top left corner to the bottom right corner. You can of course drag in any direction. It will give you a different effect.

This is how the Gradient looks like. Press CTRL+D to deselect.
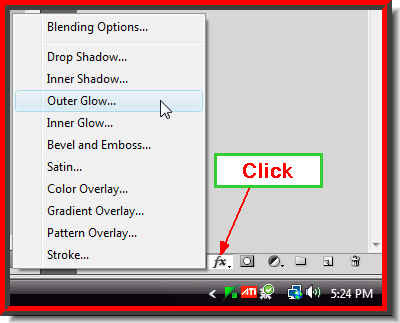 Step 15 : Click the Add Layer Style Button and click on Outer Glow.
Step 16 : The Outer Glow controls open. First check Anti-Alias then click the Contour. From the drop down click on Ring Double. It is the one the small white hand points to. Next you can change the Color of the Glow. By default it is set to yellow. Click where the red arrow points to.

Step 17 : When you click the Color Picker dialogue box opens. Type ffffff (6fs) in the box the arrow points and click ok in the Color Picker. What I did was I changed the Color of the glow to White. DO NOT CLICK OK.
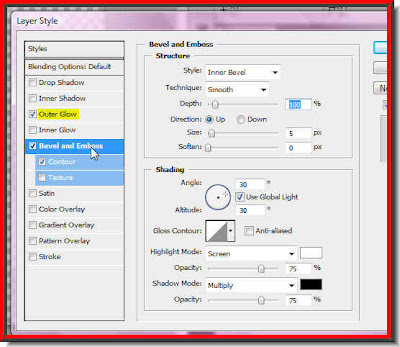 Step 18 : Now click on Bevel and Emboss. The dialogue box will change. Tick Contour also in the left panel as shown.
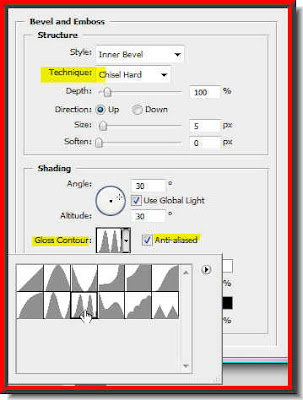
Step 19 : Change the Technique to Chisel Hard from the dropdown menu. Check Anti-Alias and then click the Ring Double in the Gloss Counter dialogue. Now you can click Ok.

Step 20 : In the Layers pallette Press SHIFT, click on Layer1. Now both Layer 2 and Layer1 are highlighted. Press CTRL+E.
Step 21 : Layer 1 and Layer 2 combine to form Layer 2.

Step 22 : Note that you are on Layer 2. Press CTRL and then click the New Layer icon. A new Layer 3 forms below Layer 2. Usually a layer forms above a current layer. With this command a new layer forms below the current layer.

Step 23 : Your Foreground and Background Colors should be set to Black and White respectively. If it is not press 'x' and then 'd' on the keyboard. Then press CTRL+BACKSPACE. The Layer 3 fills with White or the Background Color.

And there is the Circular frame. If, instead, you want a rectangular frame use the Rectangular Marquee and follow the same steps.
Other Photoshop tutorials are here.


