


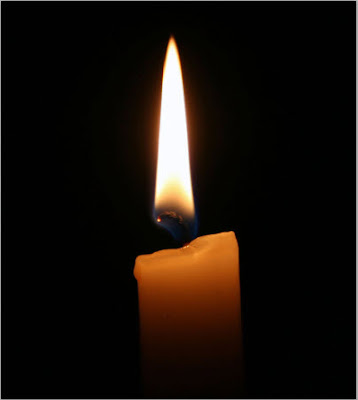
 Step 1 : I have chosen this free stock photo of a candle. It has a black background.
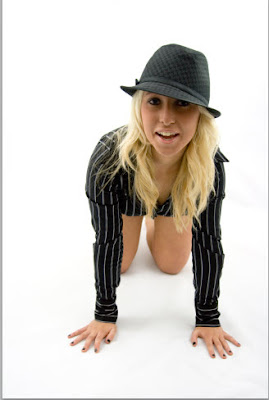 Step 2 : I have also opened this free stock image. Note that it has a completely white background and some faint shadow. Ordinarily this should be difficult to manipulate.
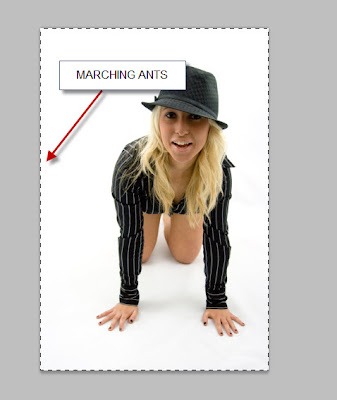 Step 3 : I have chosen this photo first. Click on it. Press CTRL+A (Select All) and then CTRL+C (Copy).
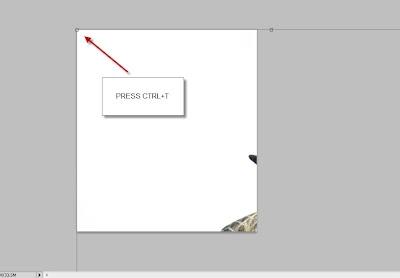 Step 4 : Now go over the photo of the candle. Press CTRL+V (Paste). The photo of the girl will be pasted over the cangle image. Since both are high resolution images and this the bigger one it has completely covered the photo of the candle. Press CTRL+T. A selection appears all around the image.
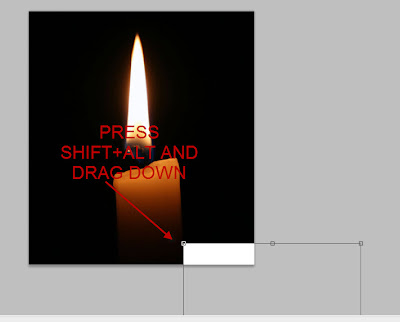 Step 5 : Press SHIFT+ALT and drag down. This will ensure that the image of the girl is resized while keeping proportions intact. You can see here I have dragged the photo of the girl down.
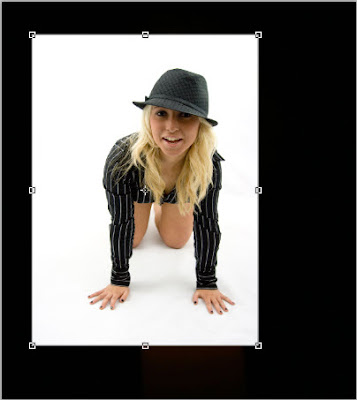 Step 6 : Use the Move Tool to position the image correctly. Press Enter when you are satisfied. The selection will go away.
You can also click the Tick mark on the top panel alternately instead of pressing Enter.

Step 7 : Note in the layers pallette, the candle image is the background Layer and the photo of the girl on Layer 1. Now click where the arrow points to, to bring up the Blend Modes. Click on Multiply.
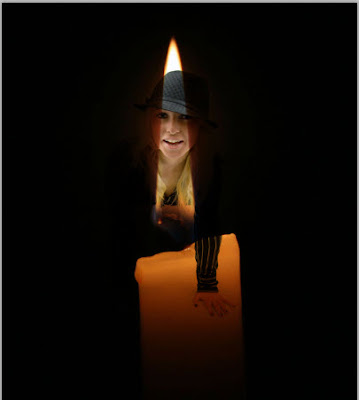
This is how the image looks. Note that the white background of the girl's photo presents no difficulty in blending.

Step 8 : Press Ctrl+T. The selection will reappear. Hover your cursor over a corner and a small two headed arrow will apear (not shown). You can use this to rotate the image. This is to make the Girl more visible in the candle flame. Also resize the image again if neceesary.
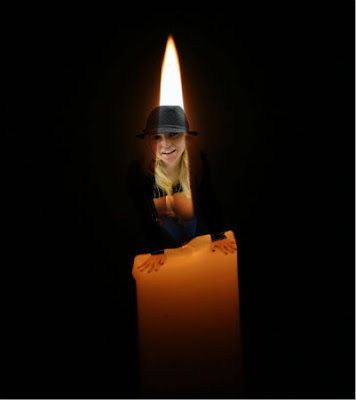
There now the girl is in the flame.
Other Photoshop tutorials are here.


