Sunday, October 30, 2011

Lens Blur and Depth Map

Remember the Gaussian Blur? It is in photohshop for a long time. A new addition in later editions of Photoshop CS is the Lens Blur. The Gaussian Blur has its uses, but Lens Blur givesmore leeway. Learn to create a Depth Map. You can use it to keep something in focus selectively and blur the background.
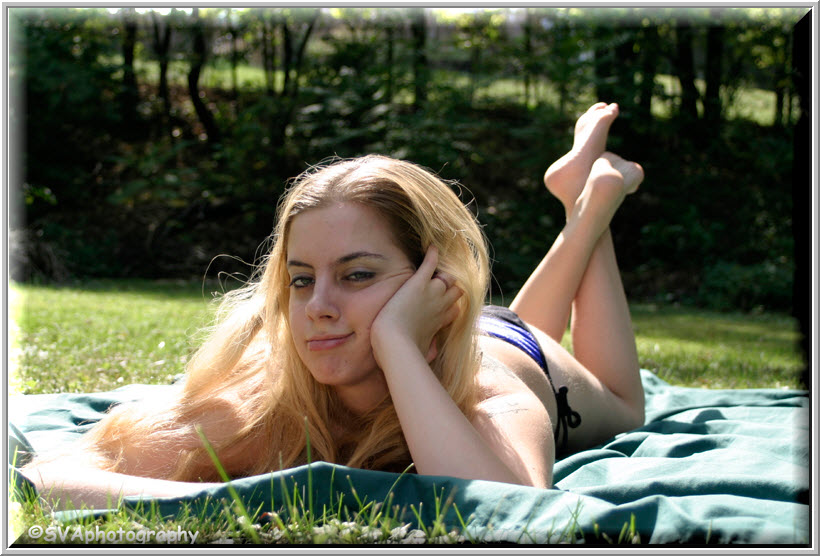
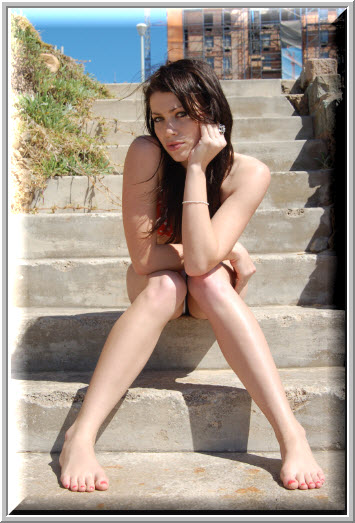
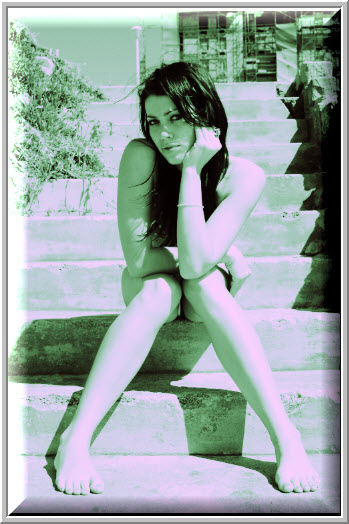
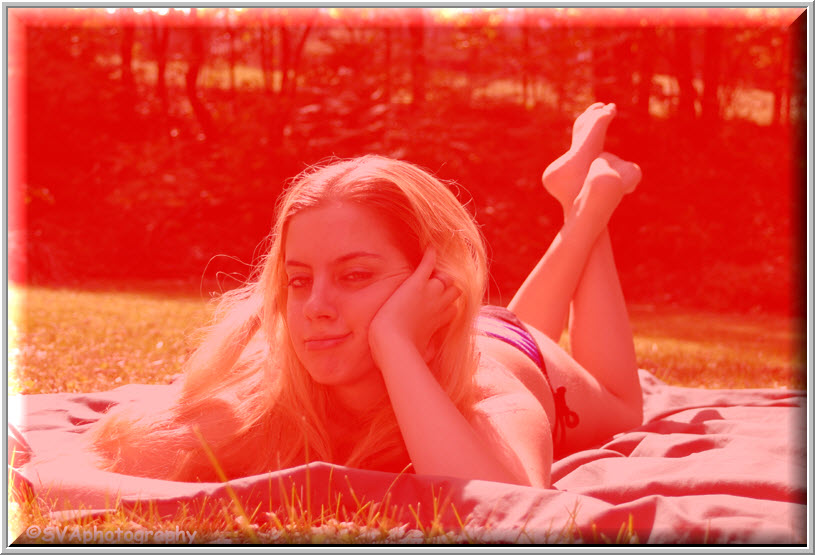
I will be using this free stock image which you will find here
It belongs to jessangel2003
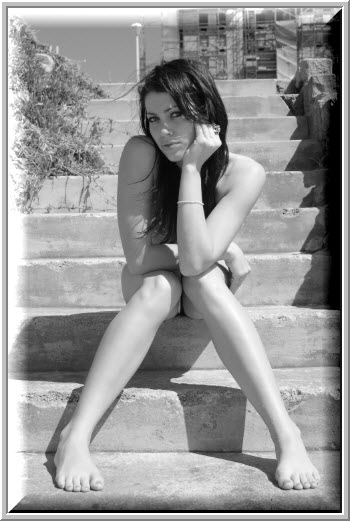
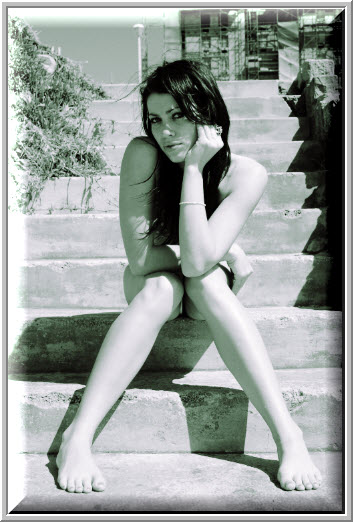
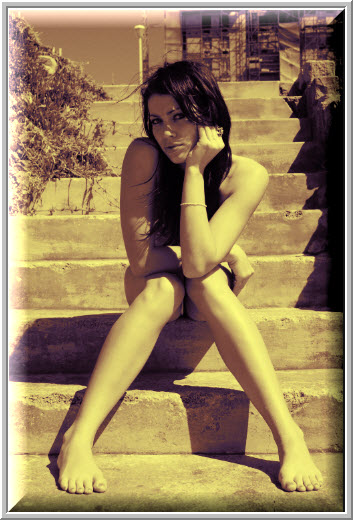
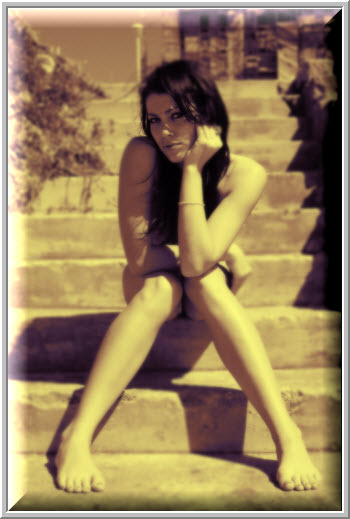
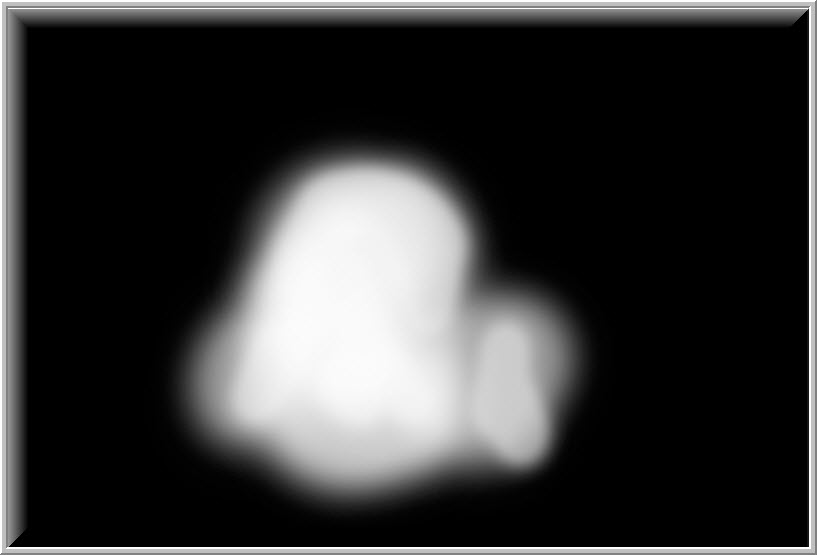
This is the effect I will be aiming for.
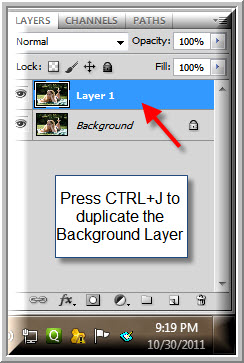
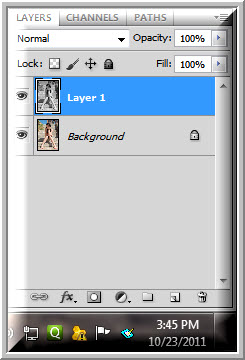
Step 1 : Press CTRL+J to duplicate the Background Layer to Layer 1.
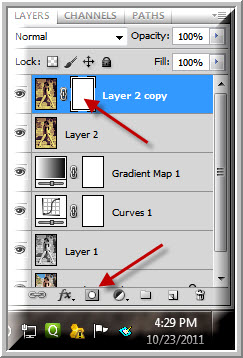
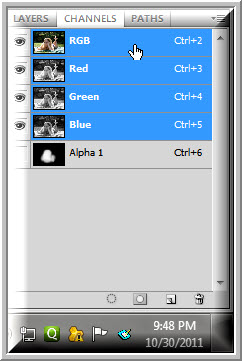
Step 2 : Switch over from the Layers palette to the Channels pallete and click the Add New Channel button at the bottom.
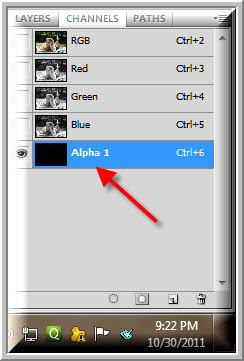
Step 3 : An Alpha 1 Channel forms below the RGB, Red, Green, Blue channels.
The image turns completely Black.
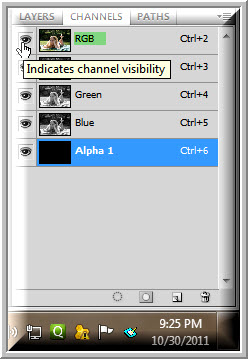
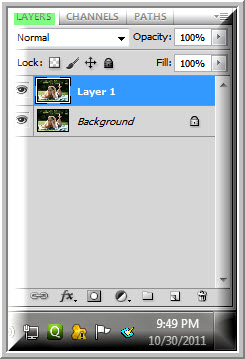
Step 4 : Click on the eye icon of the RGB channel.
The image acquires a Red Mask. This is what you see.
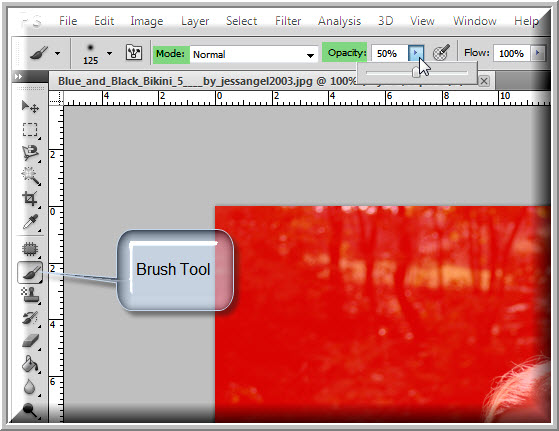
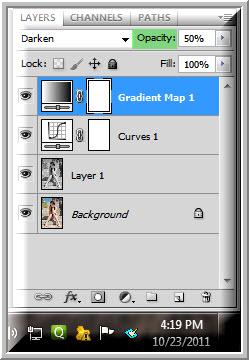
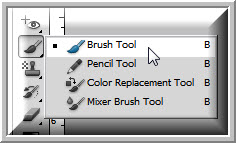
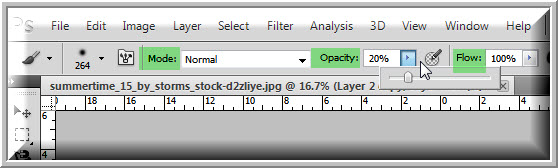
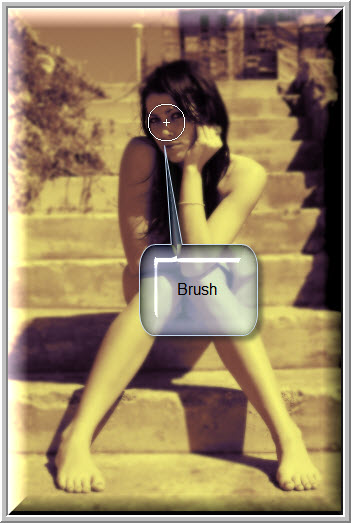
Step 5 : Click the Brush Tool. At the top let the Mode remain at Normal and lower the Opacity to 50%. Flow is set at 100%.
Step 6 : Switch the Foreground Color to White by pressing x on the keyboard.
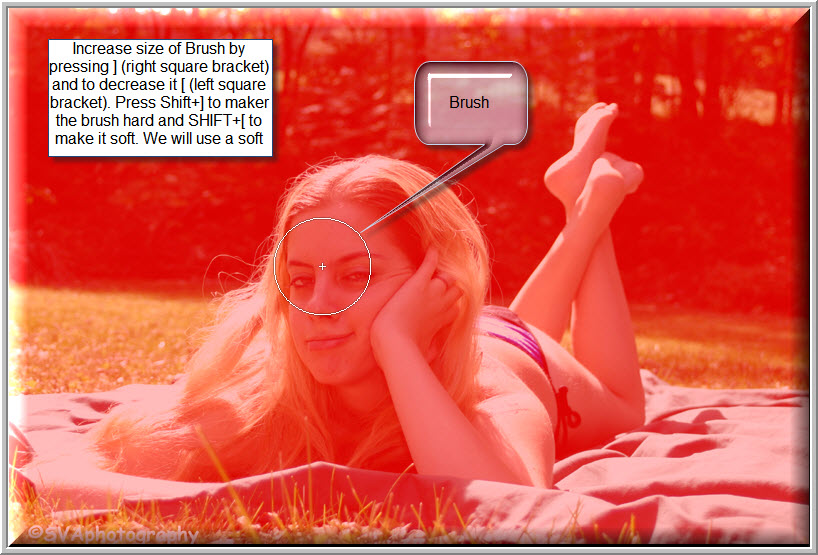
Step 7 : To increase the Brush size press ] (right square bracket) and to decrease it [ (left square bracket). To make the Brush hard press SHIFT+] and to make it soft SHIFT+[. We will use a soft Brush.
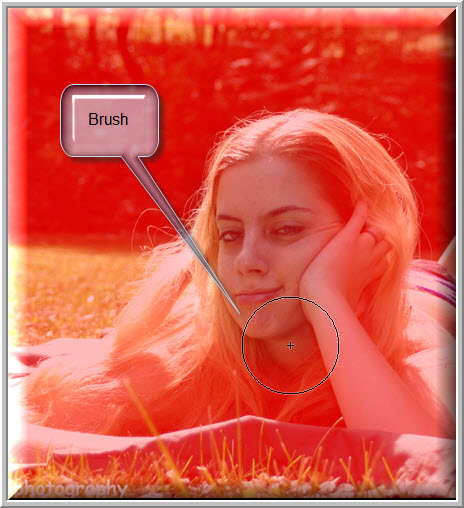
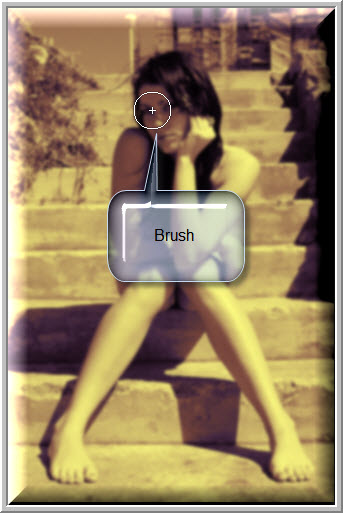
Step 8 : As you paint the Red Mask gets lighter as you are painting at 50% opacity. I have just painted over the face just once. You have to brush a number of times to make the eyes and lips visible and some part of the torso.
Step 9 : I have gone over the face particularly the eyes and nose and lips more than once to paint the Mask away little by little since you are painting only at 50% opacity.
Step 10 : Click on the eye icon of the RGB channel.
Step 11 : You will be able to see the portions of the Mask you have painted away. It is not even since you will invariably paint more than other areas in some parts.
Step 12 : Click on the RGB channel.
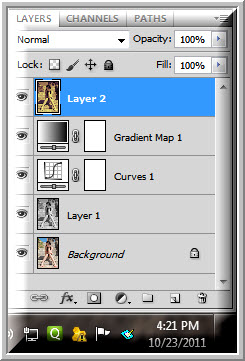
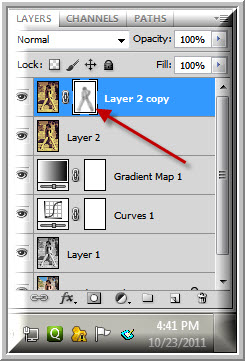
Step 13 : Click back on the Layers palette.
Step 14 : Go to Filter>Blur>Lens Blur.
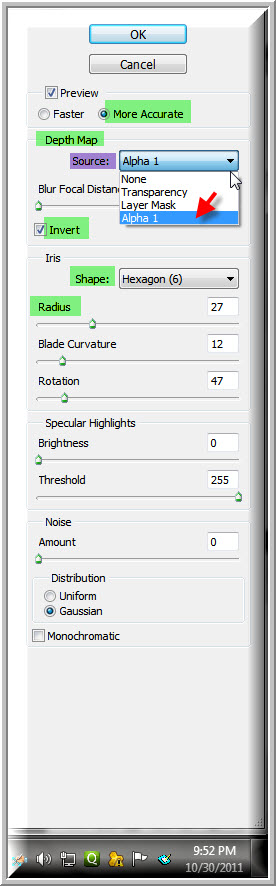
Step 15 : The Lens Blur dialogue box fills the screen. Look at the right panel for the controls.
 Preview is checked by default.  Check it if it is not. In Source of the Depth Map change it to Alpha1 created earlier in the Channels palette. Check the Invert. It is not checked by default. Keep the Shape at 6 (Hexagon).  If you drag the Radius slider to the left or  right, you will be able to control how much blurring you want.
Step 16 : I am dragging the Radius down to 17. See what suits your image or the effect you want. The effects you apply will be visible in the large preview window at the left. Click OK when satisfied.
The finished image. The face is in sharp focus, but so much the body or hair and other details. 
Other photoshop tutorials are here
If you notice to cogs turning after you click the link, it is normal. It means the tutorial is loading. It will take just a while to load. That's all.


Sunday, October 23, 2011

Pastel Look

A soft pastel look is liked very much by some. You can apply it as a special effect to your images. You just need to use some layers, Curves and Gaussian Blur and a thing or two to achieve this effect in Photoshop.
Step 1 : I will be using this free stock image, which you will find here
It belongs to 
*Storms-Stock
This is the effect I will create.
Step 2 : Press CTRL+J to duplicate the Background Layer to Layer 1. Press CTRL+SHIFT+U to desaturate Layer1.
Step 3 : The image is desaturated.
Step 4 : Click the Add New Fill or Adjustment Layer button.
Step 5 : Click on Curves from the pop up menu.
Step 6 : The Curves 1 Layer forms. The Curves dialogue box is on top.
Step 7 : In the Curves dialogue box change the Default to Cross Process (RGB).
Step 8 : My image looks like this.
Step 9 : I am changing the Blend Mode to Soft Light. Hard Light, Screen and even Color also works for this image. You will have to see which Blend Mode you like.
Step 10 : My image looks like this.
Step 11 : I am lowering the Opacity to 75%.
Step 12 : My image looks like this.
Step 13 : Click the New Fill or Adjustment Layer button and click on Gradient Map.
Step 14 : Click where the arrow points to reveal the default Gradients. You will find may more if you click the small black arrow. We will be using the default set.
Step 15 : I am clicking on Blue, Red, Yellow. You can also choose something else.
The image looks like this.
Step 16 : Press SHIFT and click on the Blend Mode which will be highlighted.
Step 17 : Keeping SHIFT pressed press the DOWN ARROW to cycle through the Blend Modes. When you reach the last Blend Mode press the UP ARROW to cycle back. It is never possible to tell which Blend Mode will work. Just cycle through them and see what you like. I have chosen Darken for this image.
Step 18 : Press the v key on the keyboard and press 5. The Opacity lowers to 50% for the Gradient Map 1 layer.
My image looks like this.
Step 19 : Press CTRL+SHIFT+ALT+E to make a composite Layer2.
Step 20 : Press CTRL+J to make a new layer - Layer 2 copy.
Step 21 : Go to Filter>Blur>Gaussian Blur.
Step 22 : I am setting a Radius of 8 in the Gaussian Blur dialogue box. You can set something lesser or higher depending on your image. Click OK.
Step 23 : The image is slightly blurred, but details can still be made out easily.
Step 24 : Click the Add Layer Mask button and a Layer Mask forms on Layer 2 copy.
Step 25 : Press the b key on the keyboard to select the Brush Tool.
The Foreground Color should be set to Black.
Step 26 : Press [ (left square bracket) to decrease the size of the brush and ] to increase it.
Step 27 : In the top panel lower the Opacity to 20% or so. The Mode and Flow remains set to Normal.
Step 28: Since the Brush is set to a low Opacity go over the eyes, lips and face a number of times still they are clearly visible, then the rest of the body if you wish.
Look at the Layer Mask, you will find the portions that you have painted in gray, since the Opacity of the Brush is low.
The image looks like this.
Step 29 : I am changing the Blend Mode to Screen.
The finished image.
Other photoshop tutorials are here


Share

Twitter Delicious Facebook Digg Stumbleupon Favorites