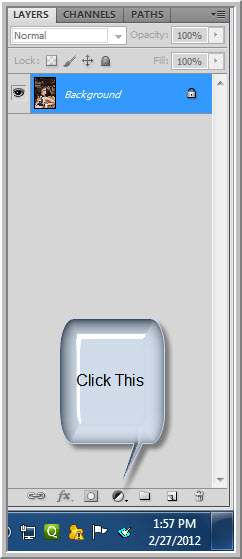
The Create New Fill or Adjustment layers button is located at the bottom of the Layers palette.
Clicking the button will reveal these Adjustments.
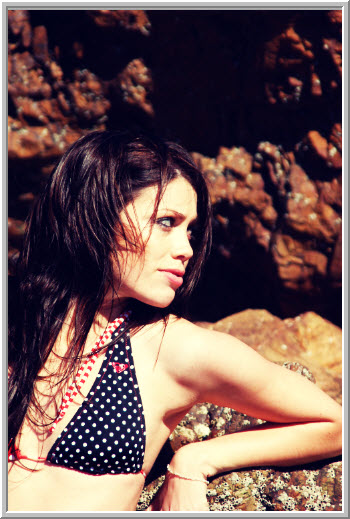
We will be using this free stock image. You will find it
hereIt belongs to
*Storms-StockStep 1 : Click on the Adjustment Layer button and then on Curves.
The Curves dialogue box opens.
Step 2 : Click two points at the top and bottom as shown. The points are about halfway in the top right and left bottom squares.
Step 3 : Click on the top point. You can see that the cursor changes to a cross.
Step 4 : Press the Up arrow key on the keyboard 10 times. You can move the cursor with the mouse, but it is more accurate to use the Up arrow.
Step 5 : Click on the bottom point.
Step 6 : Press the Down Arrow key 10 times. Pressing 10 times is not a rule. What I am trying to convey is that you press an equal number of times with the arrow keys on tne two points.
The image looks brighter.
Step 7 : Click the Curves Adjustment Layer button and click on Curves again.
The Layers panel should look like this now.
Step 8 : Click on the Red channel from the drop-down.
Step 9 : Click two points on the diagonal at the top and bottom.
Step 10 : Click on the top point and use the Up Arrow 5 times. Again this is not a rule.
Step 11 : Click on the bottom point and press the Down Arrow key 5 times.
The Reds in the image increase.
Step 12 : Go to the Green Channel.
Step 13 : Click on the top and bottom points and press the Up and Down arrow keys 4 times.
Step 14 : Go to the Blue channel.
Step 15 : Drag the sides of the diagonals up and down as shown.
The image acquires a yellowish tone.
Step 16 : Make a Hue/Saturation Adjustment Layer.
The Layers palette looks like this.
Step 17 : Check Colorize in Hue/Saturation.
Step 18 : Increase the Hue to 50 and retain 25 for Saturation.
The image looks like this.
Step 19 : Click on the Layers panel. Press 5. The Opacity of the Hue/Saturation Layer decreases 50%. You can also drag the Opacity slider down to 50%.
Step 20 : Click the Elliptical Marquee Tool.
Step 21 : Press SHIFT and draw a perfect circle. If it is not correctly position use the ARROW keys to move it to the position you want.
Step 22 : Press CTRL+SHIFT+I.
Step 23 : Go to Select>Modify>Feather
Step 24 : Feather by 150 pixels.
Step 25 : Make another Adjustment Layer. Choose Levels.
The Layers palette looks like this.
Step 26 : Drag the Black slider to the right to give a vignette effect in the Levels dialogue box.
That is all. This is the finished effect. Other photoshop tutorials are
here


 This is a free stock image.
 This is the effect I intend to give.