


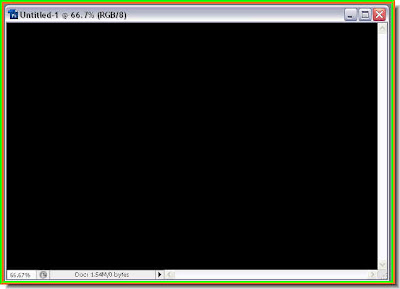
 Step 1 : Open a new white layer.
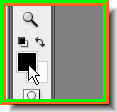
Step 3 : Press ALT+BACKSPACE. This will fill the layer with the Foreground color or Black. Step 4 : Click the New Layer button and a new layer forms i.e. Layer 1.
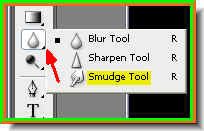
Step 5 : Click the Smudge Tool from the flyout to select it. Step 6 : After clicking on the Smudge Tool look at the right of the top panel. Click it.
 Step 7 : This dialogue or the Brushes pallete opens.
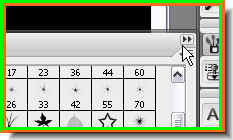
 Step 8 : Click on Brush 39 as shown to select it.
 Step 9 : You will find Other Dynamics checked. Uncheck it.
Step 10 : Click on Brush Tip Shape. You will find a circle with a cross on it at bottom left (blue arrow).
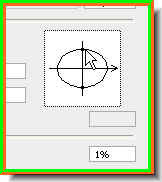
Step 11 : Place the cursor on the point at the top and drag down the circle.
Step 12 : This is how the brush looks after flattening the circle.
Step 13 : Click where the white arrow points to make the panel disappear.
Step 14 : Place the Smudge Tool on the layer.
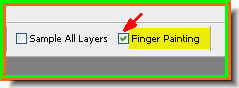
Step 15 : In the top panel check Finger Painting.
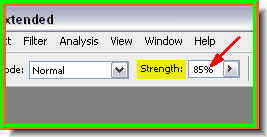
Step 17 : In the top panel set the Strength to 85 %. Step 18 : Place the brush in the middle of the document as shown and click.
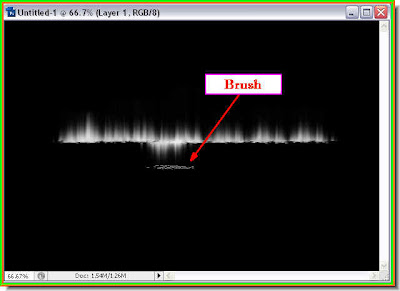
Step 19 : After clicking press SHIFT and drag upwards. You will get the effect as shown above.
Step 20 : Repeat the process i.e. place the brush and click, then press SHIFT and then drag upwards. Do not press SHIFT first before clicking otherwise you will get an error. If you get an error press CTRL+Z to undo the last step.
Step 21 : Now do the same. Place the brush, click press SHIFT and drag downwards to get the same effect.
Step 22 : This is how it should look.
Step 23 : Click the Move Tool. Step 24 : Press CTRL+A or Select All then click on the icon shown in the top panel to Align Horizontal Centres. Then press CTRL+D to deselect.
Step 25 : Double click on Layer 1 as shown.

Step 26 : Double clicking on Layer 1 will bring up the Layer Style dialogue box.

Step 27 : Now click on Outer Glow in the left panel and the Outer Glow dialogue will open. Click the yellow box where the red arrow points to, to bring up the Color Picker.

Step 28 : In the Color Picker, click on the Spectrum in the middle to choose a color. I have clicked on purple.

Step 29 : Click on a shade of purple and click ok to exit the Color Picker.

Step 30 : In the Outer Glow dialogue box change the Opacity to 100 % and the Size also suitably. Click ok.

This is how the image looks.

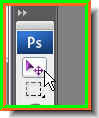
Step 31 : Click on The Smudge Tool again.
Step 32 : Place the Brush in the middle as show. Then click, press SHIFT and drag upwards or downwards to increase the glow in the middle.

This is how the image looks. This portion is now complete. Now to add some Text.
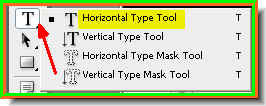
Step 33 : Click the Type Tool and choose Horizontal Type Tool.
The Foreground color is set to White.

Step 34 : Draw out the text box with the cursor.

Step 35 : Add the text.

Step 36 : Since the Foreground Color is already set to White, press ALT+BACKSPACE to fill the text with White.
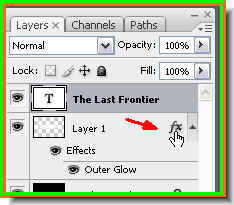
Step 37 : Click the Layer Style on Layer 1.
Step 38 : Press ALT and drag the Layer Style to the Text layer.
The same Layer Style has been added to the Text Layer.
Step 39 : Click the New Layer button and Layer 2 forms.

Step 40 : Press SHIFT+F5. This will bring up the Fill dialogue box. Change the Use to 50% Gray from the drop down and click ok.

The layer has been filled with 50% Gray.
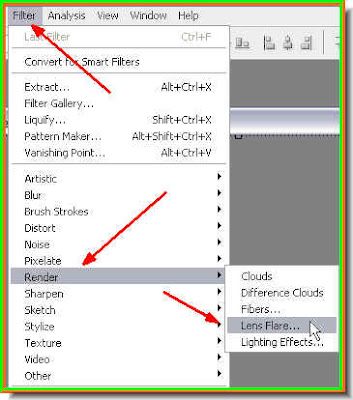
Step 41 : Go to Filter>Render>Lens Flare.
Step 42 : The Lens Flare dialogue box opens. Check the Movie Prime. This is not found in PS 7.

Step 43 : In the Layers pallette change the Blend Mode to Hard Light.
This is how the image looks.
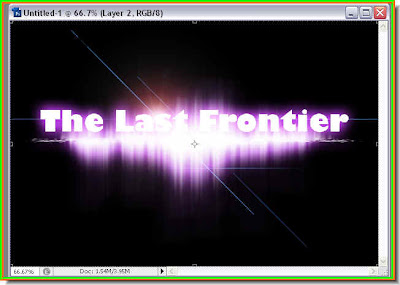
Step 44 : Use the cursor to reposition the Flare as shown.

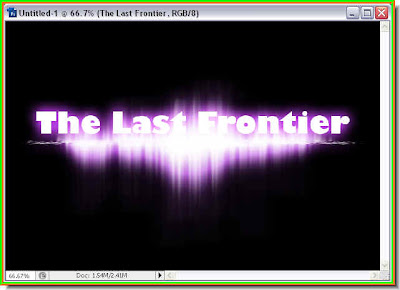
The completed text effect. Try it out.


